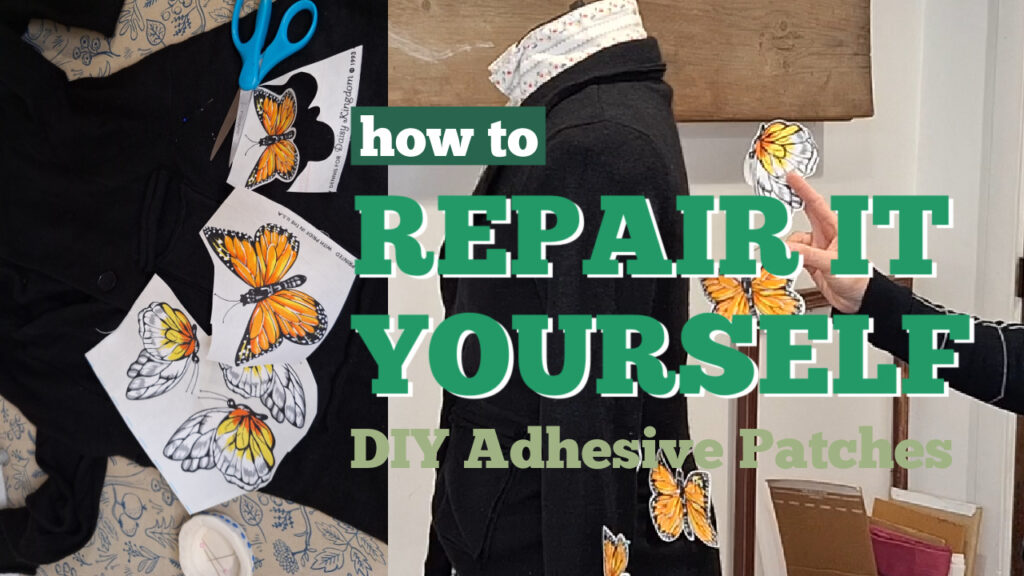
Beginner cardigan mending with vintage adhesive patches
Welcome to March Mending Madness!
If you’re new to sewing or just dipping your toes into clothing repair, you’re in the right place. This month, I’m sharing fun, approachable projects as part of my March Mending Madness series—and today’s project is extra special. We’re repairing small holes in two cozy cardigans using the cutest vintage butterfly patches from 1993!
Not only is this a practical fix, but it’s also a creative way to embrace visible mending and give your wardrobe a personal, nostalgic touch.
Watch the Full Tutorial
Before diving in, be sure to check out the full video tutorial where I walk you through each step of this beginner-friendly project. You’ll see exactly how I position, secure, and stitch the patches for a polished but playful finish.
Why Mending Matters
In a world of fast fashion, learning to repair your clothes is a small but powerful act. Mending helps you:
- Save money
- Reduce waste
- Extend the life of your favorite pieces
- Express your creativity
This project is perfect for beginners because it doesn’t require advanced skills—just a little patience and a willingness to try something new.
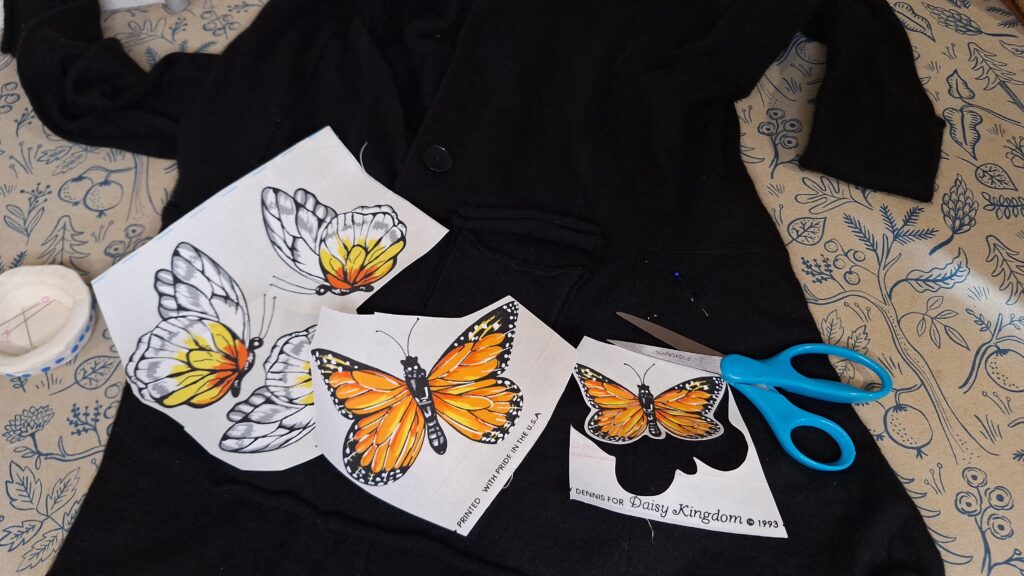
The Charm of Vintage Butterfly Patches
These butterfly patches from 1993 bring such a unique flair to this project. Instead of hiding the damage, we’re turning it into a feature! That’s the beauty of visible mending—it celebrates imperfections while adding personality.
You can use any patches you like, but vintage ones add a layer of story and charm that makes your piece truly one-of-a-kind. If you don’t have premade patches, consider using any bold print from a cotton fabric of your choice.
How to Mend Your Cardigan
Here’s a quick overview of the process:
- Identify and clean the damaged area – I mark the hole with a pin as I go so I don’t lose them later!
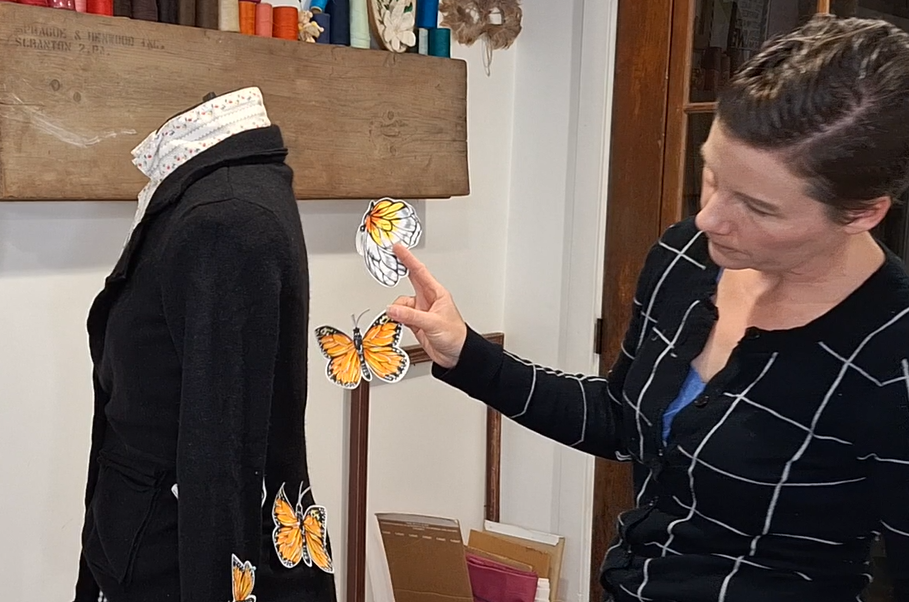
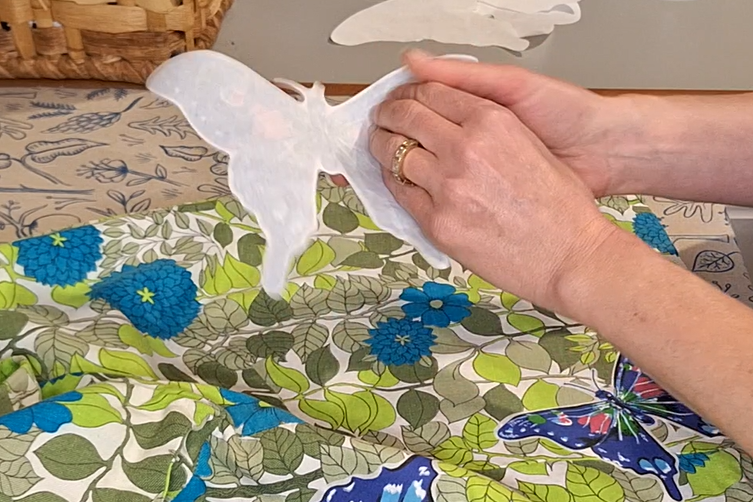
- Position your patch over the hole – Center the hole under one of the largest areas of the patch for maximum reinforcement.
- Pin or secure it in place – I placed my garment on a dress form so I could get a sense of where the patches would land on my body. If you don’t have a dress form, perhaps try on the garment first and note how you might want the patches to land.
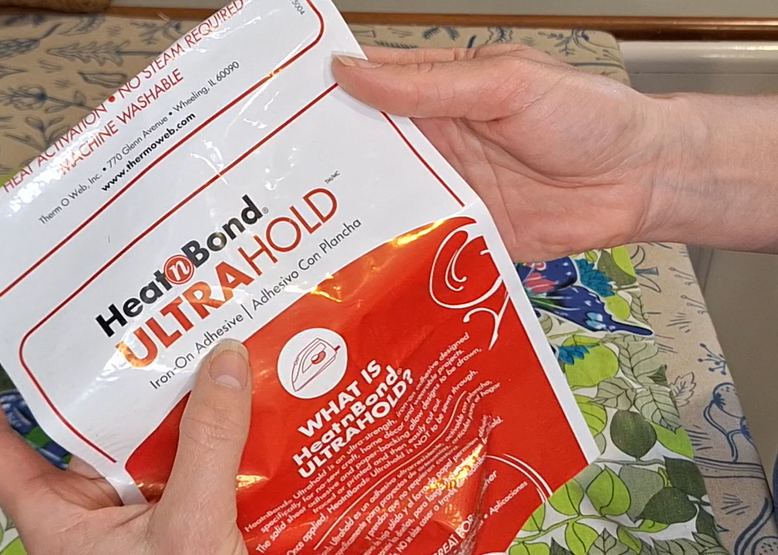
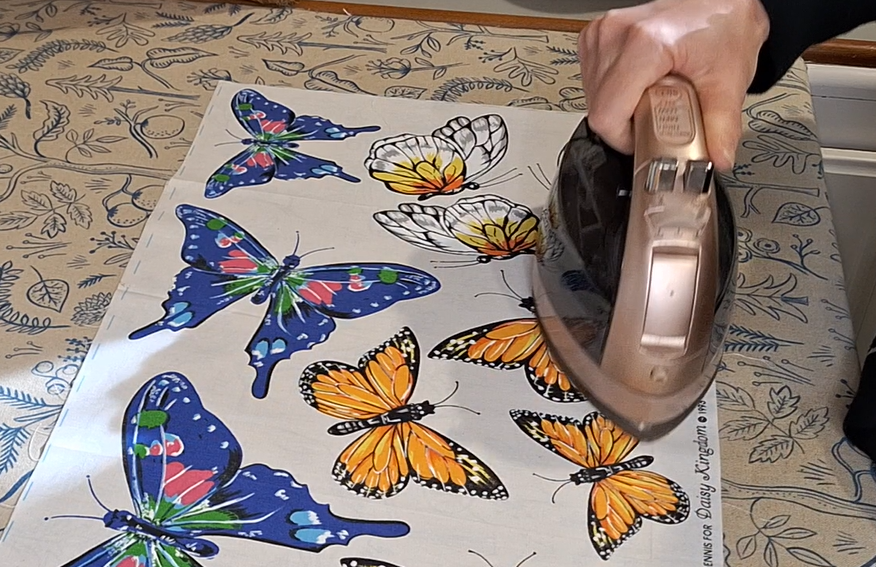
- Press into place with a hot iron following manufacturer’s instructions – I like Heat ‘n Bond, but any double-sided fabric adhesive should work.
- Stitch around the edges (by hand or machine) to reinforce as needed for durability – this might be a particularly good idea on areas such as an elbow where the fabric will be required to bend and stretch frequently.
If you’re brand new to sewing, don’t worry—this is a forgiving project and a great way to practice basic stitches.

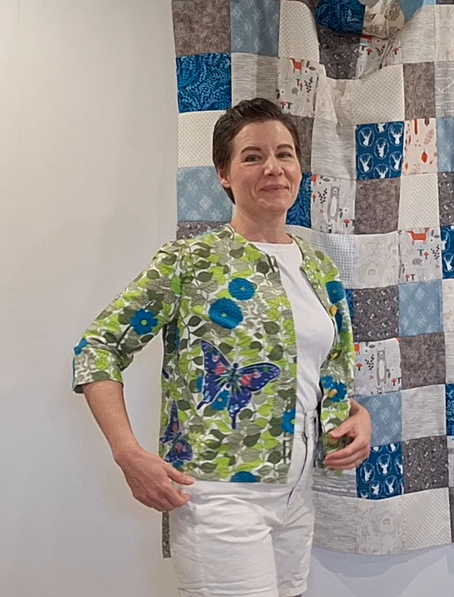
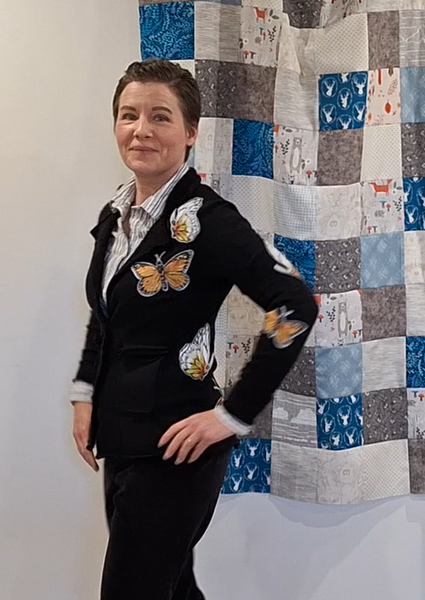
The Finished Look
Once complete, your cardigan will not only be wearable again but totally transformed. The butterfly patches add a whimsical, vintage vibe that makes the piece feel fresh and special.
This is what I love most about mending—it turns something worn into something wonderful.
Keep the Creativity Going
If you enjoyed this project, there’s more to come in the March Mending Madness series! Don’t forget to watch the video, try it yourself, and share your creations. Mending is more than a skill—it’s a mindset. I sincerely hope you found the video informative and inspiring. If you mend a caridgan of your own following the lessons, please leave a link below, or share on social media by tagging @laruedefleurs so I can marvel at your awesome work!
Stay creative, friends! Janice
Inspiration and resources are linked where applicable. All written work and photographs are original content and are copyright protected; kindly give due credit by linking back to my website or source website if you use or share.
(©2026, Janice Bailor // laruedefleurs.com)