A beginner-friendly plush monster sewing project using fleece, felt, and simple embroidery for kids and teens.
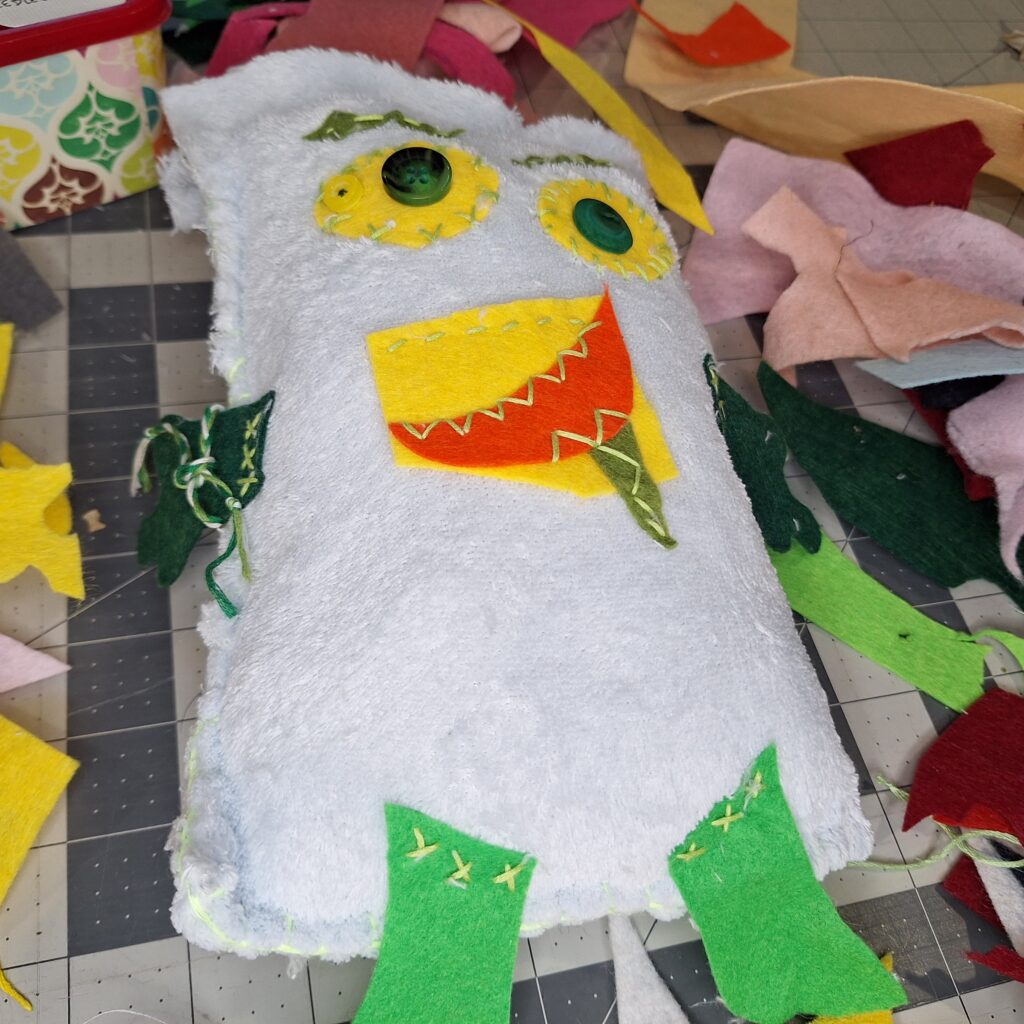
There’s something magical about bringing a soft, quirky creature to life with your own hands. This plush monster project is perfect for young sewists who want to build confidence while experimenting with textures, shapes, and decorative stitches. Using cozy fleece for the body, colorful felt for details, and playful embroidery, this project balances structure with creativity—no two monsters will ever look the same!
Why This Project Is Great for Beginners
This plush monster is an ideal introduction to sewing soft toys because it combines simple construction with lots of room for personalization. Youth sewists will practice cutting fabric, pinning, basic hand or machine stitching, and finishing techniques. The addition of embroidery and buttons adds a layer of skill-building without feeling overwhelming.
Best of all, mistakes don’t really exist here—crooked stitches and uneven features just add to your monster’s personality.
Materials You’ll Need
- Fleece fabric (for the body)
- Felt sheets (for hands, feet, and face accents)
- Embroidery floss in assorted colors
- Sewing needle or sewing machine
- Thread (to match or contrast)
- Stuffing (polyfill works great)
- Buttons (for eyes—mix sizes and colors!)
- Pins, scissors, and optional fabric chalk
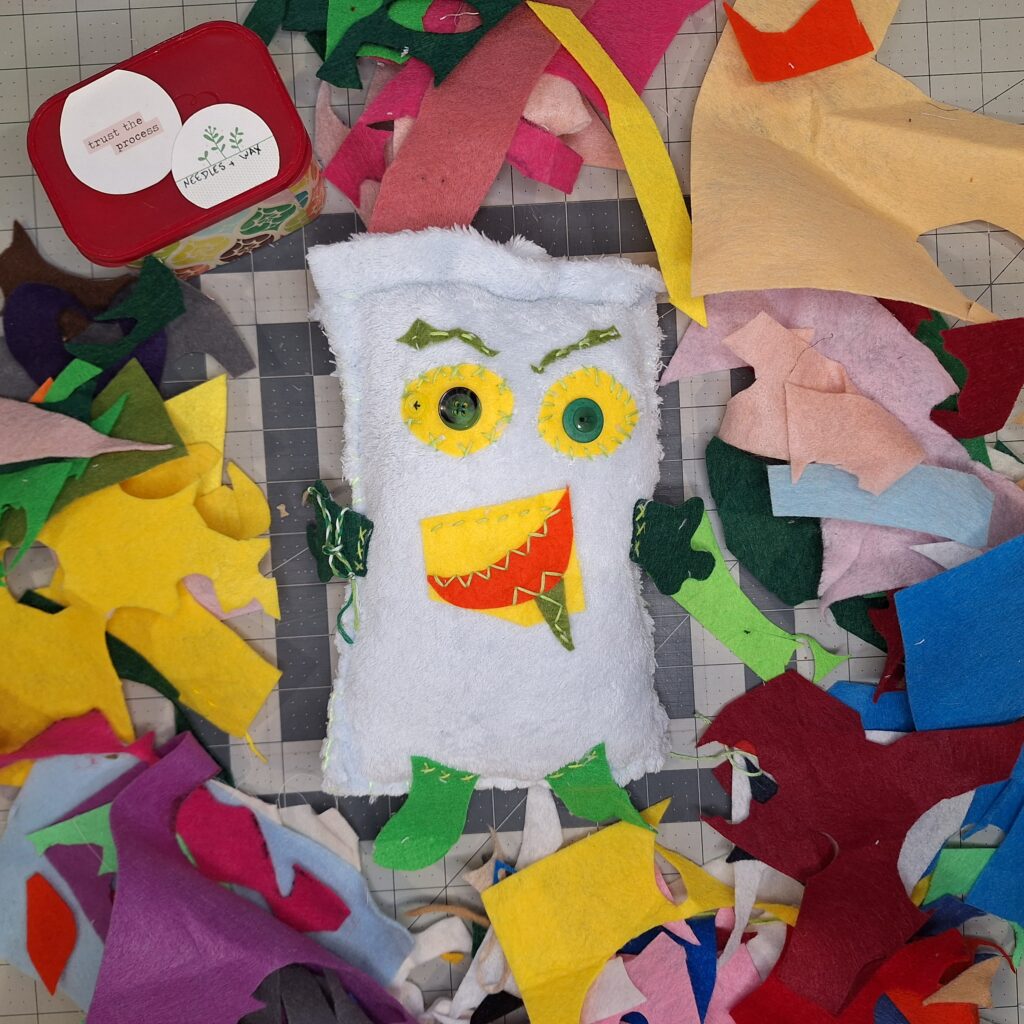
Encourage young makers to pick colors they love. Bright contrasts or unusual combinations make each monster feel unique.
Step 1: Designing Your Monster
Start by sketching a simple monster shape on paper. Think blobs, rounded triangles, or funky silhouettes—keep it simple enough to sew. Once the design is finalized, cut out your pattern and trace it onto folded fleece fabric so you get a front and back piece.
Tip: Avoid sharp corners for beginner sewists; curves are easier to manage and turn inside out. If you choose to make a square, it is easy enough to sew the corners by hand, but a bit trickier if you plan to use a machine. For both techniques, pivot the needle and thread without cutting or starting over for the simplest results.
Step 2: Cutting and Preparing Pieces
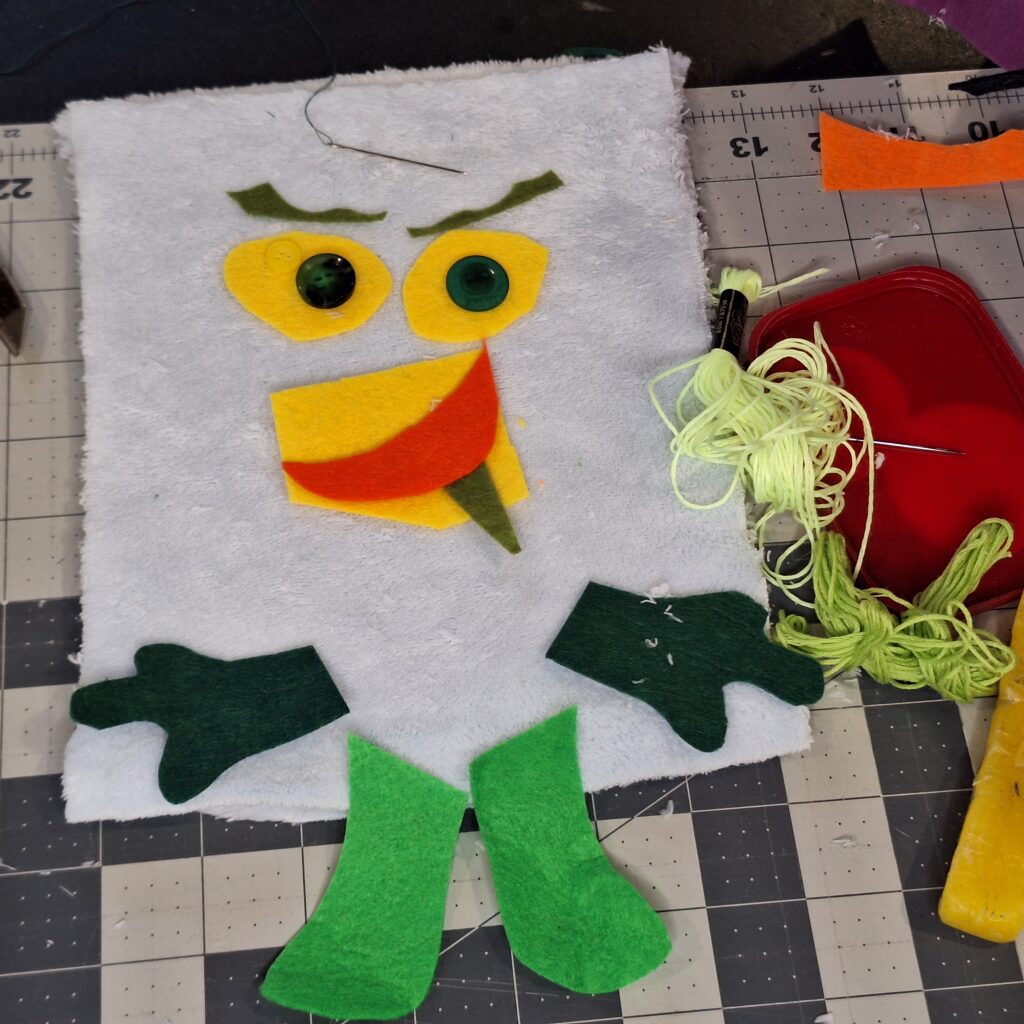
Cut out your fleece body pieces and felt accents. Felt is perfect for small details like hands, feet, horns, or teeth because it doesn’t fray and is easy to sew onto fleece.
Before assembling, arrange all your felt pieces on the front body panel. This is where creativity shines—move things around until your monster feels just right.
Step 3: Adding Face and Details
Now comes one of the most fun parts: decorating your monster’s face!
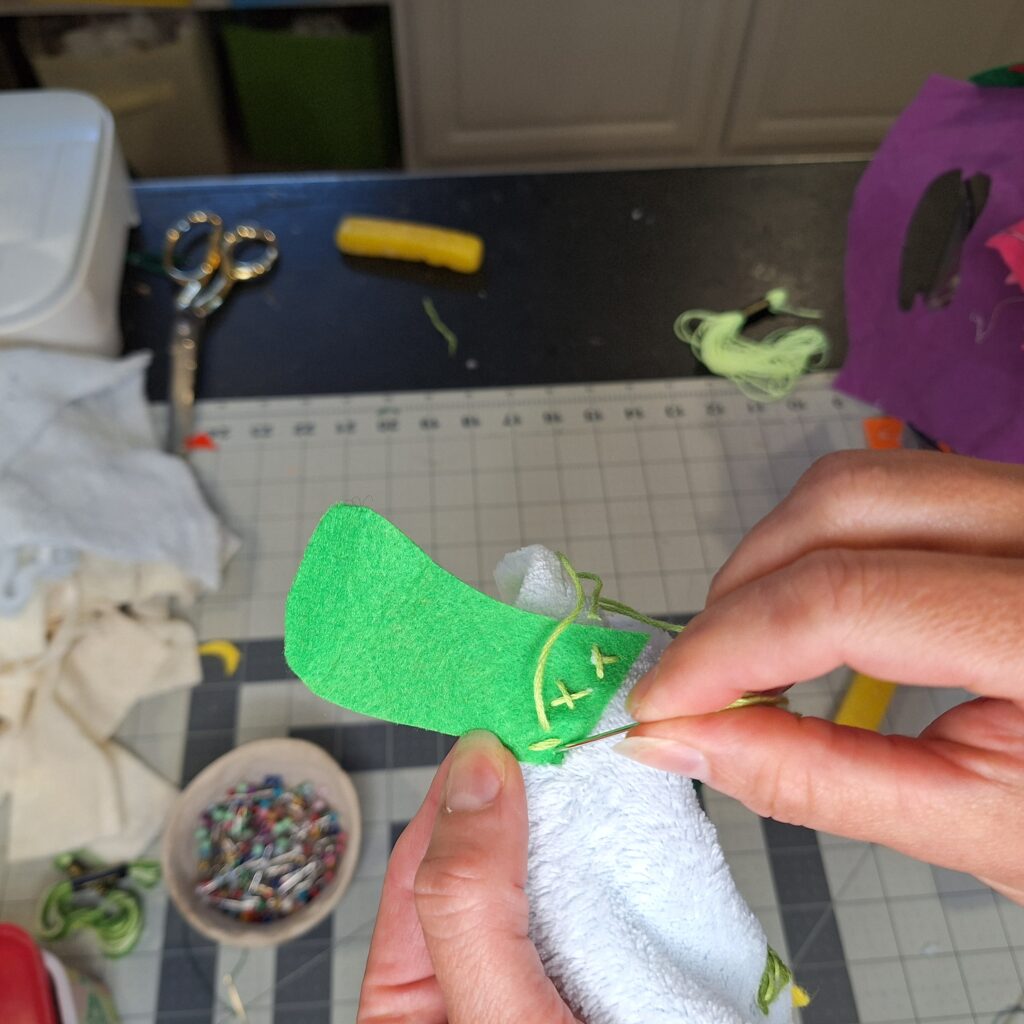
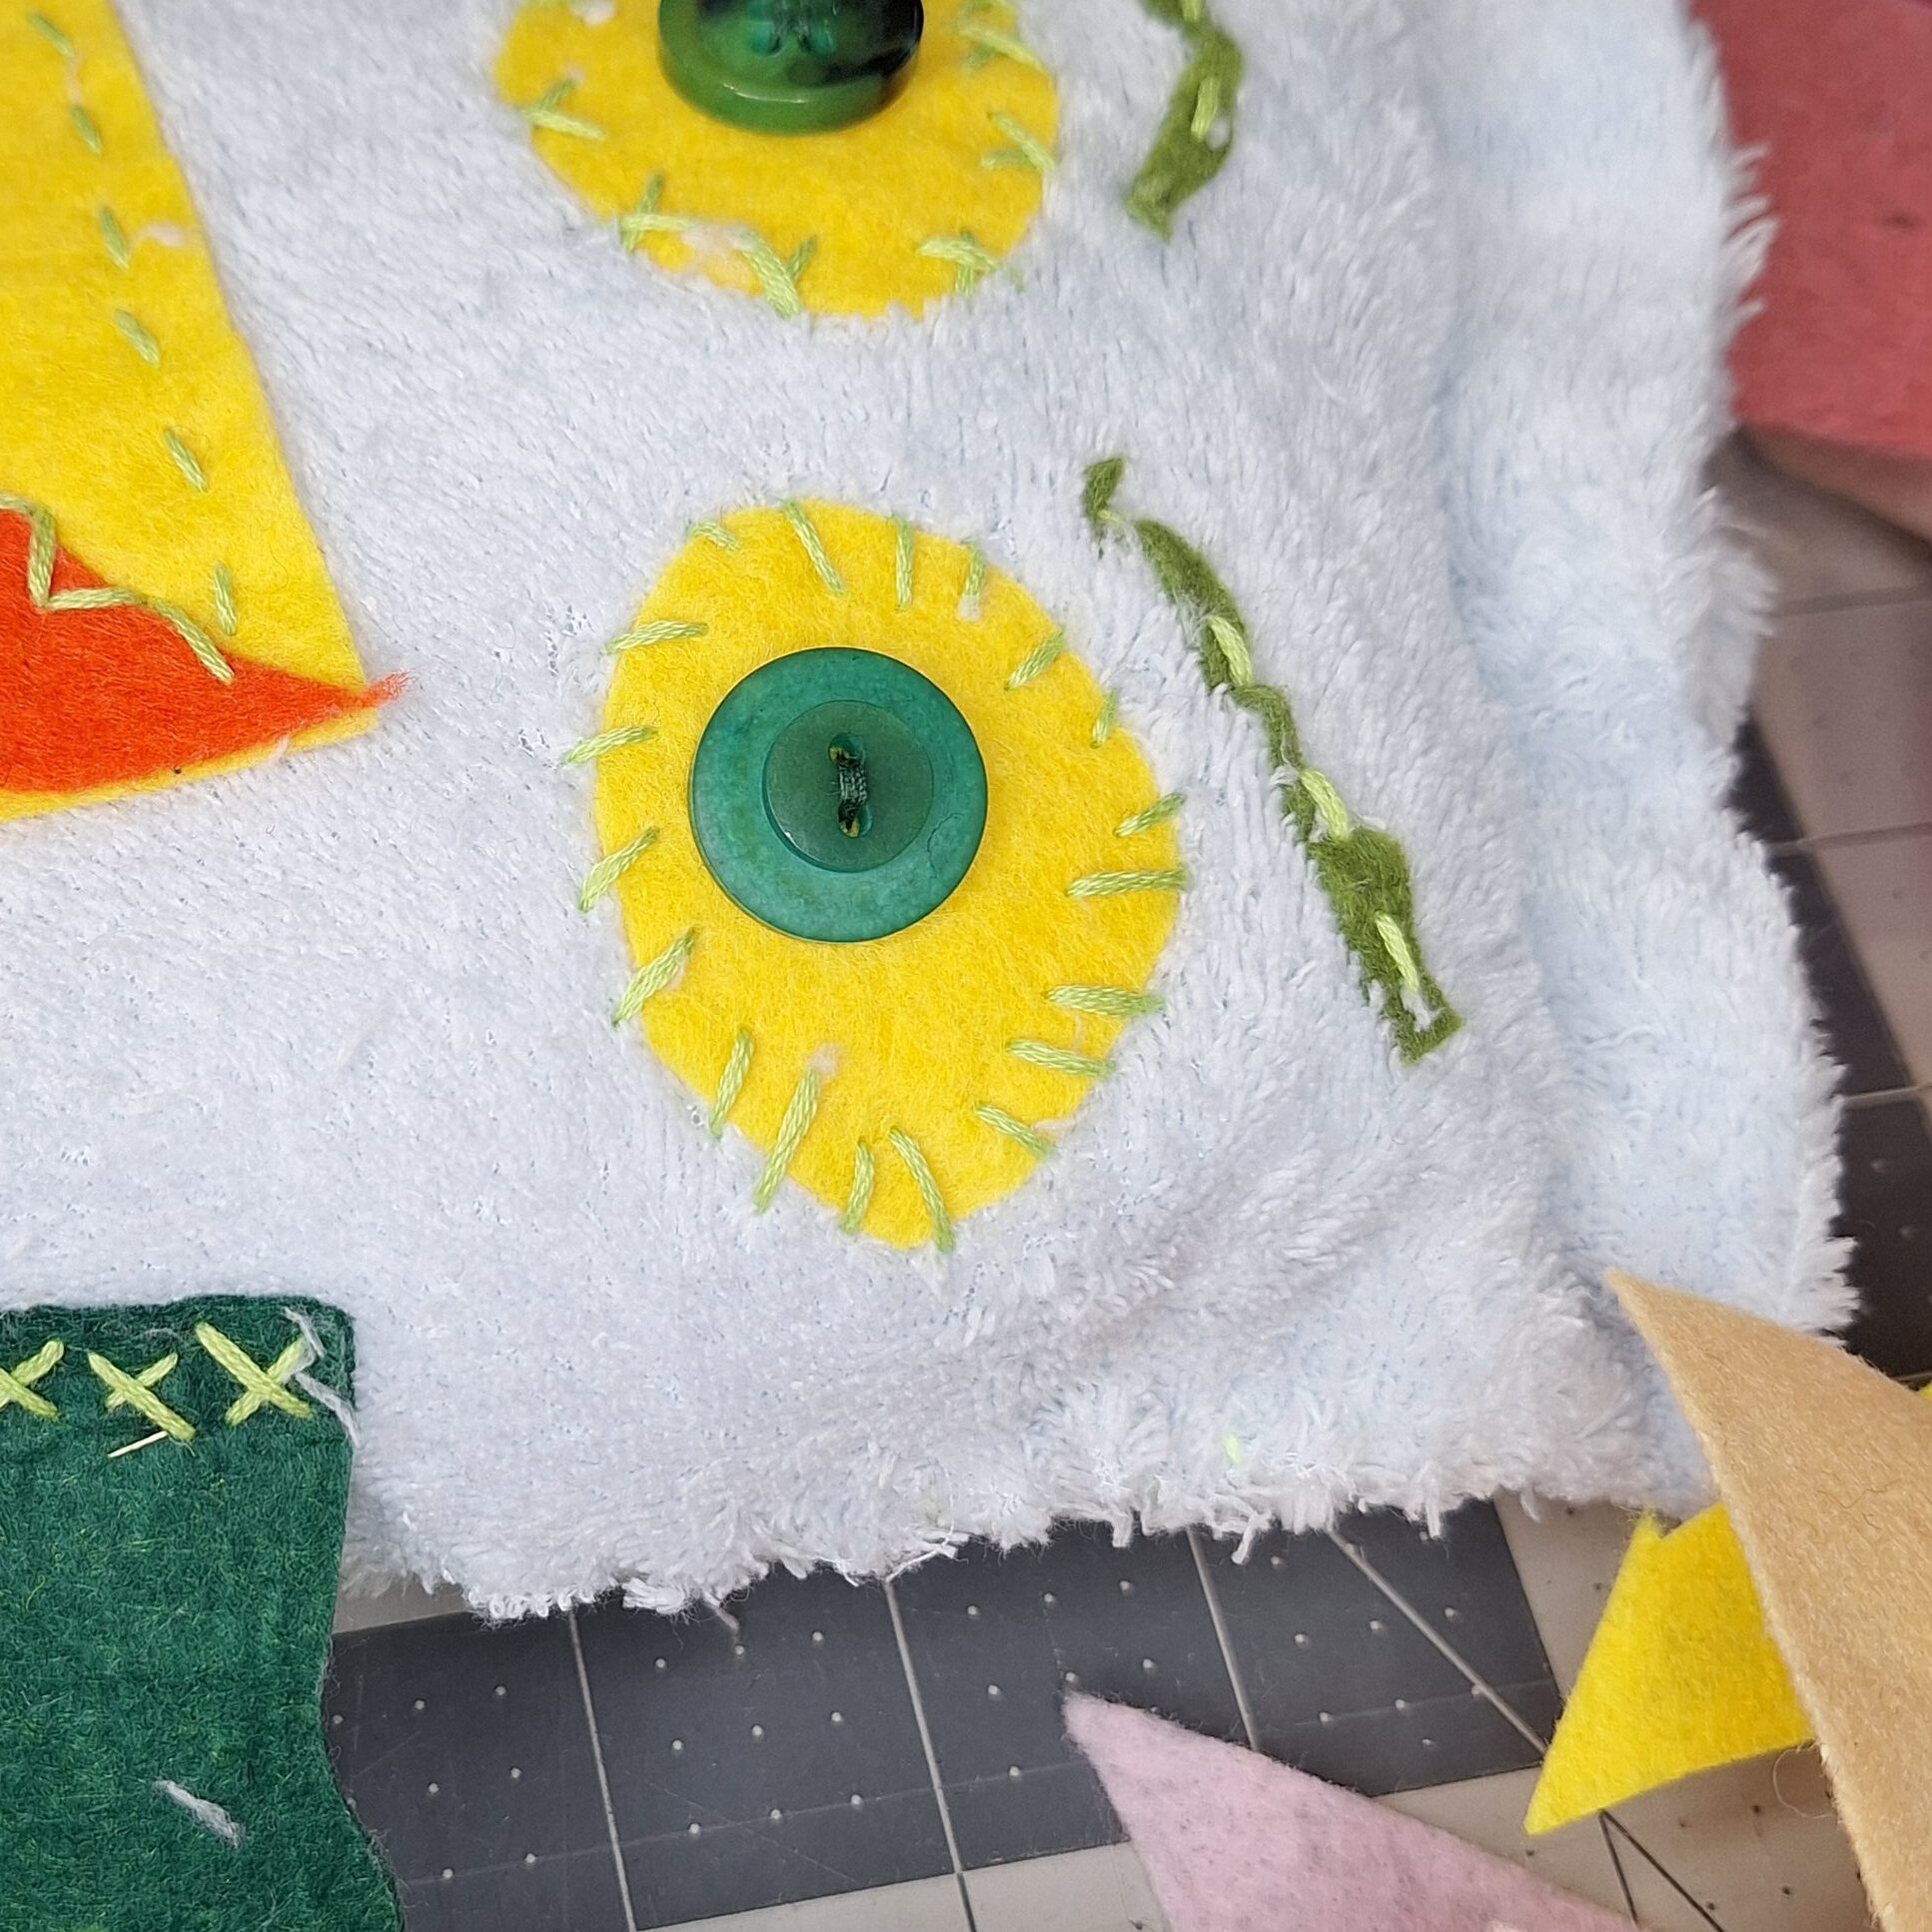
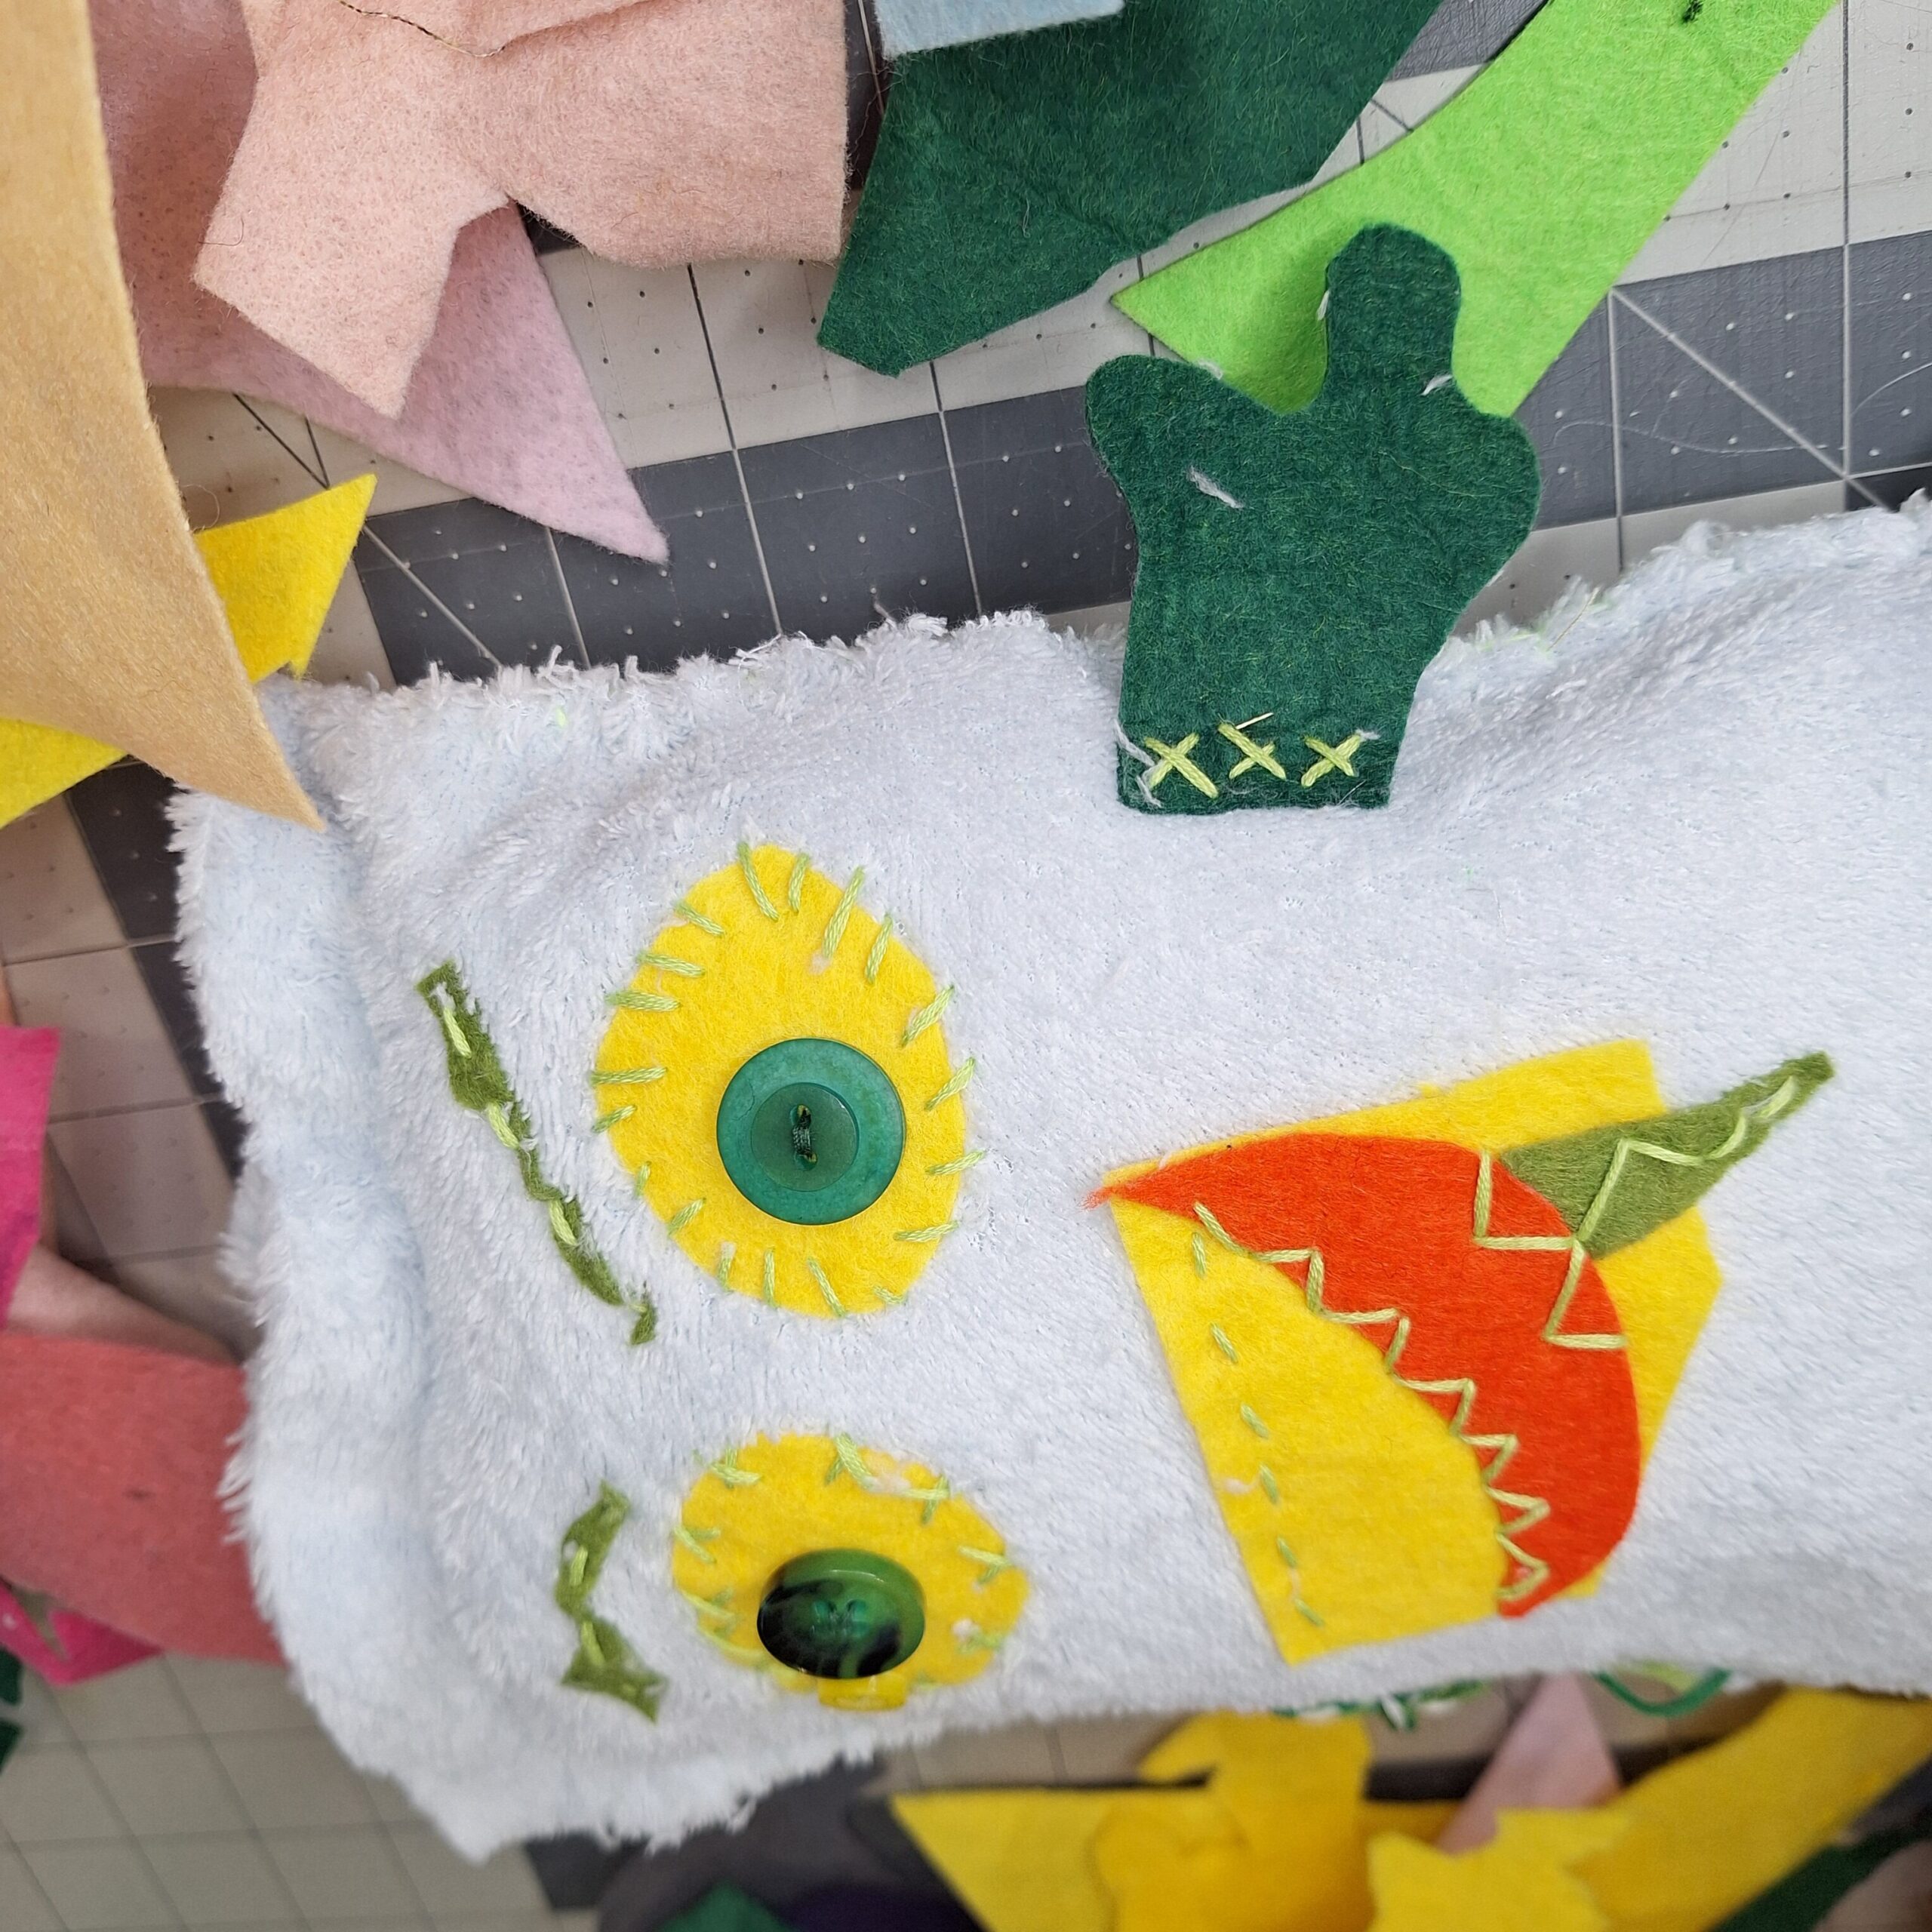
Sew on felt accents first, using simple stitches like running stitch or whip stitch. Then, attach the button eyes. This is a great opportunity to talk about safety—if the plush is for very young children, consider embroidered eyes instead of buttons.
Next, use embroidery floss to add personality. Try out:
- Straight stitches for eyebrows or scars
- Zig-zag stitches for teeth
- Loop stitches for hair or texture
- Cross stitches for decorative patches
Have fun and practice some experimentation with your sewing choices—this is a low-pressure way to practice new stitches.

Step 4: Sewing the Body
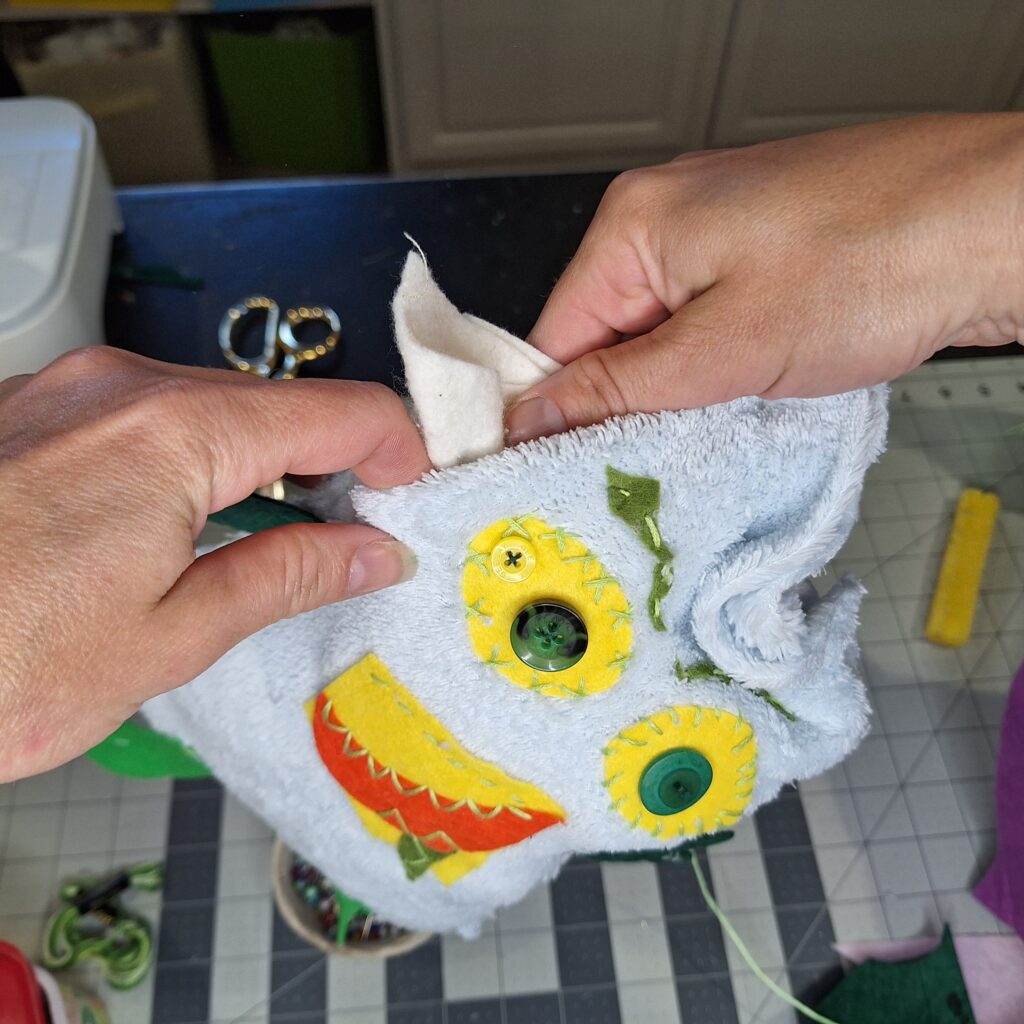
Place the front and back fleece pieces together, right sides facing in. Pin around the edges and sew, leaving a small gap for turning and stuffing.
If you’ve sewn a straight seam on the inside, carefully turn the monster right side out. If you’ve sewn a visible seam around the outside, like I did with the blanket stitch, you are all ready to get stuffing.
Stuff the plush evenly with polyfill, making sure to push filling into corners and edges. This is always a satisfying moment as the shape comes to life!
Step 5: Closing and Finishing Touches
Hand stitch the opening closed using a ladder stitch, blanket stitch (shown) or whip stitch. Take a moment to adjust the stuffing and shape.
Now, add any final details—maybe extra embroidery, patches, or even accessories like a tiny felt cape.
Watch the Full Tutorial
Want to see the entire process step-by-step? Check out the full video tutorial below:
👉 [YouTube Video Link Here] This video walks through each stage in real time, making it easier for young sewists to follow along and build confidence.
More Creative Projects
Looking for more easy and creative projects for kids and families? Check out my Drop-In Art blog posts and playlist here:
Drop-In Art Goes Virtual – blog post round up
Youtube Playlist: HERE
Grow Your Creativity
This plush monster project isn’t just about sewing—it’s about storytelling and imagination. Each monster can have a name, a personality, even a backstory. For youth sewists, that creative ownership makes the project even more meaningful.
Whether it’s their first plush or their tenth, this project helps build skills while keeping things playful. And the best part? They’ll have a cuddly, slightly wacky friend to show for it.
Grab your supplies and start stitching your own lovable monster today! Happy Sewing, and keep an eye out for more projects on my YouTube, blog and IG soon! Janice
Inspiration and resources are linked where applicable. All written work and photographs are original content and are copyright protected; kindly give due credit by linking back to my website if you use or share.
(©2026, Janice Bailor // laruedefleurs.com)