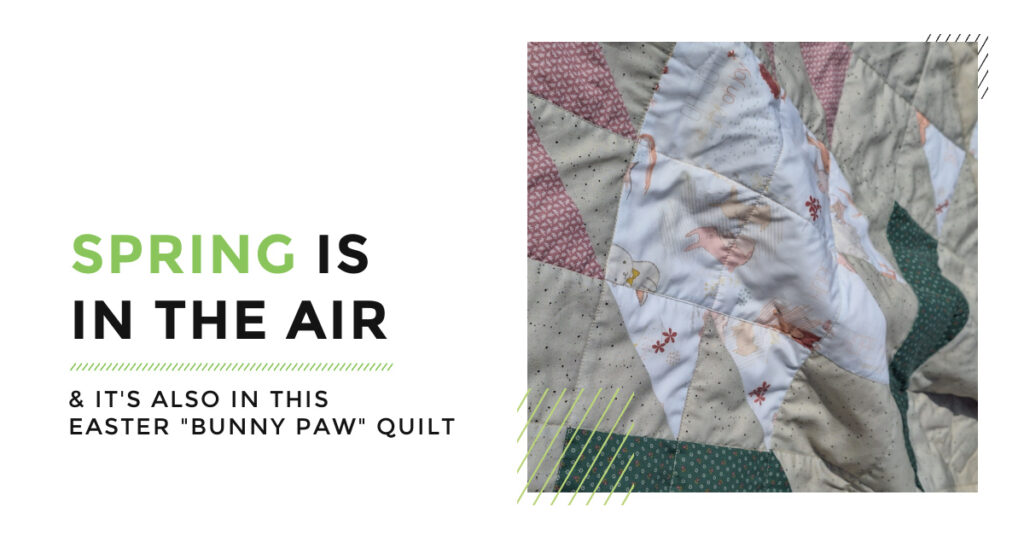
Spring is the perfect time to tackle those lingering quilting projects, and I’m excited to share how I finally finished my Bunny Paw quilt, just in time for Easter!
This quilt is a playful twist on my original Bear Paw quilt pattern, combining pastel fabrics with a spring-inspired design. If you’ve been looking for a quick quilt finish, this project is perfect for both beginners and experienced quilters alike.
Why the Bunny Paw Quilt is Perfect for Spring
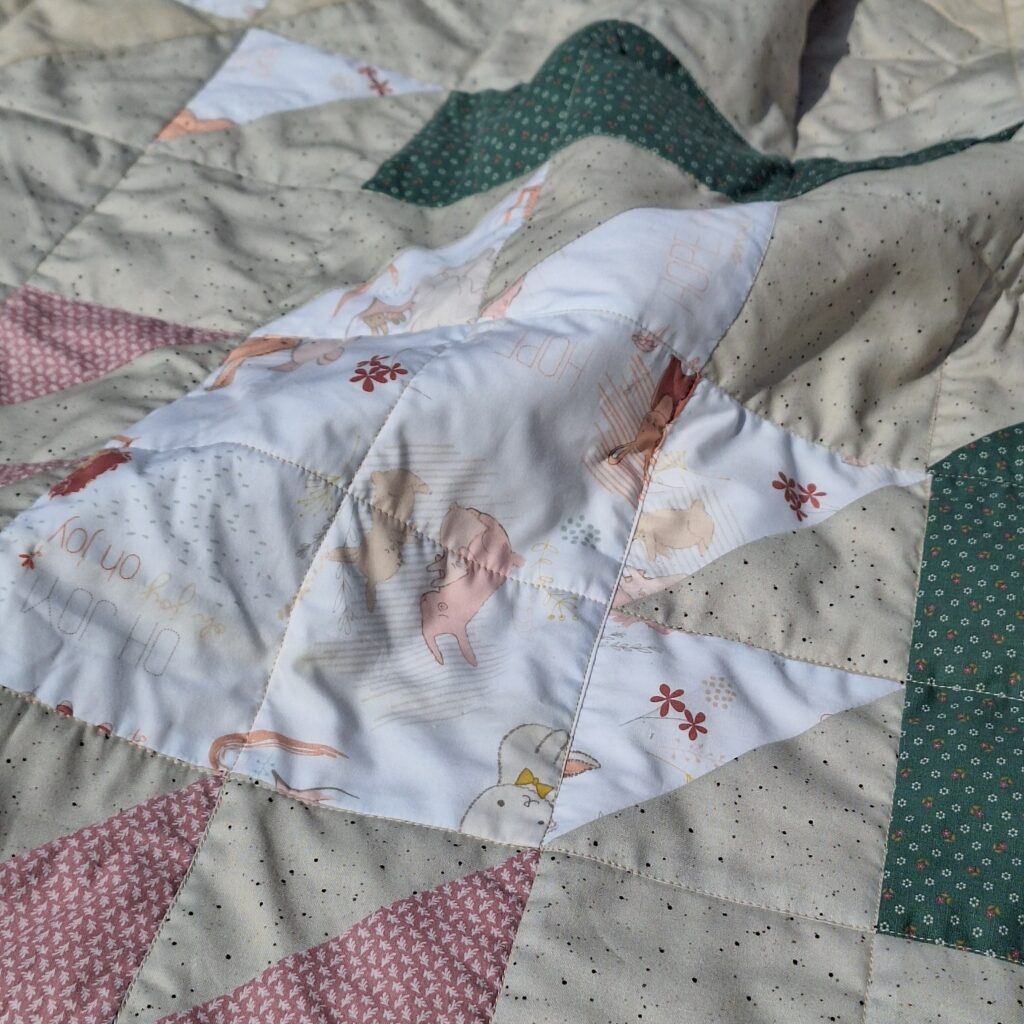
The Bunny Paw quilt is inspired by my popular Bear Paw quilt block, which I’ve featured in past blog posts and videos. Its bold geometry makes it both eye-catching and beginner-friendly. For this version, I used soft pastel fabrics to create a festive Easter quilt that works beautifully as a throw or as part of a handmade booth display.
Check out my previous Bear Paw quilt tutorials and videos for tips on piecing, color placement, and block assembly: Video HERE. Blog post HERE.
![Photo idea: Close-up of Bunny Paw block showing piecing details]
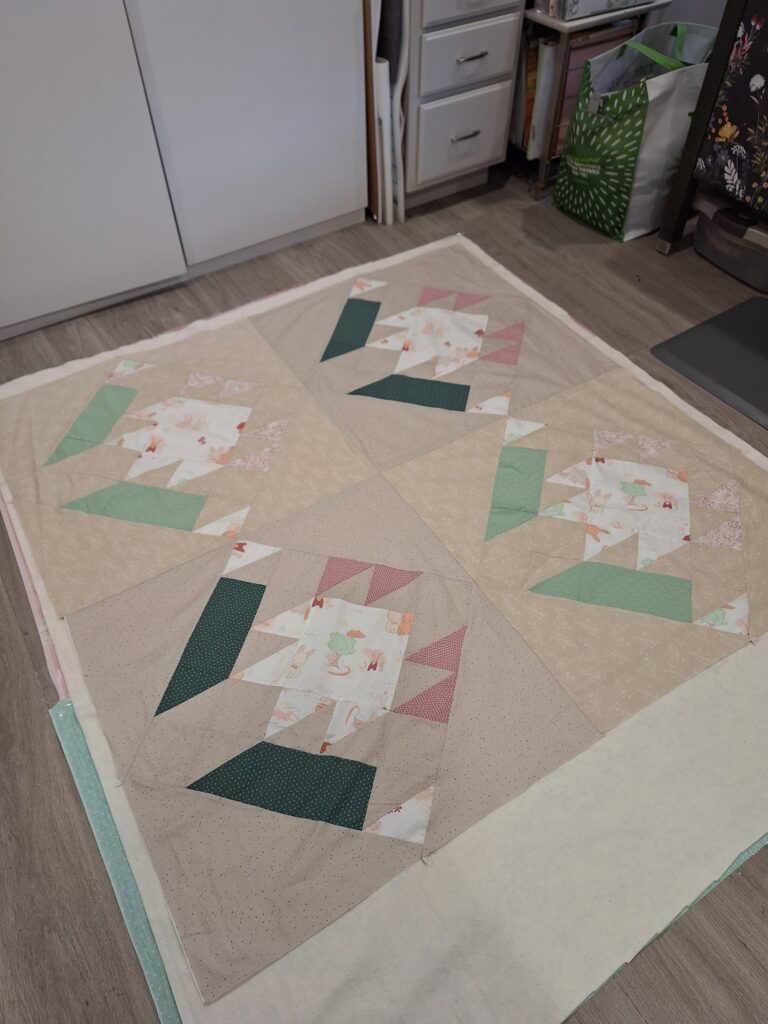
Quilt Block Size and Layout
Each Bunny Paw block finishes at 28 inches square, which is perfect for creating quick throw-sized quilts that will finish at 56 inches square. For this project, I only needed four blocks, making it an achievable WIP finish for even busy quilters.
If you’re tackling your own WIP pile quilts, large blocks like this make it easier to see progress fast. Even a few blocks can create a bold, impactful quilt.
Step-by-Step Finishing
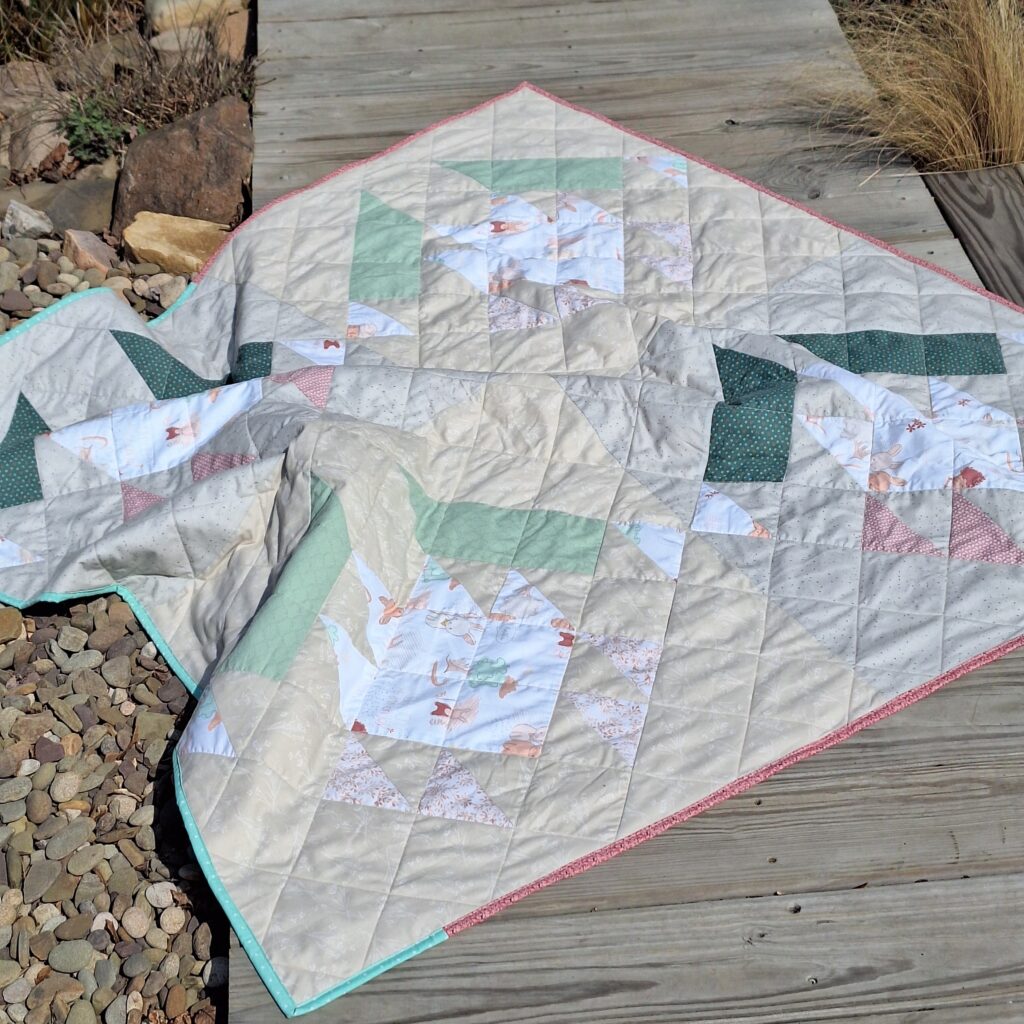
After piecing the blocks, I layered the quilt with soft batting and a coordinating backing. I used a simple wide grid quilting design that highlights the Bunny Paw pattern without overwhelming it. To create the grid, I simply laid my acrylic ruler along the 4 inch seam lines and connected the grid made by the blocks themselves. Personally, I prefer wider quilting which I feel allows the quilt more drape than tight quilting. The quilt is finished with a pastel binding of off-cuts of the backing, creating a fun and scrappy look.
I filmed the entire process in my YouTube video, showing how to assemble, quilt, and bind the Bunny Paw quilt: watch it HERE. This is a perfect visual guide for finishing your own quilts.
Perfect for Handmade Sales
This Bunny Paw quilt will be available at my handmades booth: visit their Facebook for directions and hours. If you sell quilts or handmade goods, spring-themed quilts like this one are always popular at craft fairs and seasonal markets.
Even if you’re not selling, making a quilt like this is a quick WIP finish that can be used for gifting, home décor, or holiday displays.


Tips for Finishing WIP Quilts
- Focus on one project at a time to avoid overwhelm.
- Work on large blocks in stages to make progress visible.
- Use tutorials or videos to guide tricky steps.
- Plan for a showcase, gift, or sale to stay motivated. Or, be like me, and chose something to finish that goes with an upcoming season or holiday!
Final Thoughts
The Bunny Paw quilt is a fast, fun, and visually stunning way to finish a spring quilt or Easter quilt. With only four 28-inch blocks, you can create a throw-sized quilt that looks far more complex than it is.
For more inspiration, check out my Bear Paw quilt pattern and previous tutorials HERE. And don’t forget to watch my Bunny Paw quilt finish video for a behind-the-scenes look at the process: HERE.
Whether you’re finishing a WIP or creating a seasonal quilt for your handmade booth, this Bunny Paw quilt is the perfect project for springtime quilting.
Happy making, and keep an eye out for those completed projects on my YouTube, blog and IG soon! Janice
Inspiration and resources are linked where applicable. All written work and photographs are original content and are copyright protected; kindly give due credit by linking back to my website if you use or share.
(©2026, Janice Bailor // laruedefleurs.com)