In my opinion, a great quilt comes together so fast you barely notice you had to repeat all of the steps multiple times. The Bear Paw On-Point Quilt is definitely one that comes together very quickly, the only thing you may notice is the time it takes to trim the half-square triangles. Because the blocks finish large – we’re talking 28″! – you only need four paws to make a quilt! I love, love, love a quilt that comes together that quickly and has a lot of fabric possibilities. Let’s get quilting!
Quilt With Me!: The Bear Paw On-Point Throw Quilt
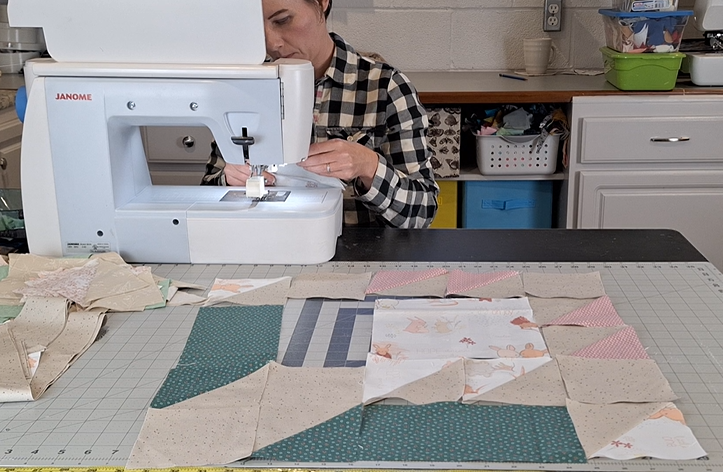
Grab the Bear Paw On-Point Quilt Pattern for just $10 USD HERE or a KIT HERE. Then pop on the video for additional tips before you start sewing. After you’ve prepared all your blocks based on those tips, join me to complete the throw-sized baby quilt!
Choosing the Fabrics
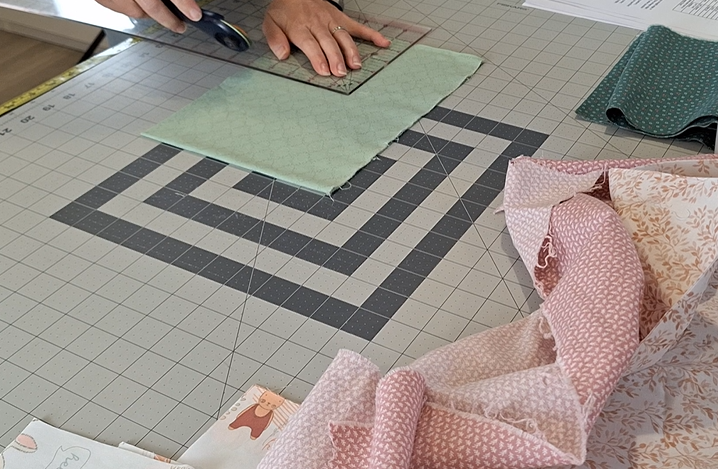
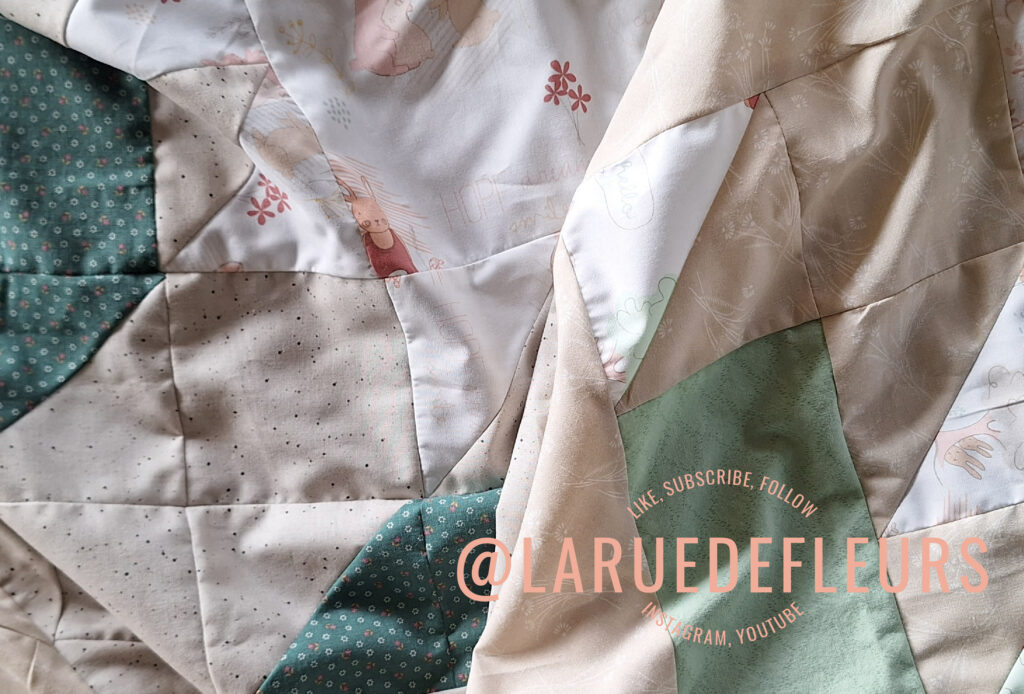
For this version of my Bear Paw On-Point (BPOP), we will use an ancient cut of fabric from Art Gallery Fabrics Littelest collection that was out several years ago. It is the most adorable bunny fabric with a large-scale print and a fair amount of white space I have been having trouble finding the right block to get it out of my stash and into a quilt. My favorite feature of the BPOP pattern is the large central block on the paw. It is perfect for a variety of large-scale or feature fabric prints. The large square doesn’t distort or cut the print too small, so you can really get the full effect of a large print such as the bunny print I’m using here.

The remaining prints are secondary supporting character prints pulled to compliment the other colors and the vibe of the bunny print. I’m using several vintage fabrics in a dark green, mint green, pink and peach tonal prints. The backing for each of the blocks is also a tonal tan print; one has a dark brown speckle and one has a subtle daisy print.
Cutting the Blocks
Obviously, if you purchase the pattern HERE, then you will get all of the fabric requirements as well as cutting instructions to make one or four blocks. If you want to make larger than the 56″ throw quilt, you’ll have to do a bit of simple math to add on those additional blocks. Eight blocks would sure make a hefty quilt with your biggest investment being enough background fabric to set the blocks on-point at the end.
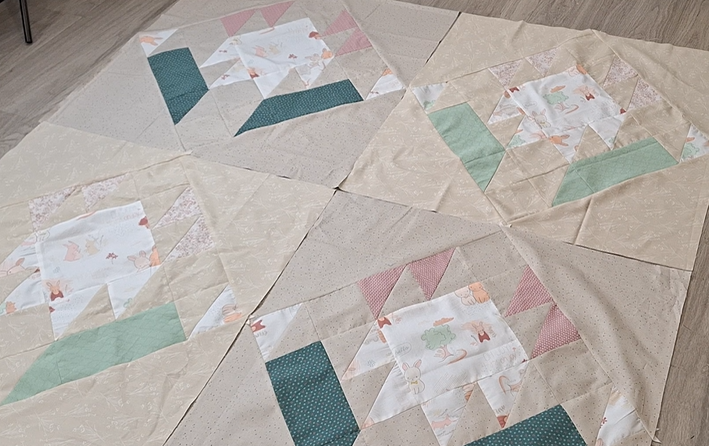
For my Bunny Paw quilt, I used two different background fabrics that blend subtly together. It wasn’t an international choice to begin with – I simply improperly calculated how much fabric I needed to set all four blocks on-point – but I do like the end result. Quilts were meant to use a variety of fabrics to come together and I always love the look of a well-blended group. So we’ll count this one as a happy accident!
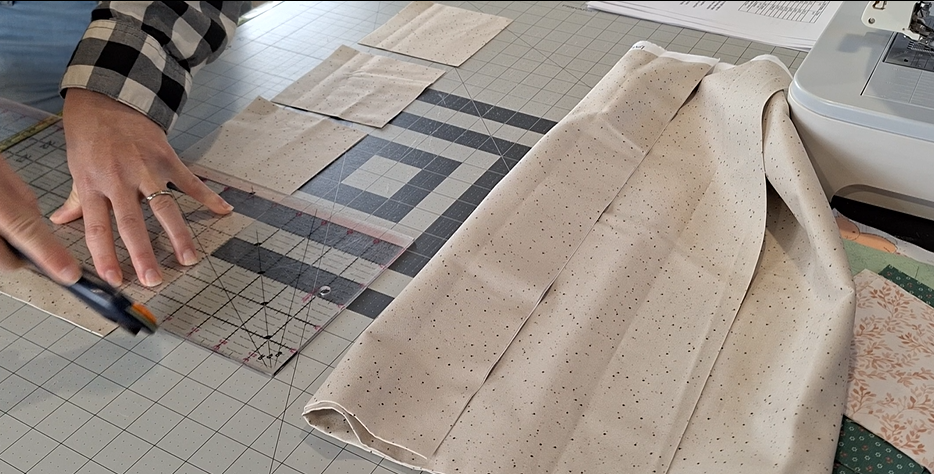


Honestly, for this quilt I loved using two different combinations. The tonal daisy print and the softer mint and leaf prints, versus the darker green and pink leaf print on the speckle background. I made two of each and ended up laying them out opposite one another to complete the four blocks of the throw. I feel this not only allowed me to use up multiple smaller cuts of fabric, but also provided a balance and interest to the quilt top design over all. #winning
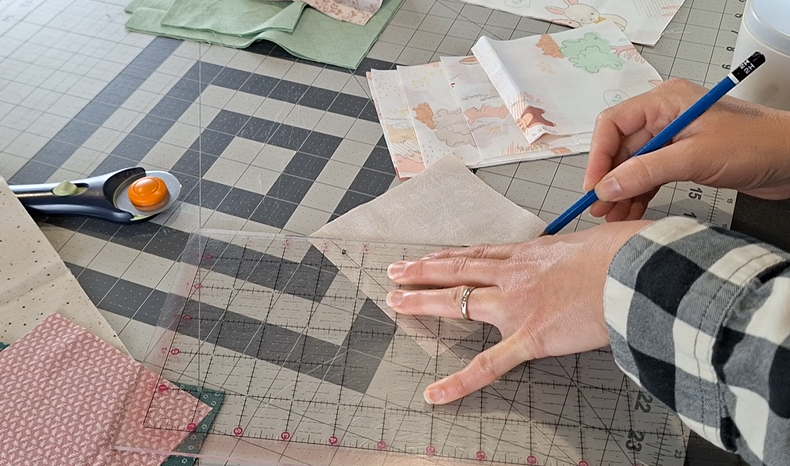
Once all of the squares were cut, I had to sew together two-at-a-time half-square trinagle to make all of the paw points. Simply pair up you colorful squares with the corresponding background, mark diagonal lines and get to sewing down each side to make a block that can be split in two.
Laying Out the Block Design
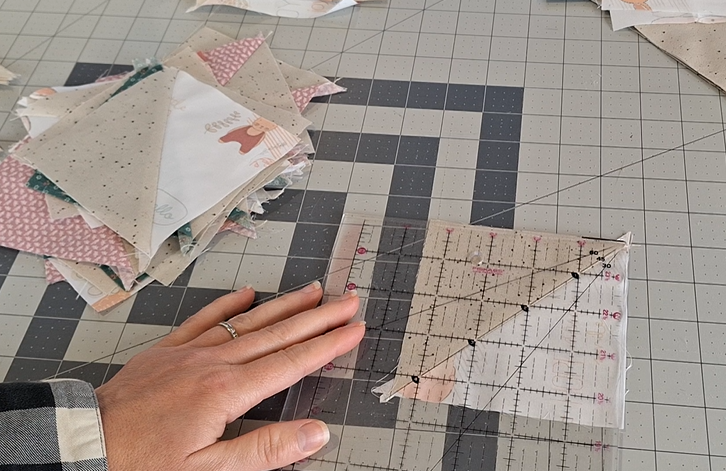
Once you finally have all of the half-square triangles trimmed – honestly one of the most tedious parts – the BPOP block comes together so, so quickly! Included in the pattern is a diagram to help you lay out the block. This diagram also has a few tips on which pieces to assemble first. It is a great visual reference to double-check while you sew if you’re someone who often gets distracted or interrupted and turned around while you’re sewing like me. There is nothing more annoying than having to rip out an improperly placed piece, so I appreciate a diagram I can refer to as I work to keep me in track.
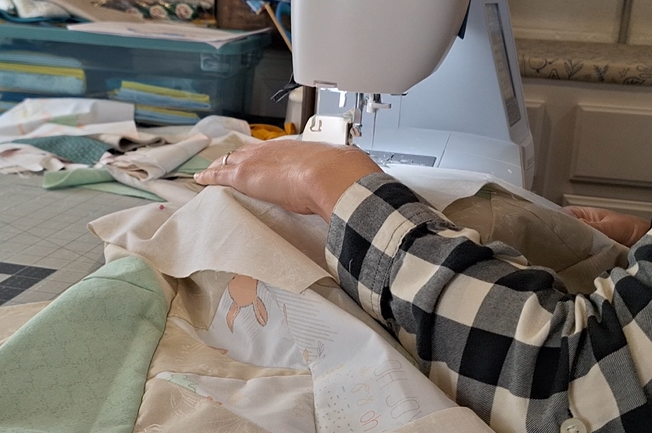
The block is only four rows to sew together, and with that large central paw pad it comes together so quickly! High impact in a short amount of sewing time for sure. I completed the four blocks for this Bunny Paw On-Point quilt in just few hours! YAY!

Completing the Throw Quilt Top
As I said, I made this four-block quilt in just a few hours. Therefore, I can recommend this pattern as a clear winner for gift-making. A throw quilt in one afternoon?! Yes, please!

The different fabric combinations provide interest while not competing. I also like that this quilt has a cute, vintage vibe without being overly sweet. I think it would be lovely in a little girls’ room with a vintage-inspired granny-chic wallpaper, don’t you? And we know the 56″ quilt won’t be grown out of any time soon. Fabulous longevity!
Quilt-A-Long with Me
If you’d like to watch how quickly it came together, I even filmed the process for this one and put it up on YouTube. Check it out here:
Grab the Bear Paw On-Point Quilt Pattern for just $10 USD HERE or a KIT HERE. Then pop on the video for additional tips before you start sewing. After you’ve prepared all your blocks based on those tips, join me to complete the throw-sized baby quilt!
Sharing is Caring!
If you join in with the video or create the Bear Paw On-Point Quilt on your own, don’t forget to share your work with the La Rue de Fleurs community by tagging me on IG @laruedefleurs and using the hashtags #bearpawonpoint and #laruedefleurspatterns. I hope you’ll join me and have fun using those large print fabrics!
Stay creative, friends!
Inspiration and resources are linked where applicable. All written work and photographs are original content and are copyright protected; kindly give due credit by linking back to my website if you use or share.
(©2023, Janice Bailor // laruedefleurs.com)