November and December are certainly the peak time of year when I look back and reflect on the year and all of the scrap fabrics I have created in my studio. Each year, I desire to start fresh, with zero scraps piled up in bins and around the room, but that never really happens. And, although that might be a complete pipe dream, there is still a way to make a dent in the fabric scrap piles a little and even turn those projects into gifts for the holidays. This year I made two fast quilting projects using fabric scraps.
Scrappy Zipper Pouches
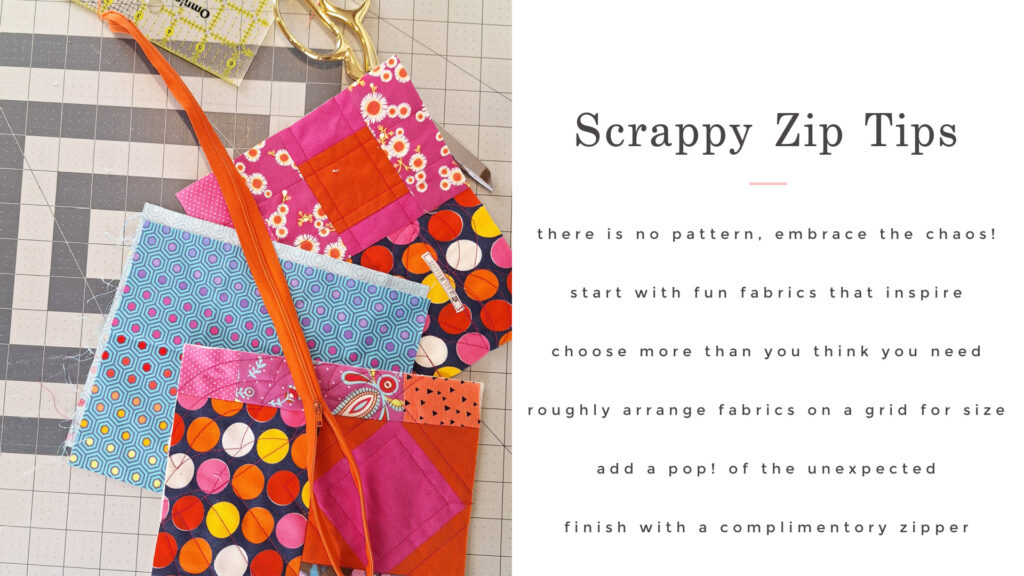
Improvisational sewing is just another way to say “I’m not using a pattern!” I love improv sewing and quilting, but to prevent myself from completely ending up in the weeds with those projects, I try to set up a few boundaries. For one, I try to keep my panels or blocks small so they can’t get too wonky or out of control. That makes improv panels the perfect thing to turn into small zipper pouches!
To begin creating a small scrappy improv zipper pouch, I dive into the scrap bin or the UFO (unfinished projects) bin and see if there are any small test or sample blocks I could use up. Since the tester blocks never have any official home, this is a great way to add them to a project and use them up!
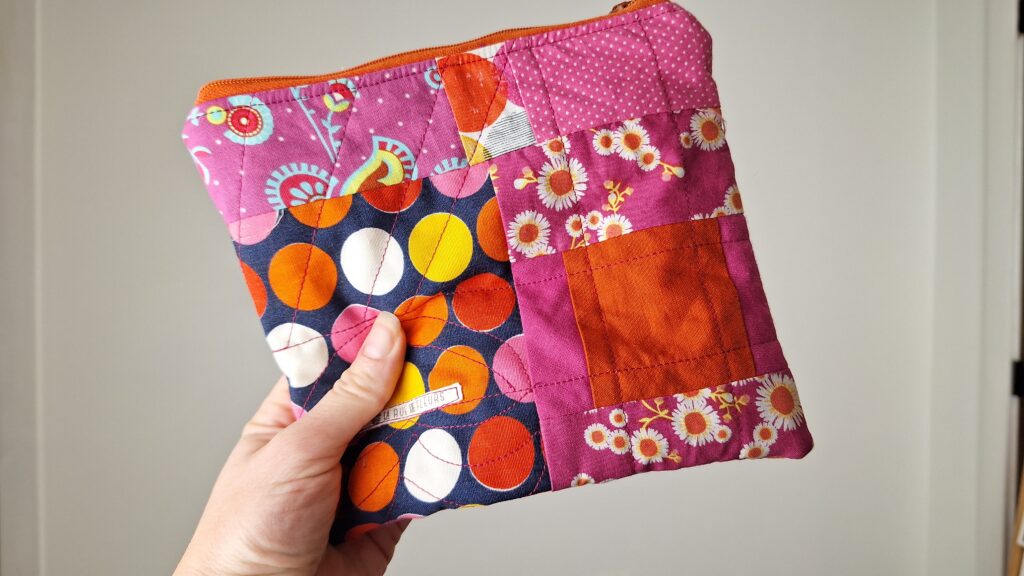
Next, I hit up my scrap bins and start pulling any colors or prints that coordinate with the UFO blocks. Working from the center out, I arrange the scraps on my cutting mat to get an idea of the size of panel I could make. Since the pouch would have two sides, you need to make sure you have enough similar or the same colors and prints of fabrics for both sides to make it look cohesive.
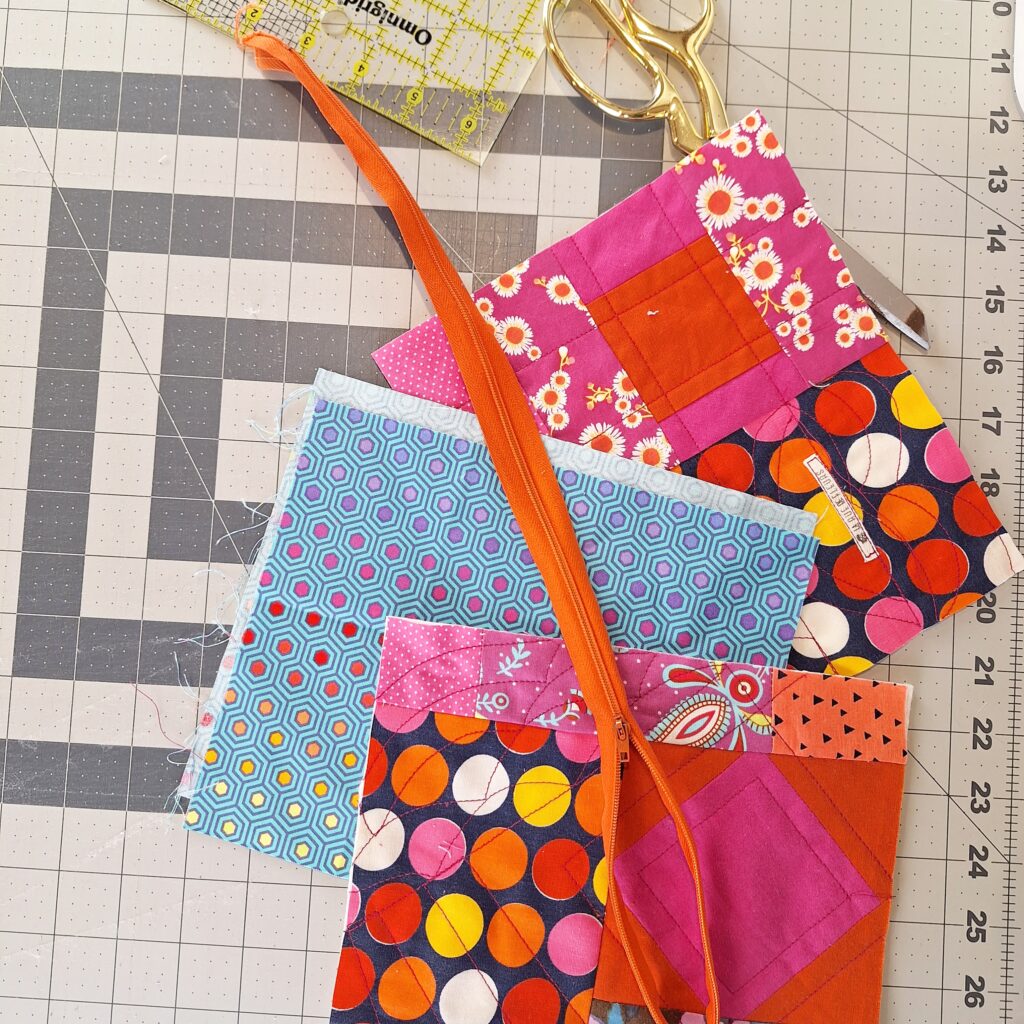
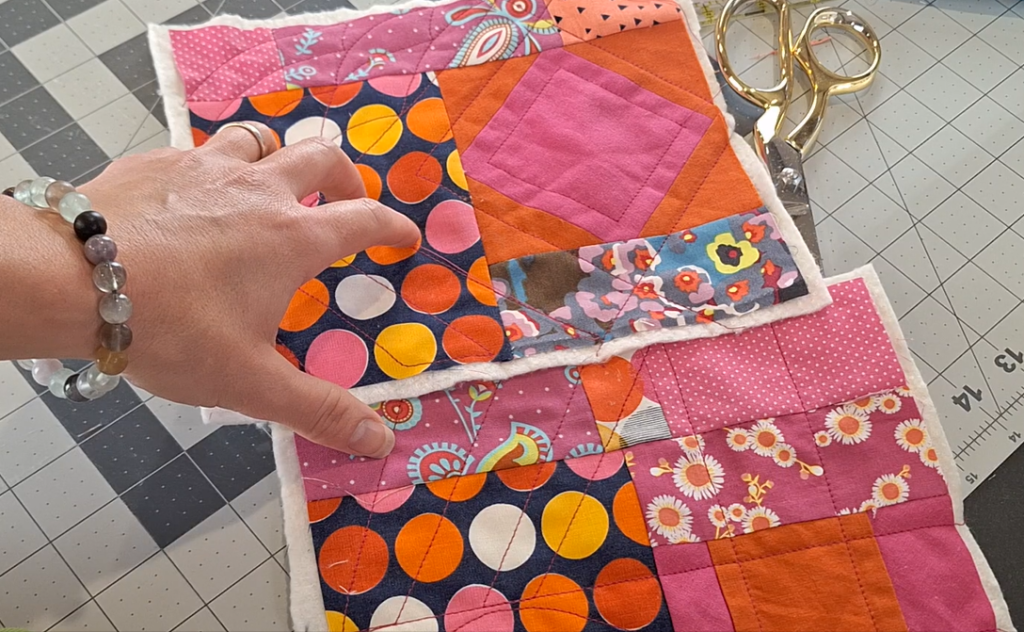
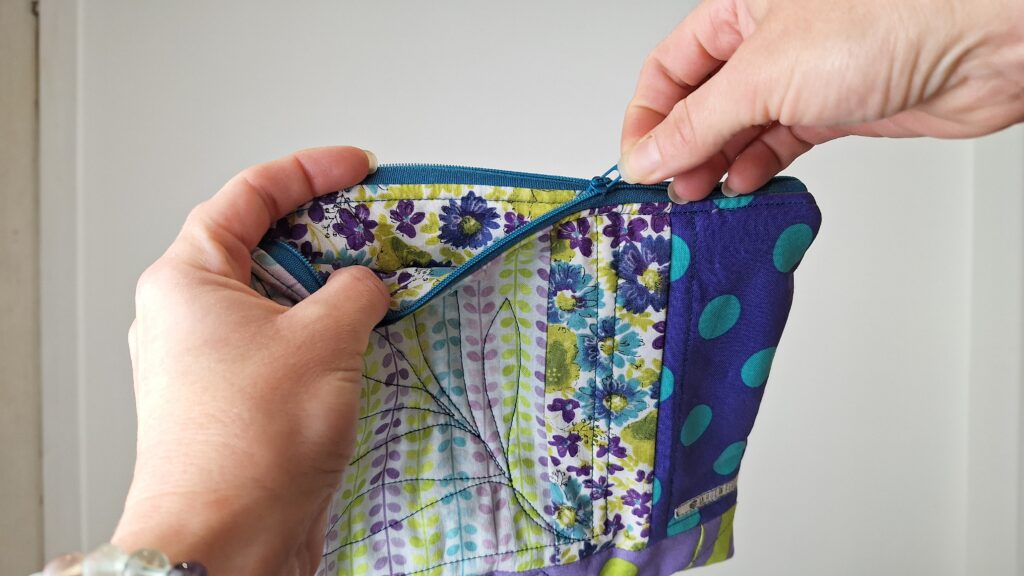
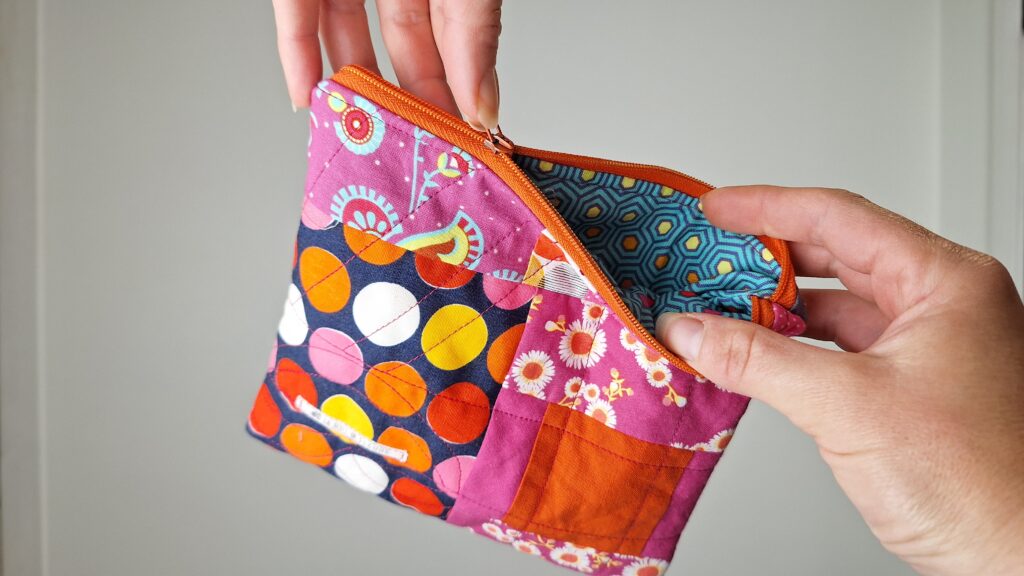
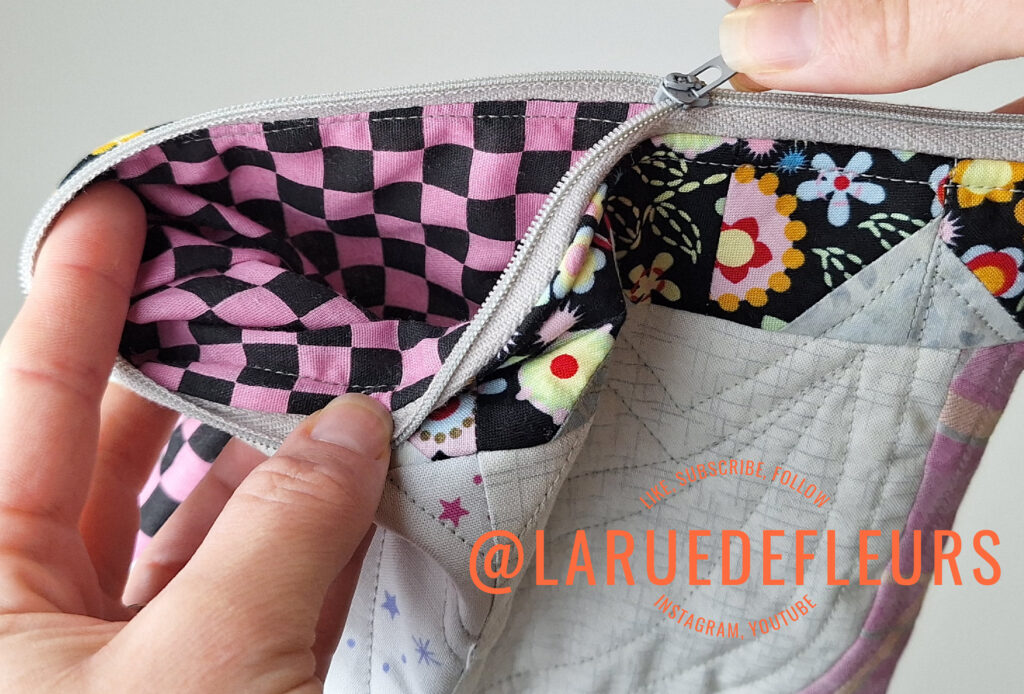
After I have sewn everything together and trimmed it to make two equal-sized panels, I lay each on a piece of scrap batting and add a few fun quilting lines. Since the panels are usually small, I have fun with the quilting in a way I can’t really on a large quilt. For my example here, I did a combination of rays, diagonals, and scallops. Once the quilting is all done, I trim my panels to the same size. Next, I hit the scrap bin again and try to find a lining that coordinates in one way or the other. Sometimes I have to cheat here and use an errant fat quarter. I say choose anything that feels fun and doesn’t totally clash because remember, this is improv scrap-busting and there are very few rules! But, in case you are a rules person, here are my rules for this project.:
Finally, use a complimentary zipper and insert it between the layers of the quilted panels and lining and finish as you would any lined pouch. Voila! Now you have the most unique and probably colorful one-of-a-kind zipper pouch to gift! Plus less scraps in your bins!!
Watch my full YouTube tutorial on the Scrappy Zipper Pouch here:
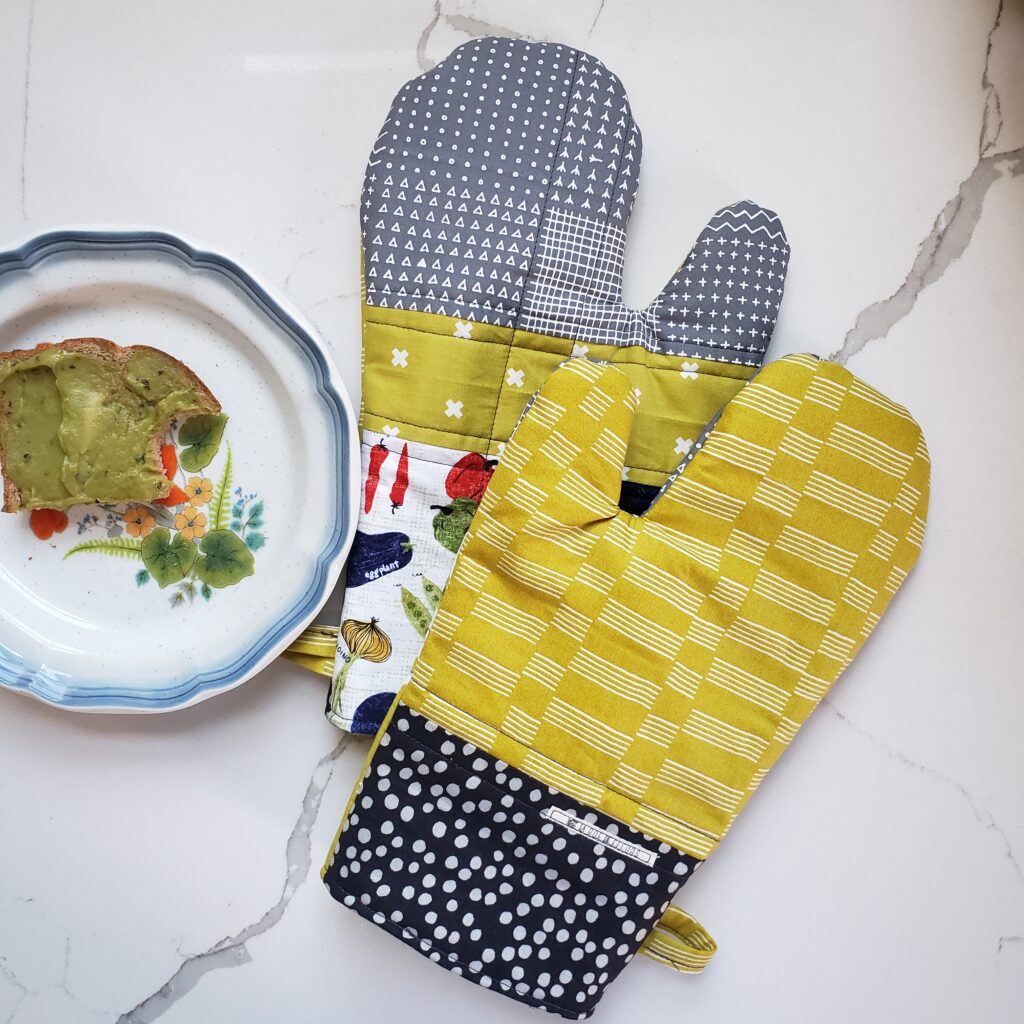
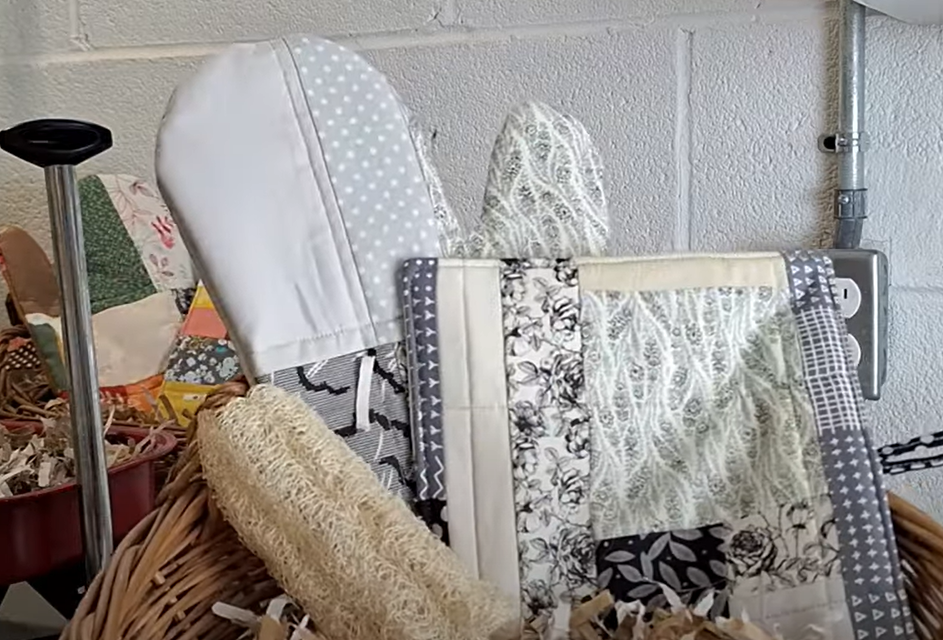
Scrappy Oven Mitts
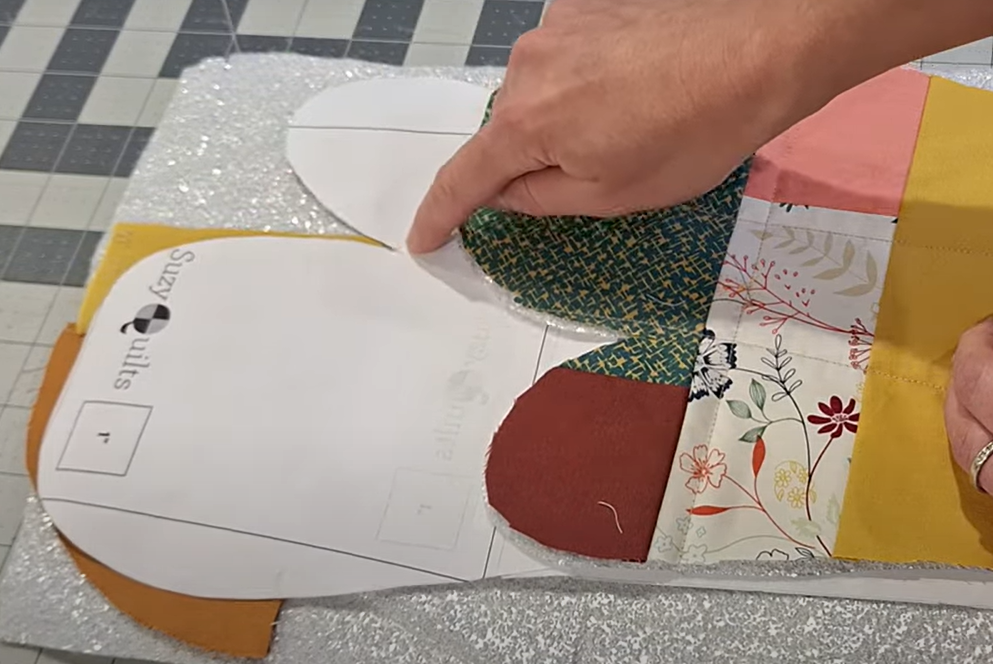
The next project involves the same principles as the first, using up random scraps from the bins to create a cool last-minute gift. The scrappy oven mitt, however, uses a free (and very popular) pattern from Suzy Quilts, the Quilted Oven Mitt Tutorial. Instead of using fat quarters, I say use up all the scraps! Once you print out the pattern, you will know the size panel of scraps you are aiming for. Then it is as simple as rooting through the bins and pulling all the little fabric bits you think look good together.
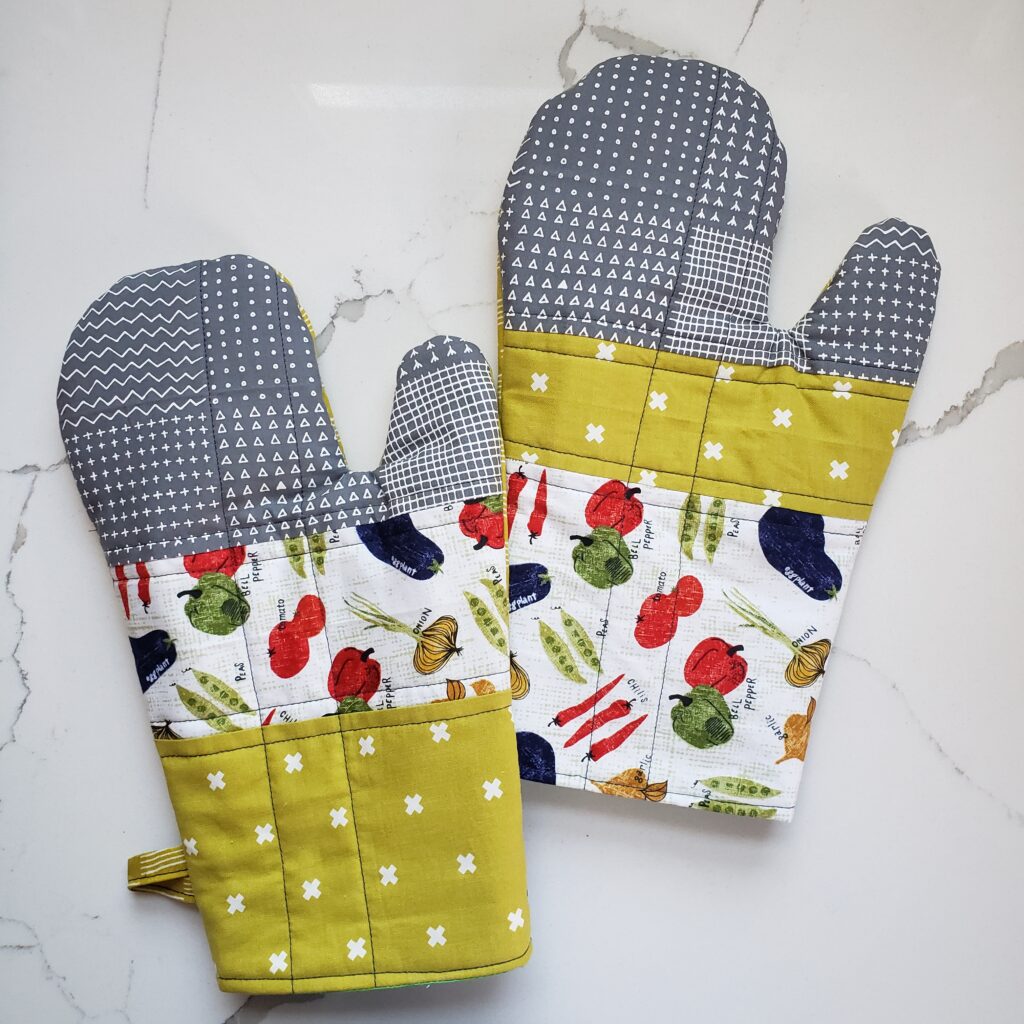
For my oven mitts, I like to create a theme or title to guide me in the collection of my scraps. For instance, in the examples below, one collection of scraps is called “Vintage Romance,” one is “French Bistro,” and one is “Golden Hour.” See if you can guess which is which based on the title and fabric selections.
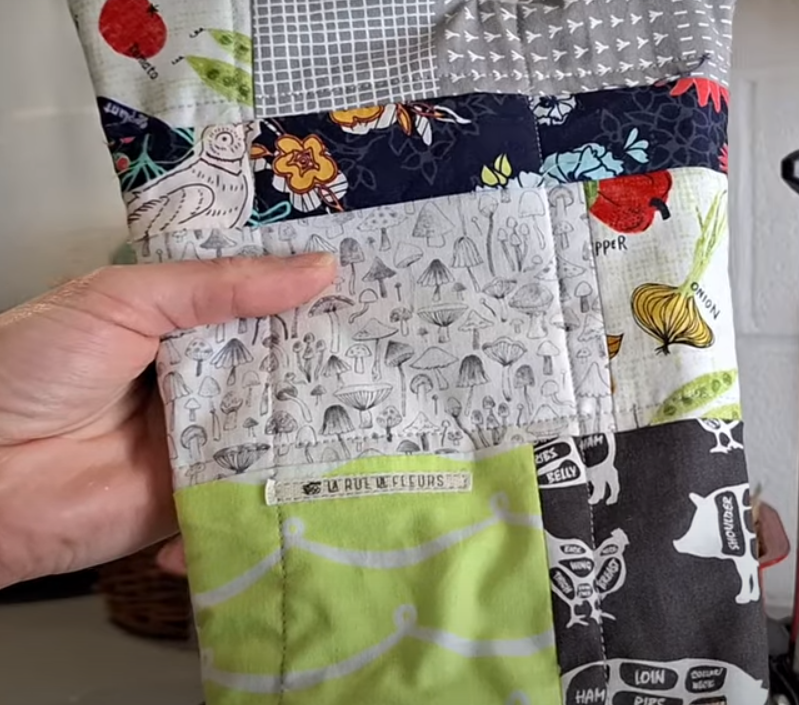

Once I choose all of the scraps, I make those panels for each side. Again, just like the pouches, make sure to have enough similar patterns and colors to create continuity on both sides. Then, it really is just as simple as following along with the rest of the Suzy Quilts directions to complete the oven mitts. I also like to make an accompanying pot holder too, especially if I’m giving it as a gift.


Basically, here are the guidelines I followed for this project in bullet points!:
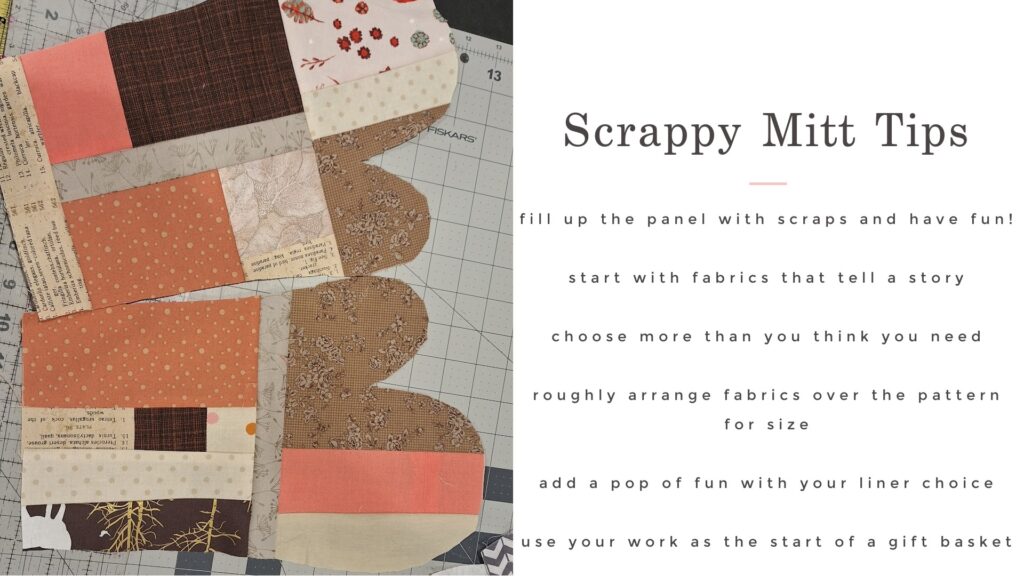
I added my scrappy oven mitts into several gift baskets with other kitchen-themed items to give for the holidays. To watch the full tutorial, including gift basket assembly, check out the Scrappy Oven Mitt Tutorial on YouTube here:
I hope you feel inspired to dig into your scrap bins and make some awesome quick quilting gifts! If you need even more ideas, you can check out my 2019 blog post Top Five: Last Minute Sewing Gifts for even more fast, fun, scrap-friendly gifts and projects!
Not into sewing for friends and family this holiday season, but still want to give some unique handmade goodies? I’ve got you covered! Shop the links below or head over to the La Rue de Fleurs shop for all of my in-stock and ready-to-ship versions of the gifts mentioned above.
Sharing is Caring!
If you join in with the videos or create the scrappy projects above, don’t forget to share your work with the La Rue de Fleurs community by tagging me on IG @laruedefleurs and using the hashtags #lrdfscrapquiltinginspo and #laruedefleurspatterns. I hope you’ll join me and have fun using those scrap fabrics!
Have a wonderful holiday season! Stay creative friends, Janice
Inspiration and resources are linked where applicable. All written work and photographs are original content and are copyright protected; kindly give due credit by linking back to my website or source website if you use or share.
(©2023, Janice Bailor // laruedefleurs.com)