Have you ever wanted to capture a record of the beautiful abundance of life in your garden in a format other than photographs? Embroidery journals have been circling around the internet for a number of years, but an icon a day is not something a lot of us can keep up with. How about one flower/plant per month? Yep, more my speed too. Join me in this new monthly video and blog series as we use hand stitching and embroidery techniques to document a year in our garden! Our monthly embroidery journal will focus on capturing stitched memories of the garden one month at a time.
Materials
Materials for this project are pretty basic for seasoned stitchers or novices alike. Gather some fabric you think you can easily stitch through but without a super loose or wide weave. I am using a piece of cream linen I have had for ages. You could also use a piece of plain muslin. I would not use anything like a burlap because it would be too easy to pull the fabric with your stitches and also limit your spacing options.
Next, you’ll of course need an embroidery hoop, embroidery floss in an assortment of colors, and a needle. I also have this reference book for inspiration. I highly recommend Mystical Stitches by Christi Johnson, which has not only inspiration but also many sections on getting started and basic stitches if you need that information.

Begin by cutting a piece of fabric such as a loose woven cotton muslin or linen at least 2″ wider and longer than your hoop. Press out the creases if necessary so it lays flat for marking up. I cut my fabric to be 14″ wide by 16″ long so I could potentially frame it later if I choose.
Create the Framework
To create the 12 sections needed for each month of the year, I am using the Hobby Craft UK How to Make a Year of Stitches tutorial linked HERE. First, find the center of the embroidery hoop’s circle to begin laying out the equal sections. Begin by tracing the inside circular perimeter of the hoop you plan to use. My hoop is 12″ round. I highly recommend laying your hoop and fabric out on a grid mat if you have one to make centering everything much easier.
Once you have found the dead center of your fabric, mark the vertical and horizontal axis coming together in the center of your circle at 90°. Then proceed to create the remaining angle divisions following the HoobyCraft tutorial. Using a compass, line the 180° line on your horizontal axis and the 90° angle on the vertical at your center point. Mark the remaining sections at 30°, 60°, 120°, and 150°, then flip the compass over and repeat for the section below the equator. Connect the angle marks opposite one another through the center axis to the outer edge of your circle to create the 12 wedges. These wedges are your monthly stitching areas!
Create a Central Title
Next, we are going to title our embroidery journal. Again, this is where I am going to highly suggest a grid mat, but you could just trace a small circular element to make a central circle to house your title. I used the central 4 squares of my gird mat and rounded the corners to make a circle in the center of my radial grid. Is it perfect? Heck no. Do I care? No! I’m not a robot and perfection does not matter. I guarantee by the end of this project there will be a lot of imperfections if you stuck your nose right up to it. However, it is handmade and that is part of the charm!
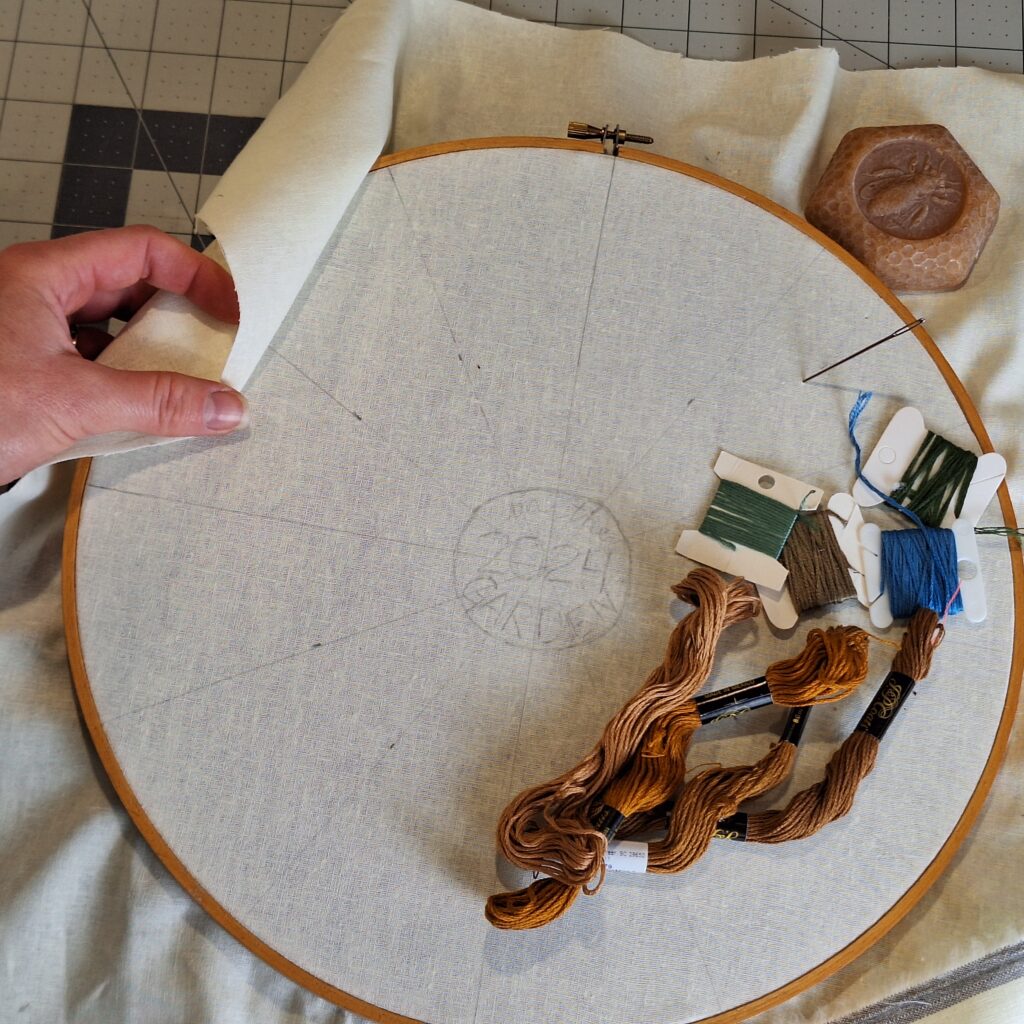
You can title your piece anything you want. I went with “in the Garden, 2024.” In retrospect, I wish I had left room for my initials, but I think I’ll just pop them in somewhere else later. I used the intersecting lines of the radial grid to help space my lettering out evenly through the circle, placing half to the left or right of the center line. I also added emphasis to the word “garden” and the year “2024” because they felt more important to the actual title than “in the.”
Start Stitching
I have quite an assortment of thread, but not very much of any one color. My journal will be very pieced together using what I have. I feel not only is this true to my quilt/stitch style, but it’s also true for my garden; pieced together from what I have to use up. For the foundation of my journal, so the outlines of the wedges, and the title, I went with all neutral browns and greens since we are making a garden-focused project.
To keep the central title free from encroachments of stitches later down the road, I decided to outline it using a basic chain stitch. This series is not going to be a stitch tutorial necessarily, so if you’re new to embroidery I would reference Mystical Stitches’ basic stitches section or refer to the good old Google machine for some detailed tutorials. (HERE is a quick basic explanation I found for the chain stitch if you’re unsure what that is.) I also used the chain stitch for my small cursive “in the” part of my title because it tends to lend itself to easily turning curves more than a straight stitch.

For my other title elements, I went with a larger, more blockish font and then used the backstitch to write over my drawn letters and numbers.
Final Thoughts on Set-Up
Once you know the necessary angles, set-up for the wedges was a breeze, wasn’t it?!? I will probably stitch my wedge outlines in a variety of neutral browns in keeping with the colors of the garden- you know, mainly dirt! I doubt I’ll work on them all at once, but rather fill them in when I am approaching the next section.
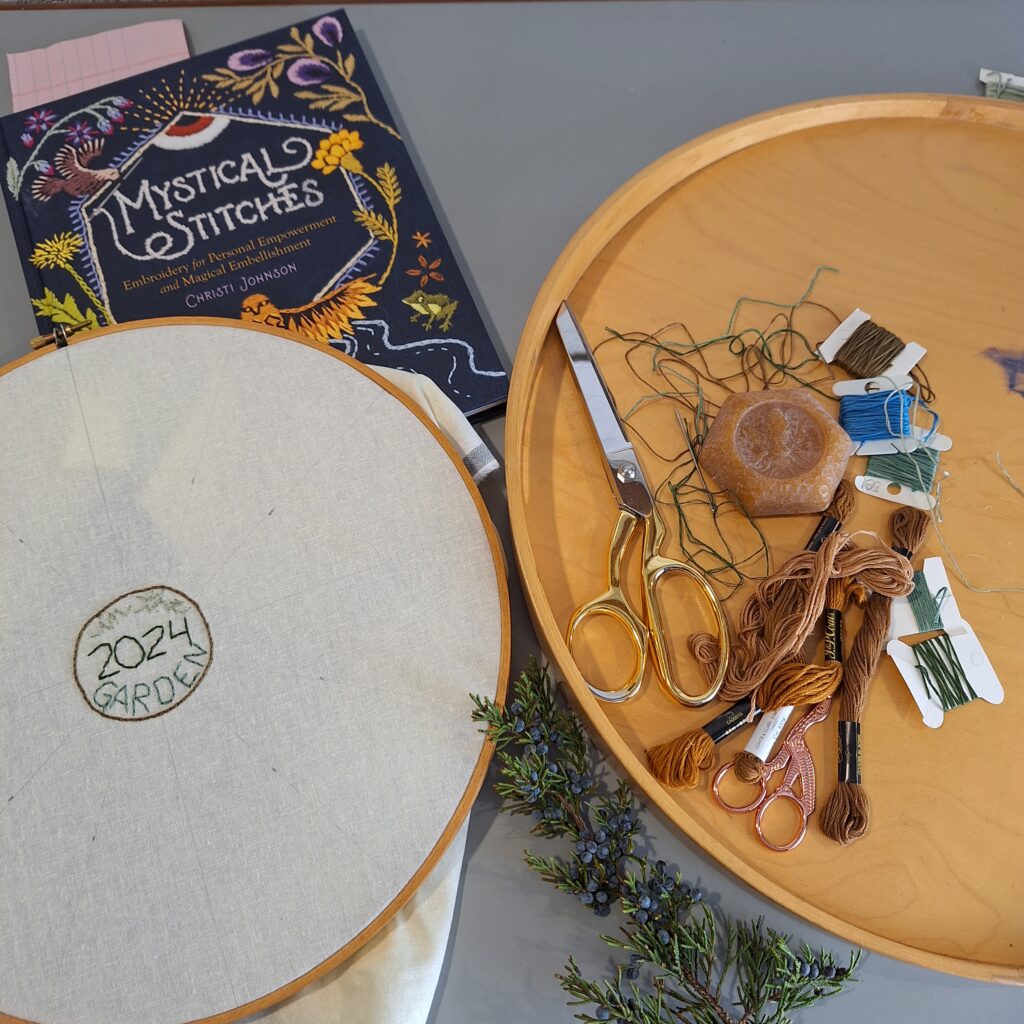
As a sneak peek here, I have already selected the first garden plant I plan to stitch up for January! Not a ton of choice abounds in my 6b garden, so I will be going with junipers that line our property. Pretty, utilitarian, and has a beautiful pop of deep blue which will work nicely with my idea of stitching each month in a different color based on my ideas of the sky and temperatures.
Watch for More Details
Didn’t get enough details from this post? I filmed the whole thing for YouTube! Watch me create my foundation for the monthly embroidery garden journal below right now. Then return every month for a new video featuring what plant I’m working on that month!
Top Tips
Here are my top tips for getting started with the layout and set-up for your 2024 monthly embroidery garden journal.:

Sharing is Caring!
As I mentioned above, this is a new monthly video and blog series in which we will use hand stitching and embroidery techniques to document a year in our garden! Our monthly embroidery journal will focus on capturing stitched memories of the garden one month at a time. I will share my process each month here on the blog and with a monthly feature video on the La Rue de Fleurs YouTube channel. Make sure to like, subscribe and sign up for my newsletter for notifications of each new installment.
If you join in with the videos or create the monthly embroidery garden journal above, don’t forget to share your work with the La Rue de Fleurs community by tagging me on IG @laruedefleurs and using the hashtags #larueygej24 and #embroideryjournal2024. I hope you’ll join me and have fun using creative stitches to document a year in your garden!
Stay creative friends, Janice
Inspiration and resources are linked where applicable. All written work and photographs are original content and are copyright protected; kindly give due credit by linking back to my website or source website if you use or share.
(©2023, Janice Bailor // laruedefleurs.com)