This month’s Embroidery Garden Journal is the humble violet. I used the Looped Bullion Knot stitch from the book Foolproof Flower Embroidery by Jennifer Clouston to teach myself the stitch. Find the book HERE and join in my looped bullion knot experiment this month as we embroider a cluster of violets!
Pushing Stitching Boundaries
As I’ve mentioned several times in the last few months of the embroidery garden journal project, I am practicing and attempting to build my skills one wedge at a time. That means I can’t rely on only stitches I already know. Therefore, I am actively looking for different stitches when I begin to plan my subject matter for the month.
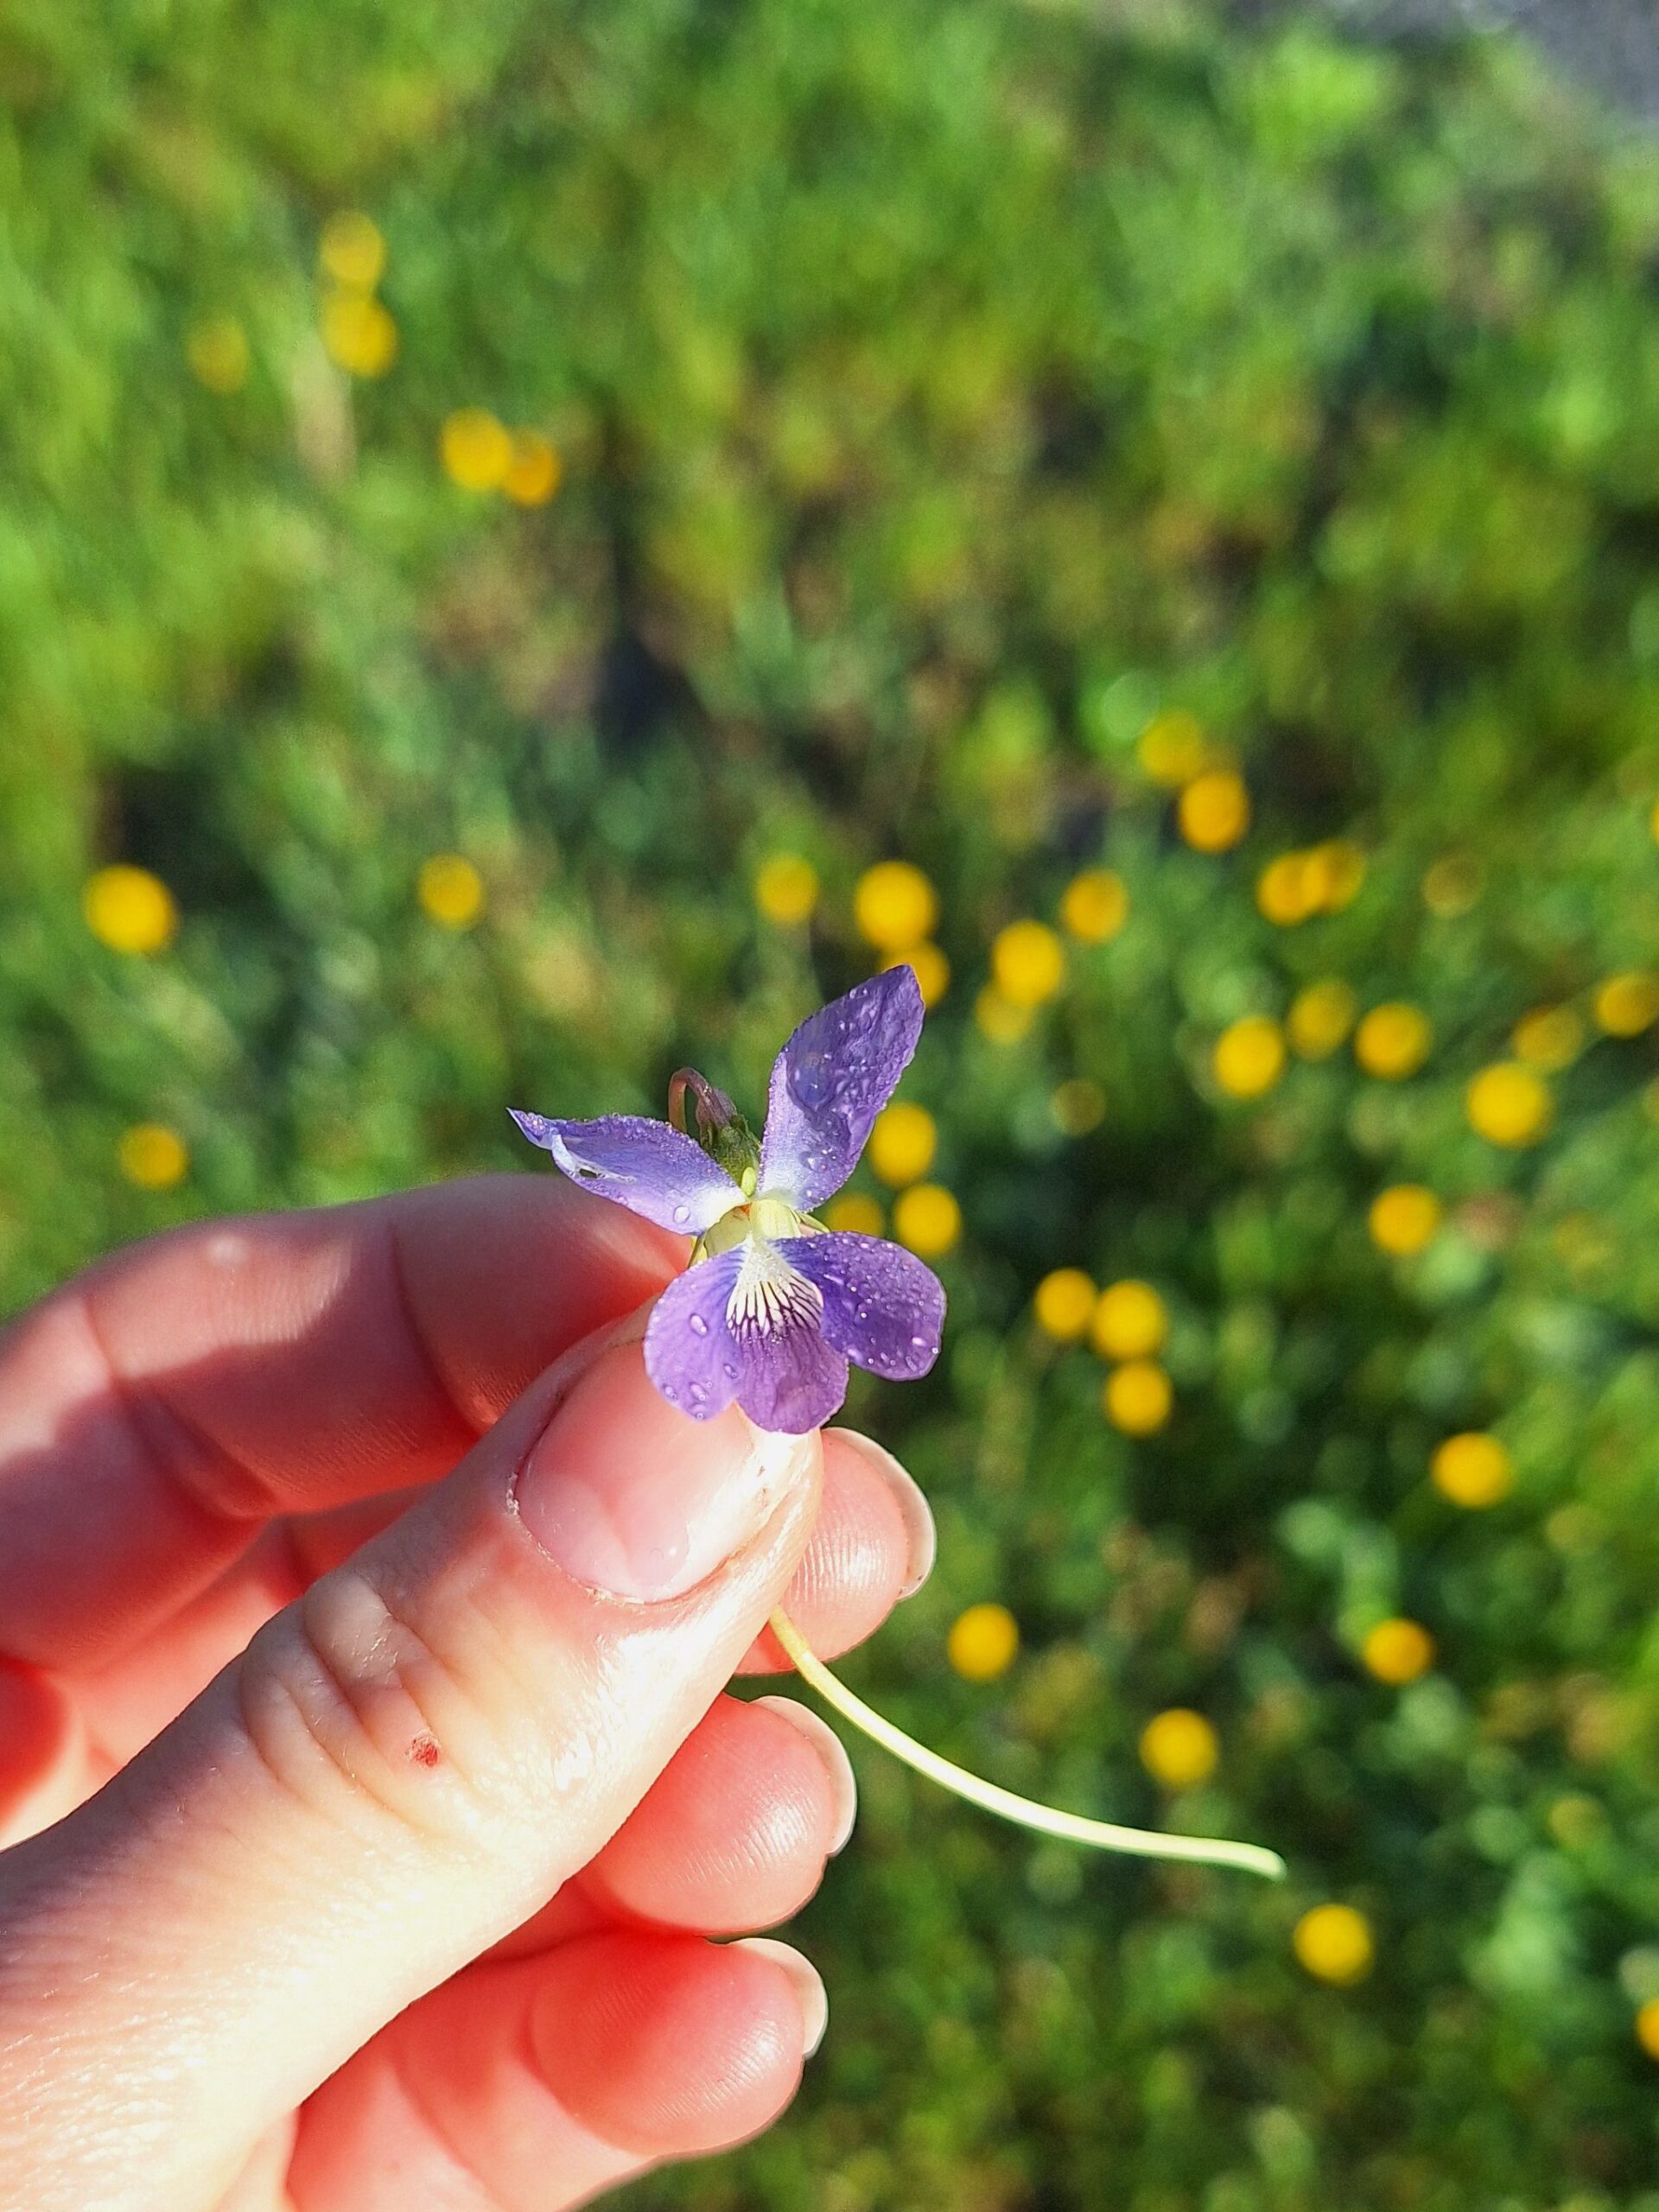
In April, tons of flowers are starting to bloom, but most are only in the growth and bud stages. Not the violet, however! It seems to be everywhere all at once with its cheery purple nodding clusters. What I notice most about the violet, other than its attempts to take over my garden, is the dimension of the petals and the way they dance in the April winds.
From the beginning, I knew I wanted to use a dimensional stitch because I wanted to feature the movement and shape of the petals as well as the cluster overall. I had recently purchased a few new embroidery books to have on hand in preparation for an upcoming artist residency and several workshops. As I was looking through the book Foolproof Flower Embroidery by Jennifer Clouston (HERE) and came across a small looped knot stitch she’d used to capture a flower with a very similar shape.
My Looped Bullion Knot Experiment
I highly recommend using resources to develop your skills. Even people who have been doing embroidery for years may still have a lot to learn since there seem to be thousands of stitches and variations to try. I am also in that “try” phase myself as I teach others how to hand sew and embroider and I like to practice what I preach.
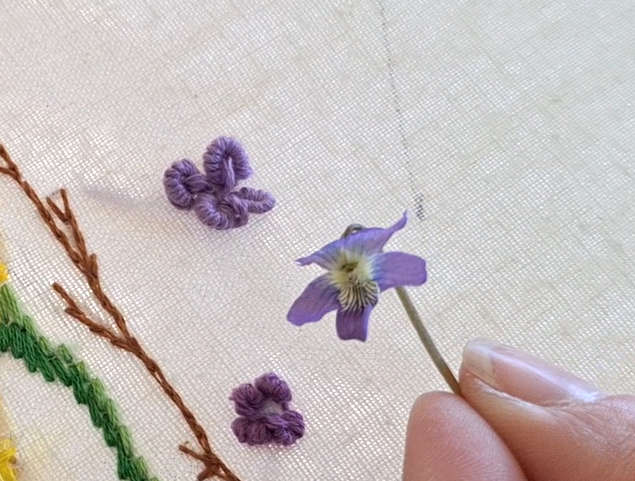
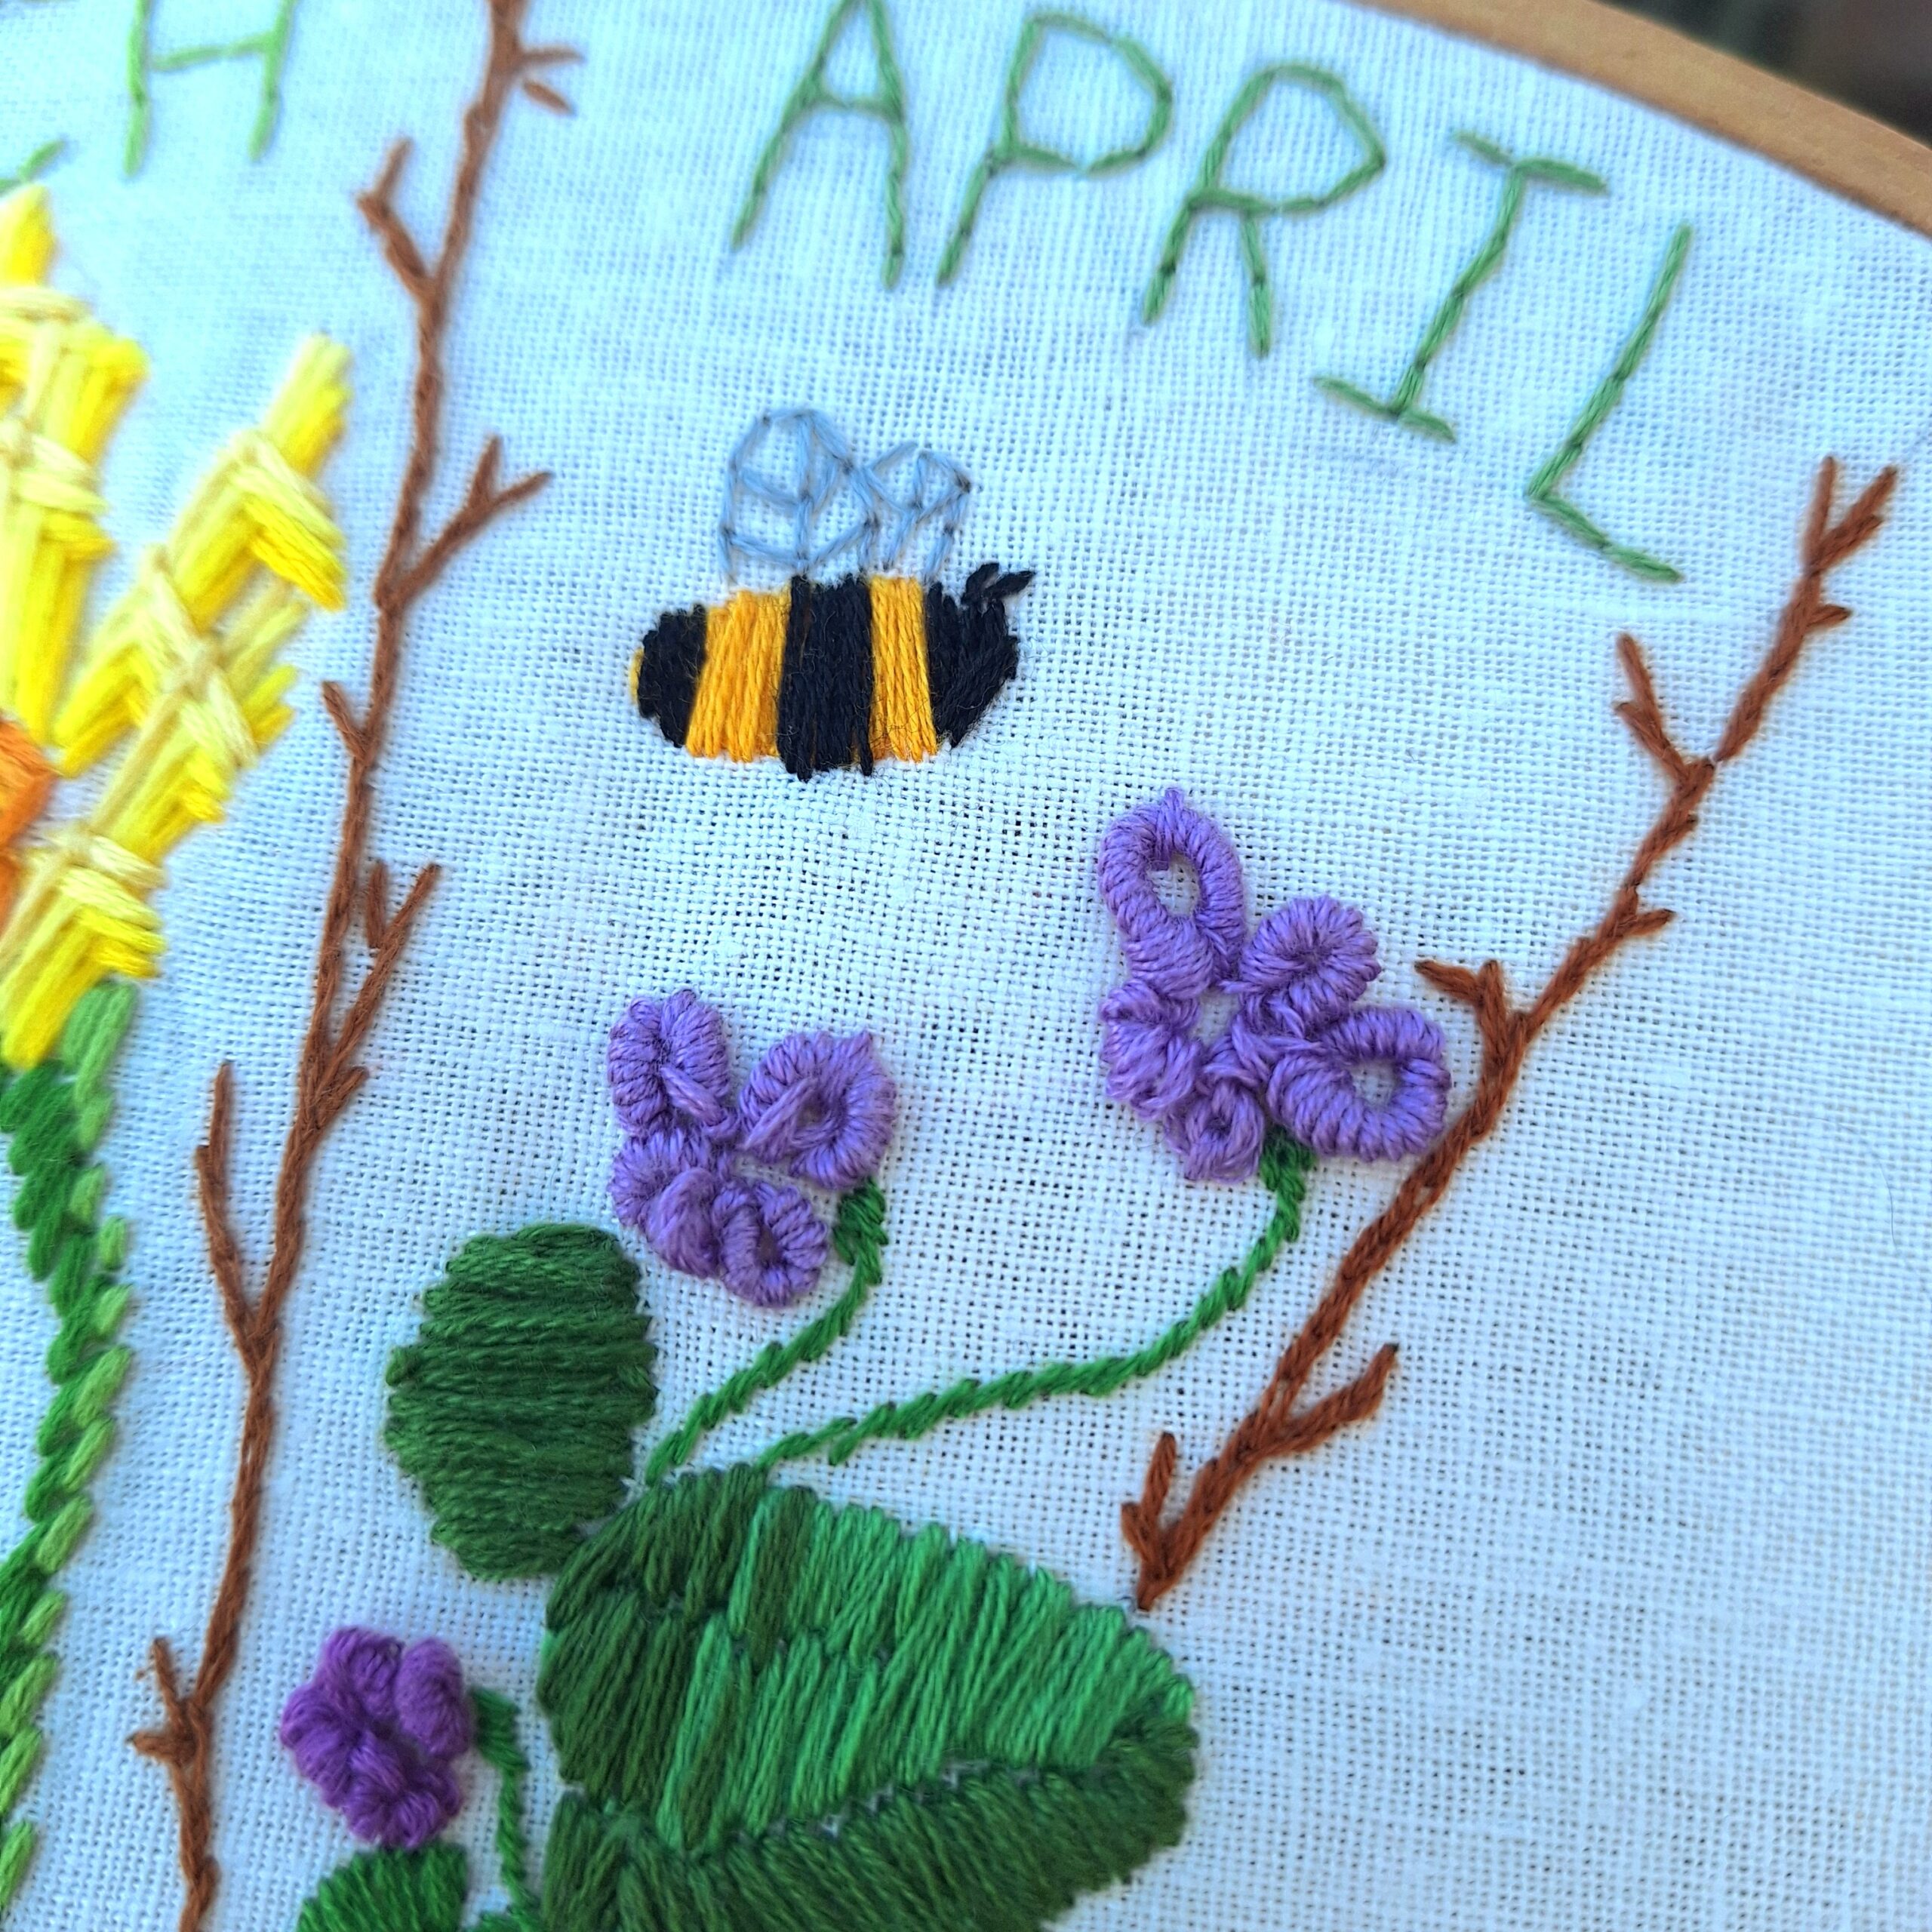
Honestly, I struggled at first. My first attempt looked more like just a cluster of knots rather than a nodding flower head with petals (bottom left cluster). Attempt two, seen above, was slightly better. I got the knack of wrapping the needle with the thread and pulling the knot along the thread line, but I still had a little extra loop of thread in the center. I’m pretty sure this shouldn’t be there, but honestly, I think it worked in my favor here to fill in the petal a bit. To secure the violet knot twists, I added a tack stitch on the top of each loop.
Finally, to finish my cluster I first outlined the heart shape of the leaves in a backstitch, then came in during a classroom demonstration to fill them in with the satin stitch. I made three each of the violet flowers and leaves to complete my cluster.
Adding in Some Flare
Since I had focused my overall violet cluster composition toward the bottom of the wedge, I had a lot of open space near the title to fill. At the time I was teaching and inspiring kids in the classroom to make insects on their work, I decided to do the same. I went with a small bee to represent the return of the insect to our garden. I created the bee with a simple satin stitch and fly stitch for the wings.
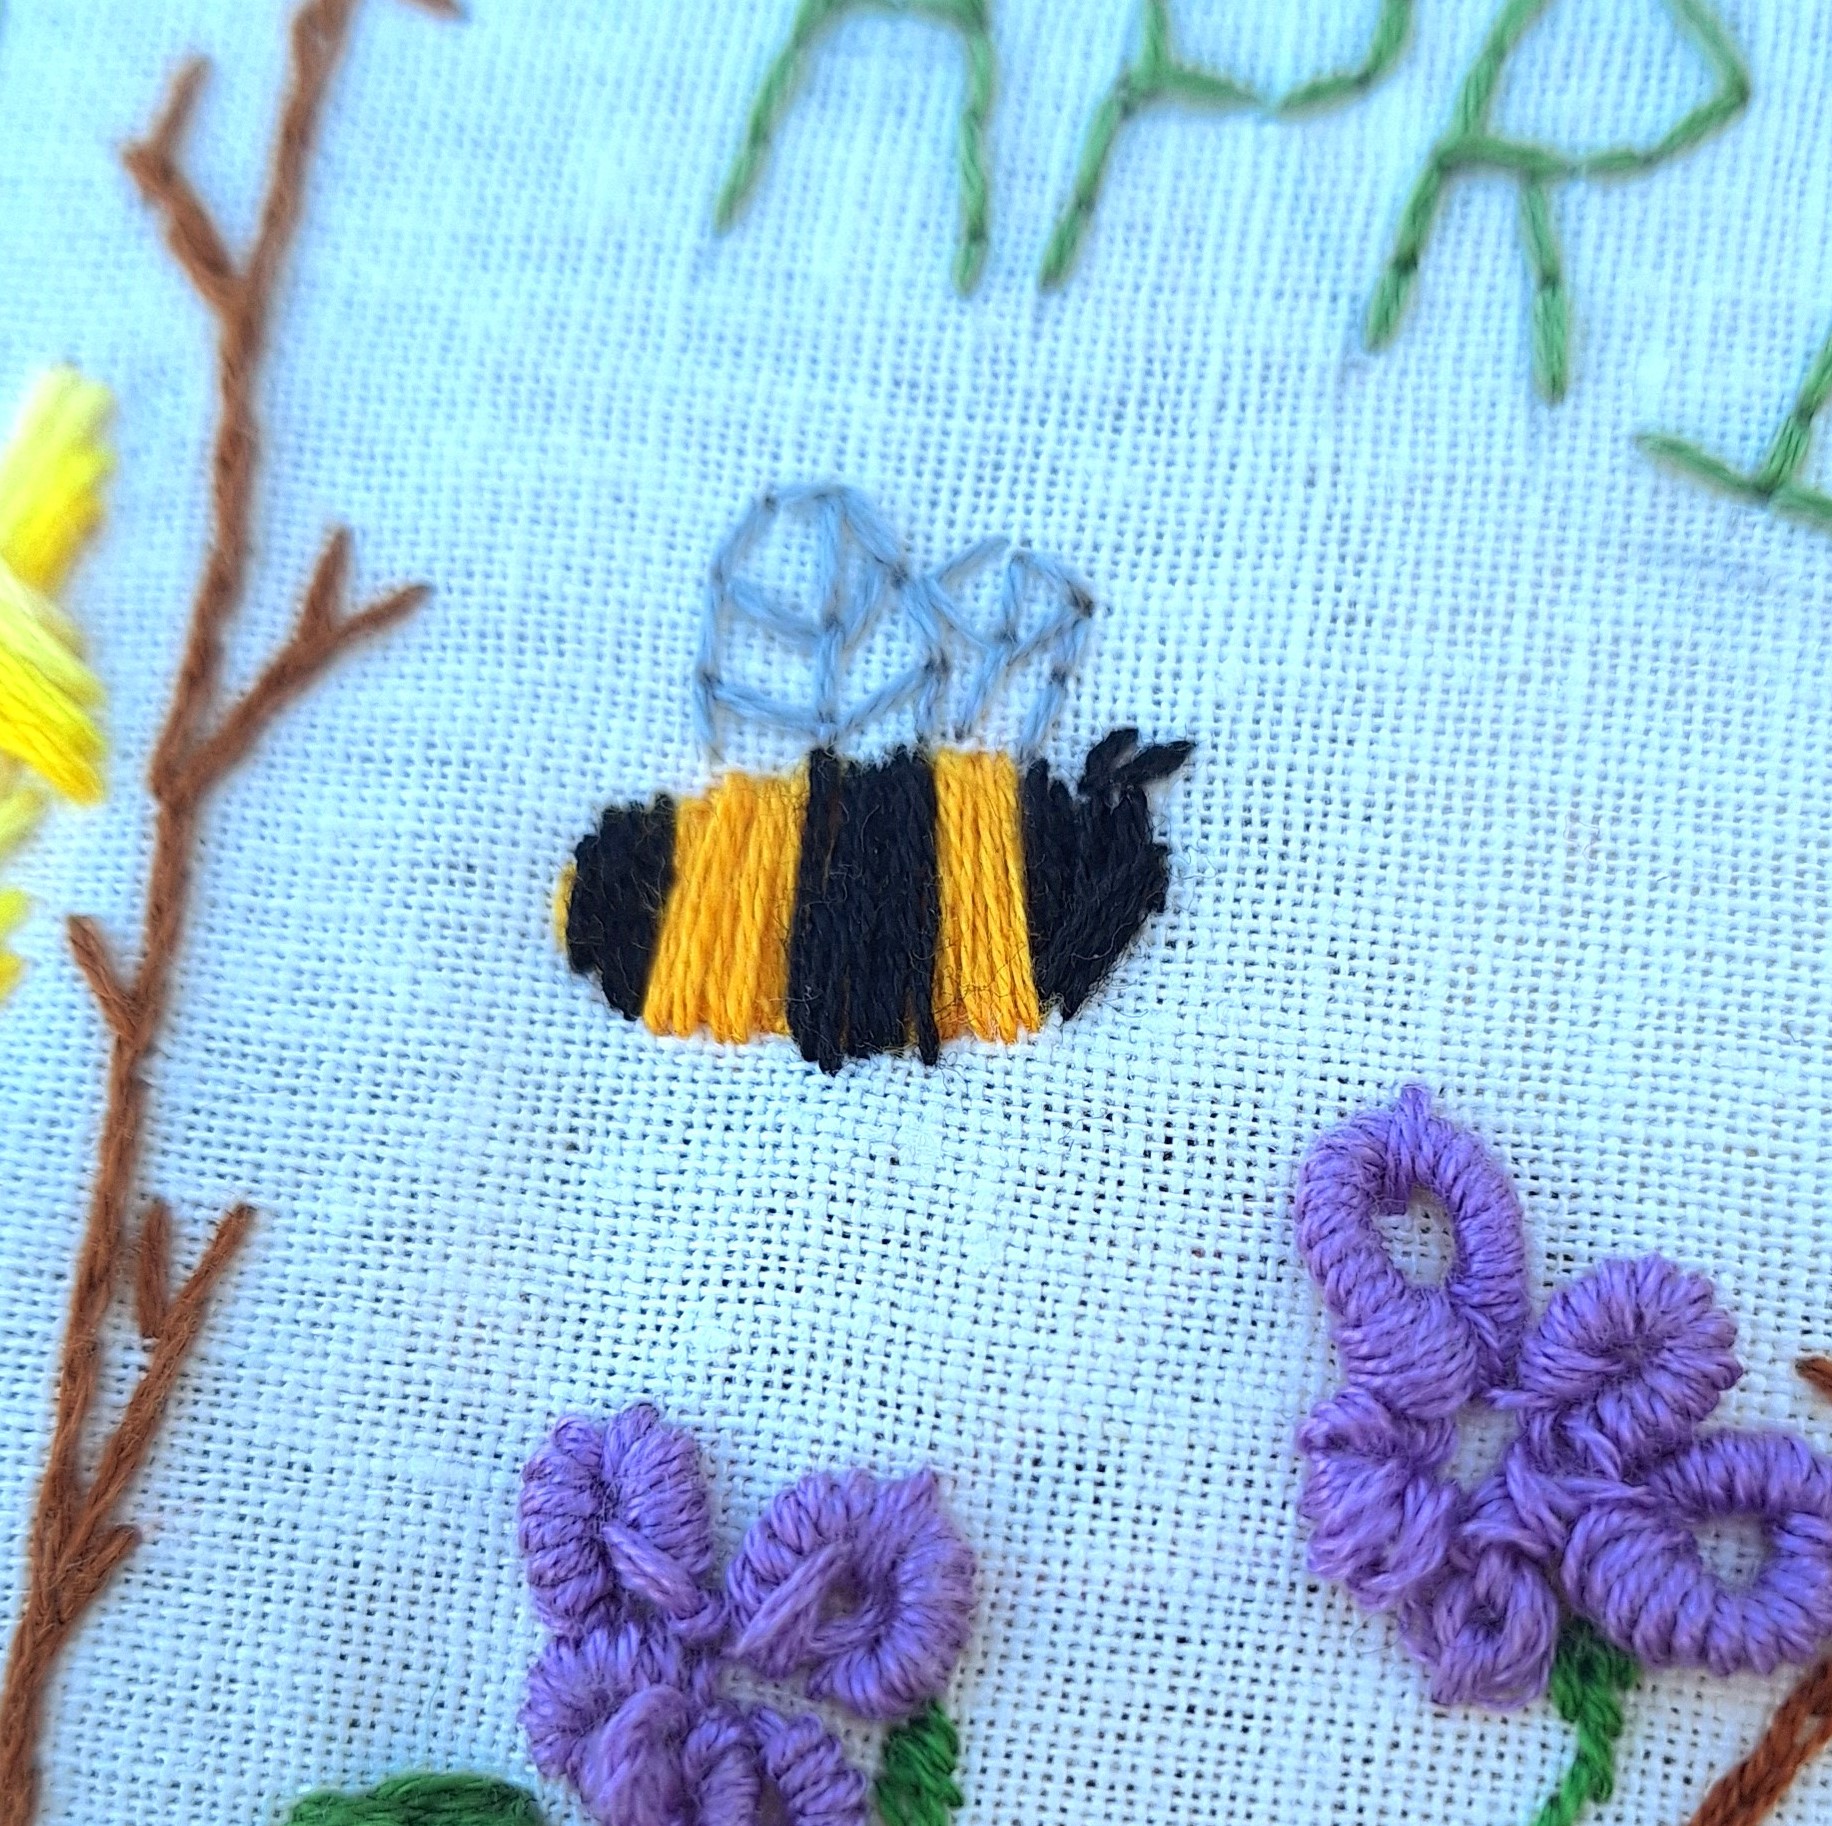
Some of the threads I used were wee little bits the kids had cut off of their projects, which I repurposed to create the bee and additional stem details.
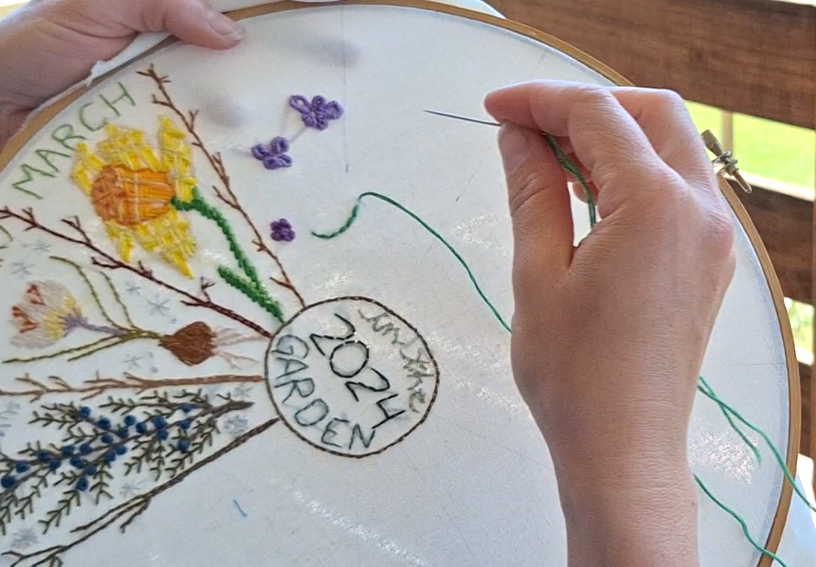
Monthly Marker
Lastly, I once again sketched out my month title at the top widest part of my wedge, using the center to roughly line up the center of my month. Then I used a simple backstitch to trace over my outline with the same bright green thread I used for the petal’s satin stitch.

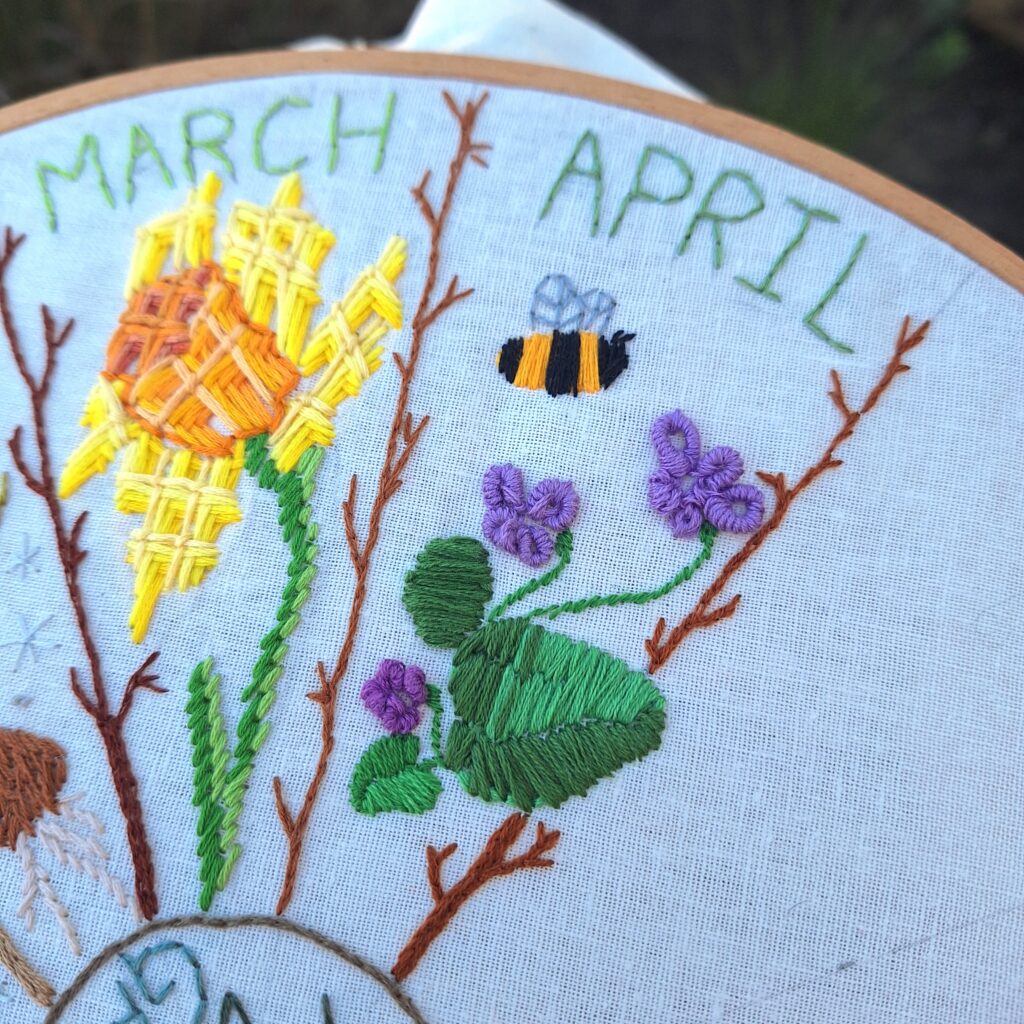
I am in love with the bumble bee detail and the leaf that spills over into the May wedge! Even though my looped bullion knots didn’t turn out as flawless as I’d hoped, I am still happy with my flowers overall and proud of myself for attempting another new stitch. This experience was especially interesting because of my time constraints and the fact that I worked on the piece over several weeks and in different locations. Hopefully, May and June will be slightly less eventful and I will have more time for the slow stitching experience I truly enjoy.
More Details in the Video
Didn’t get enough details from this post? I filmed the whole thing for YouTube! Watch me create my April Viloet cluster using the looped bullion knot embroidery stitch for the monthly embroidery garden journal below right now. Then return every month for a new video featuring what plant I’m working on that month! Click link below:
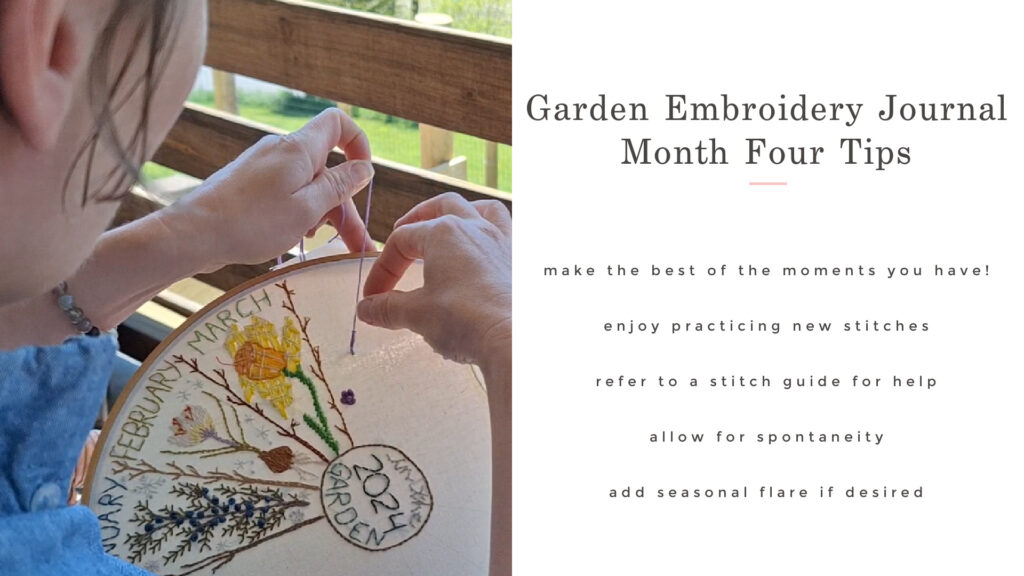
Top Tips
Here are my top tips for trying something different in the fourth month of your 2024 monthly embroidery garden journal.:
Sharing is Caring!
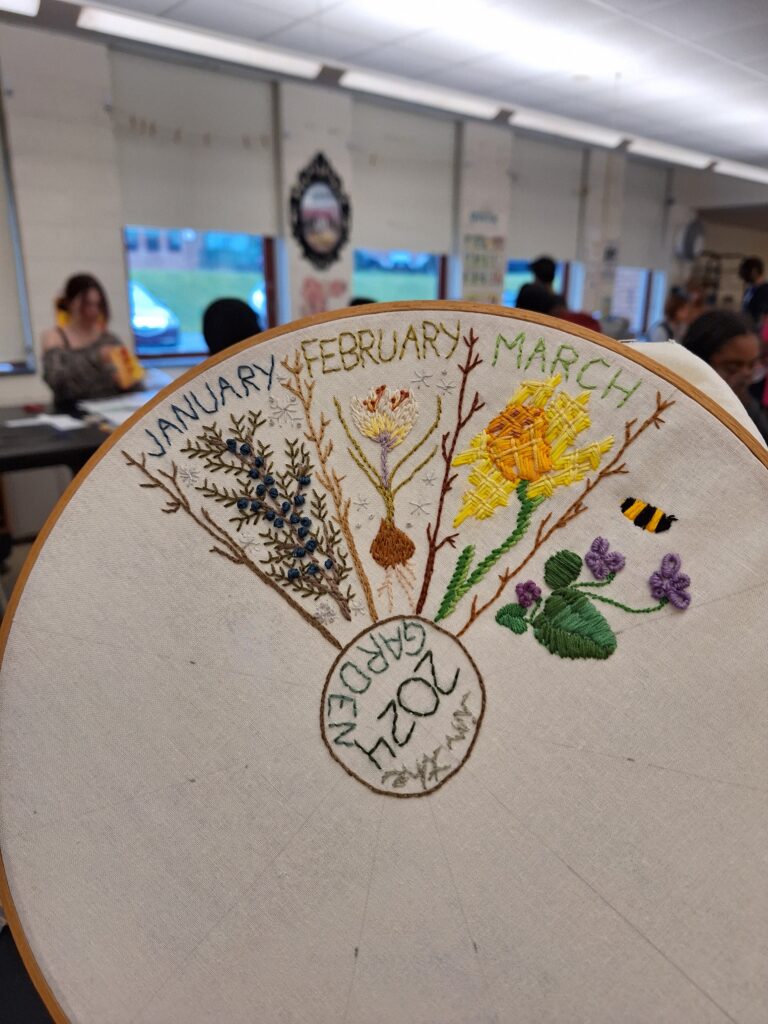
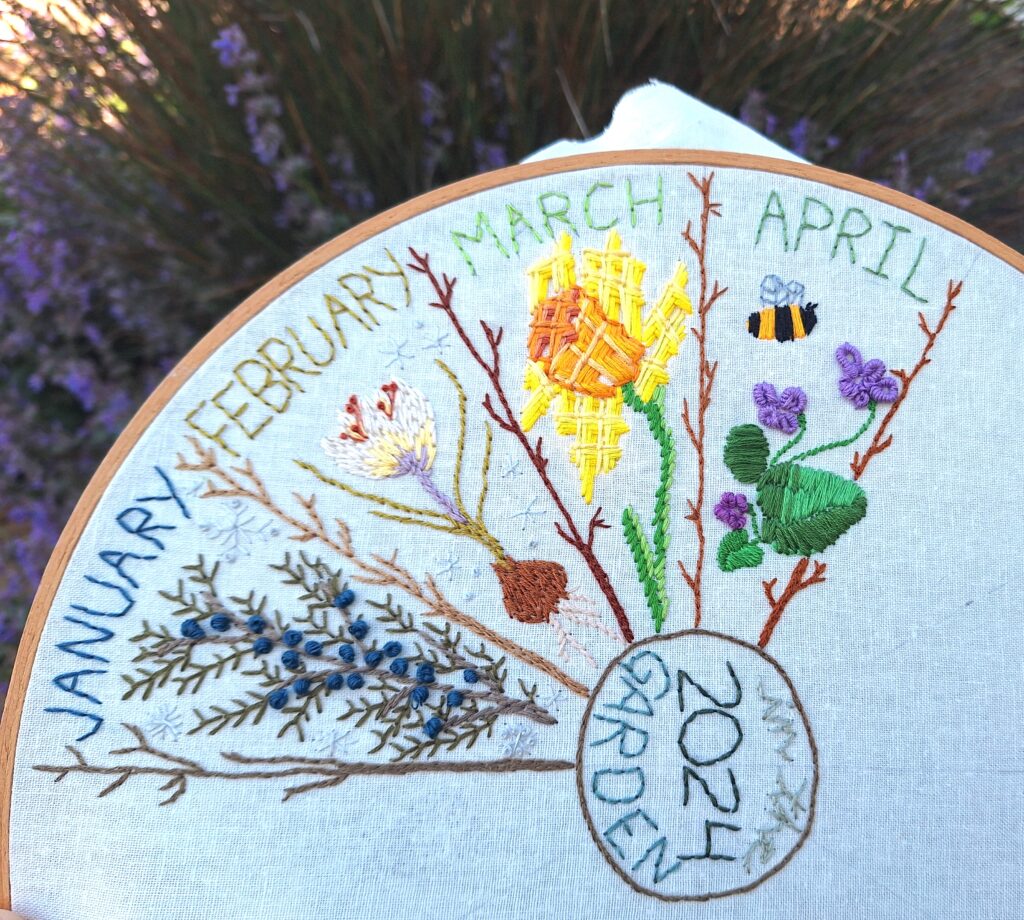
As I mentioned above, this is a monthly video and blog series I will be working on throughout 2024 in which we will use hand stitching and embroidery techniques to document a year in our garden! Our monthly embroidery journal will focus on capturing stitched memories of the garden one month at a time. I will share my process each month here on the blog and with a monthly feature video on the La Rue de Fleurs YouTube channel. Make sure to like, subscribe and sign up for my newsletter for notifications of each new installment.
If you missed the set-up and additional monthly entries, you can find them both on the La Rue de Fleurs Blog and on YouTube Embroidery Garden Journal series by clicking on the respective highlighted text.
If you join in with the videos or create the monthly embroidery garden journal above, don’t forget to share your work with the La Rue de Fleurs community by tagging me on IG @laruedefleurs and using the hashtags #larueygej24 and #embroideryjournal2024. I hope you’ll join me and have fun using creative stitches to document a year in your garden!
Stay creative friends, Janice
Inspiration and resources are linked where applicable. All written work and photographs are original content and are copyright protected; kindly give due credit by linking back to my website or source website if you use or share.
(©2023, Janice Bailor // laruedefleurs.com)
Love the little addition of the honey bee! And the dimensional petals on the violets are fabulous!