If you loved the video tutorial, this blog post walks you through every step of creating your own buffalo check throw pillow with a zipper closure. This design uses beautiful blue linen, but you can easily customize it with cotton, canvas, or even fabric scraps for a more sustainable DIY sewing project.
👉 Watch the full video tutorial here:
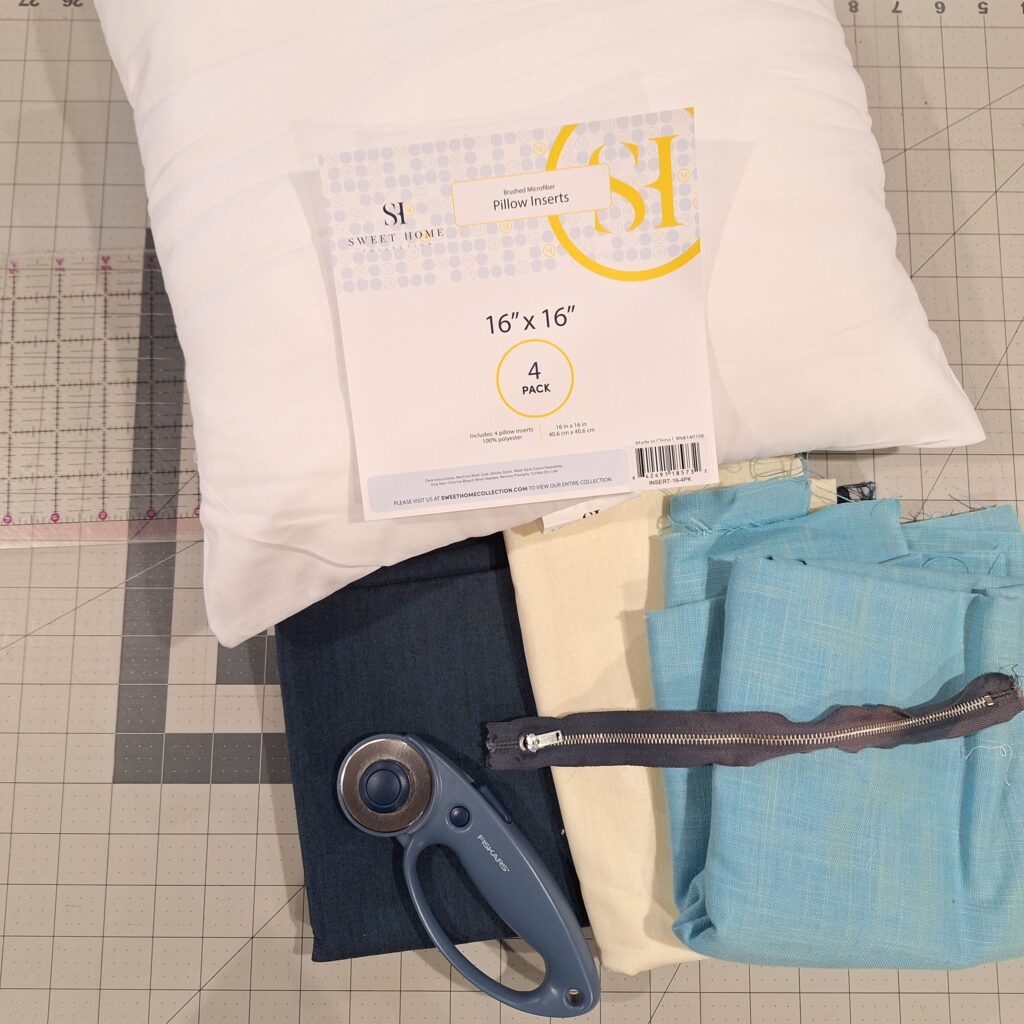
Materials & Supplies
Here’s everything you’ll need:
- Light Blue, Dark Blue and Cream linen fabric (or a light, medium and dark fabric of your choice)
- Coordinating thread
- Zipper (size depends on your pillow insert)
- Rotary cutter or fabric scissors
- Quilting ruler and Cutting mat
- Pins or clips
- Sewing machine
- Iron
Tip: This is a great scrap-busting project! Mix and match fabrics to create a unique buffalo check pattern.
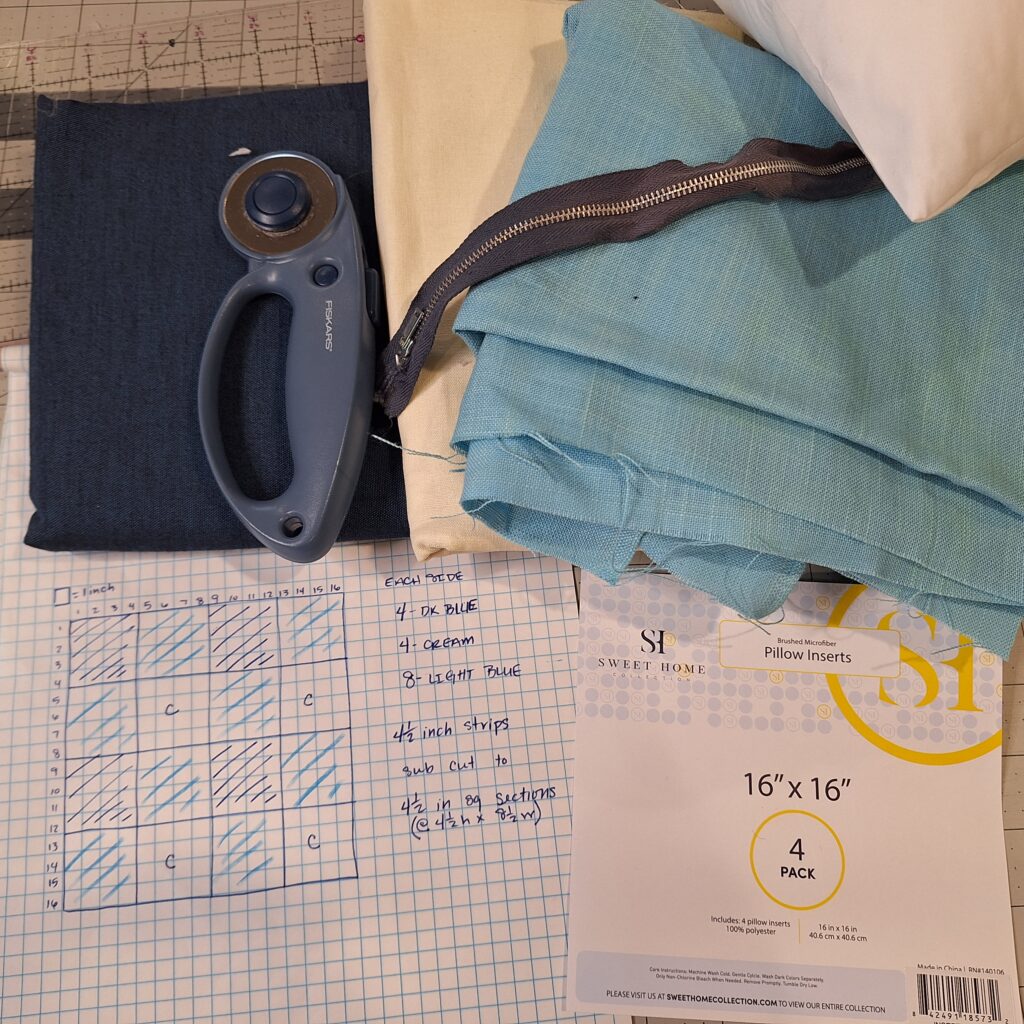
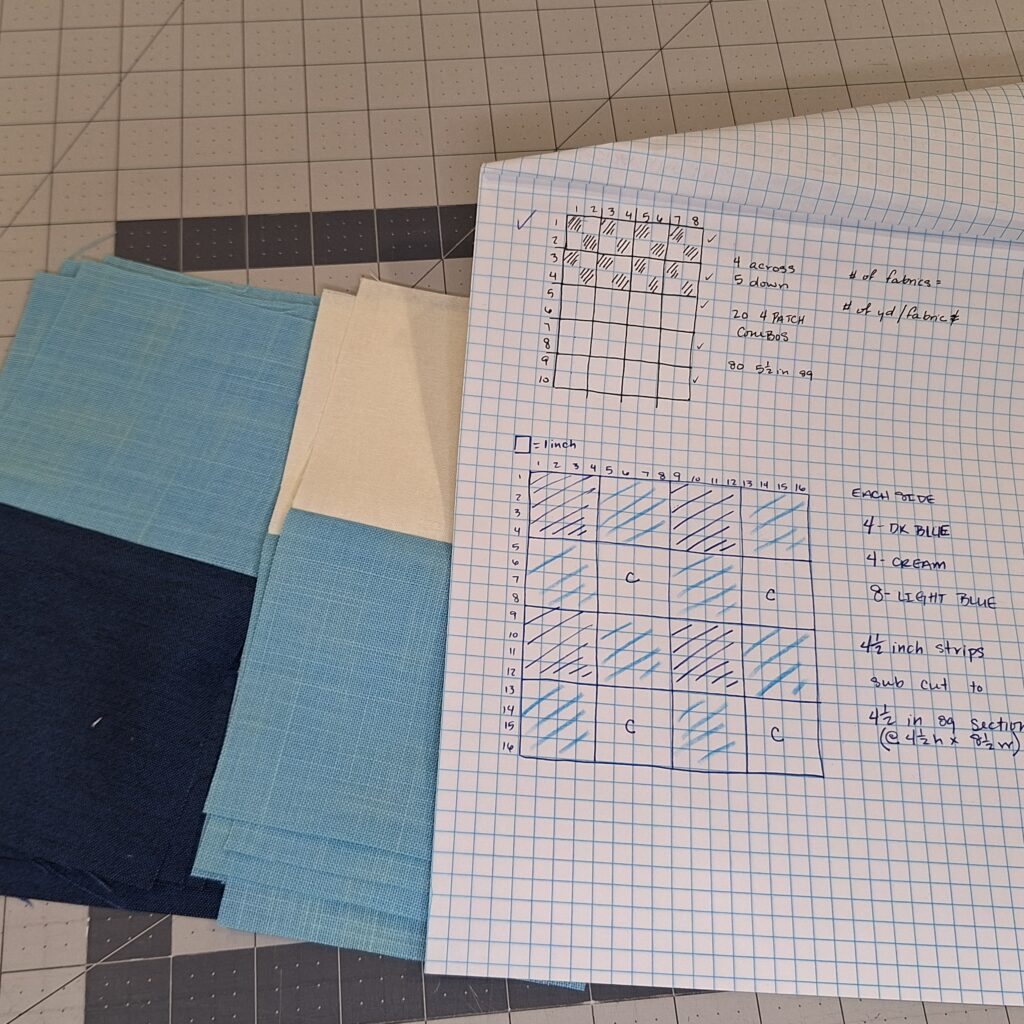
Cutting Your Fabric
To create the buffalo check pattern, you’ll cut your fabric into equal-sized squares. The size will depend on your desired pillow dimensions. Since I was making a 16 inch square pillow, I decided to have my squares at 4 inches. Therefore, to account for seam allowance, I needed to cut my squares at 4 1/2 inches.
Example:
- Cut 16 4 1/2 inch squares for the front panel (and for the back panel, depending on layout)
- Cut 2 rectangular pieces for the back (to accommodate an envelope closure if desired)
Here is the way I plan out my projects. I use graph paper to count out my desired dimensions, then use the grid to help me decide how many pieces to cut. Don’t forget to add a half-inch seam allowance!!
Creating the Buffalo Check Pattern
Arrange your squares in an alternating pattern to achieve that classic buffalo plaid look. Play around with placement before sewing.
- Lay out rows first
- Alternate light and dark tones
- Snap a quick photo to remember your layout
Once satisfied, sew squares into rows, then join the rows together.
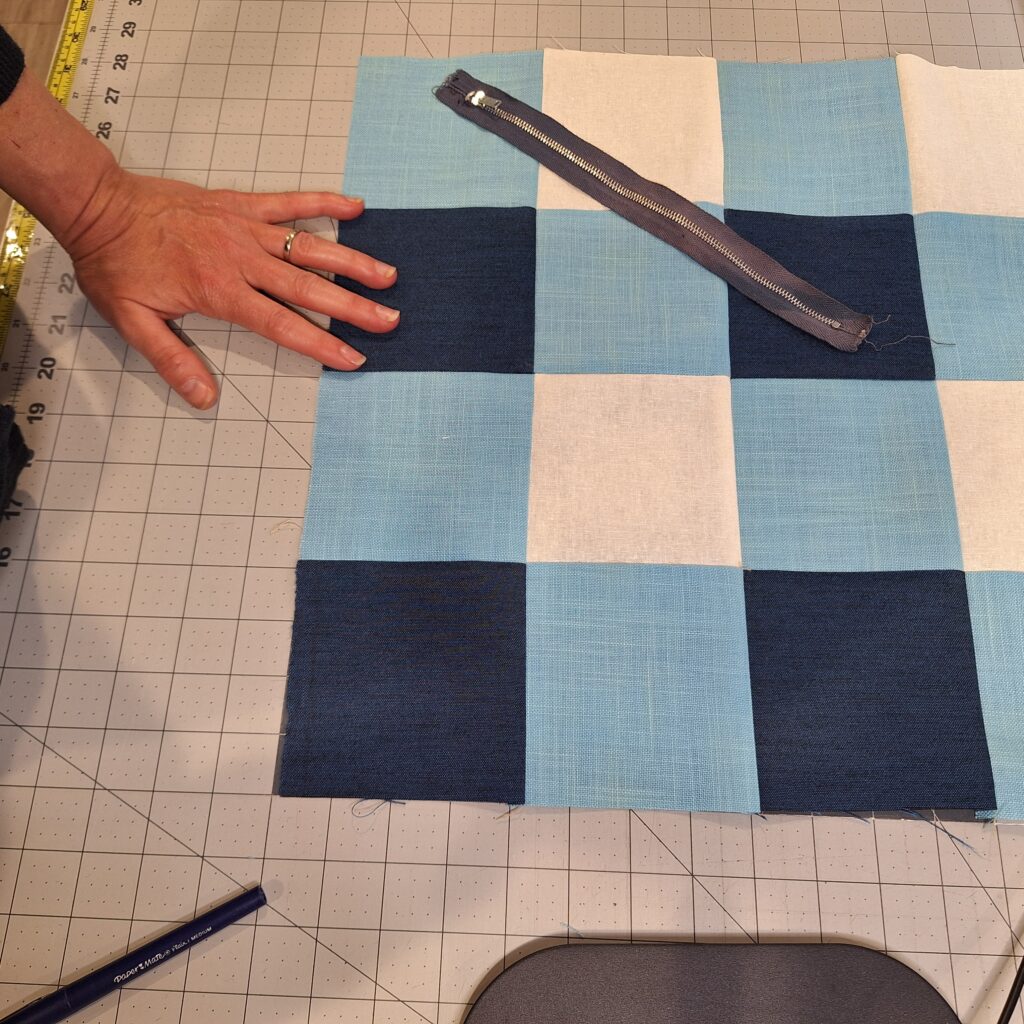
Installing the Zipper
Now for the zipper!
- Attach the zipper to one side of the back panel using a zipper foot on your sewing machine
- Sew the opposite side carefully. Go slow and give yourself grace when moving the zipper out of the way of your foot. I actually start and stop my stitches so I have more room to move my foot and the zipper pull out of the way.
- Press seams for a clean finish. You can also top sew, but I find that’s not really necessary on a pillow.
Zippers give your pillow a polished, professional look—and they make removing covers super easy.
👉 Don’t forget: In my previous pillow tutorials, I show other closure methods like envelope backs and button closures if zippers aren’t your thing! Here is a link to the Wabi Sabi Pillow I made in February where I used an envelope closure.
Assembling the Pillow Cover
- Place front and back pieces right sides together
- Pin or clip around edges
- Sew all the way around (leave zipper slightly open so you can reach back inside and flip everything around!)
- Clip corners and turn right side out
Give everything a good press for crisp edges.
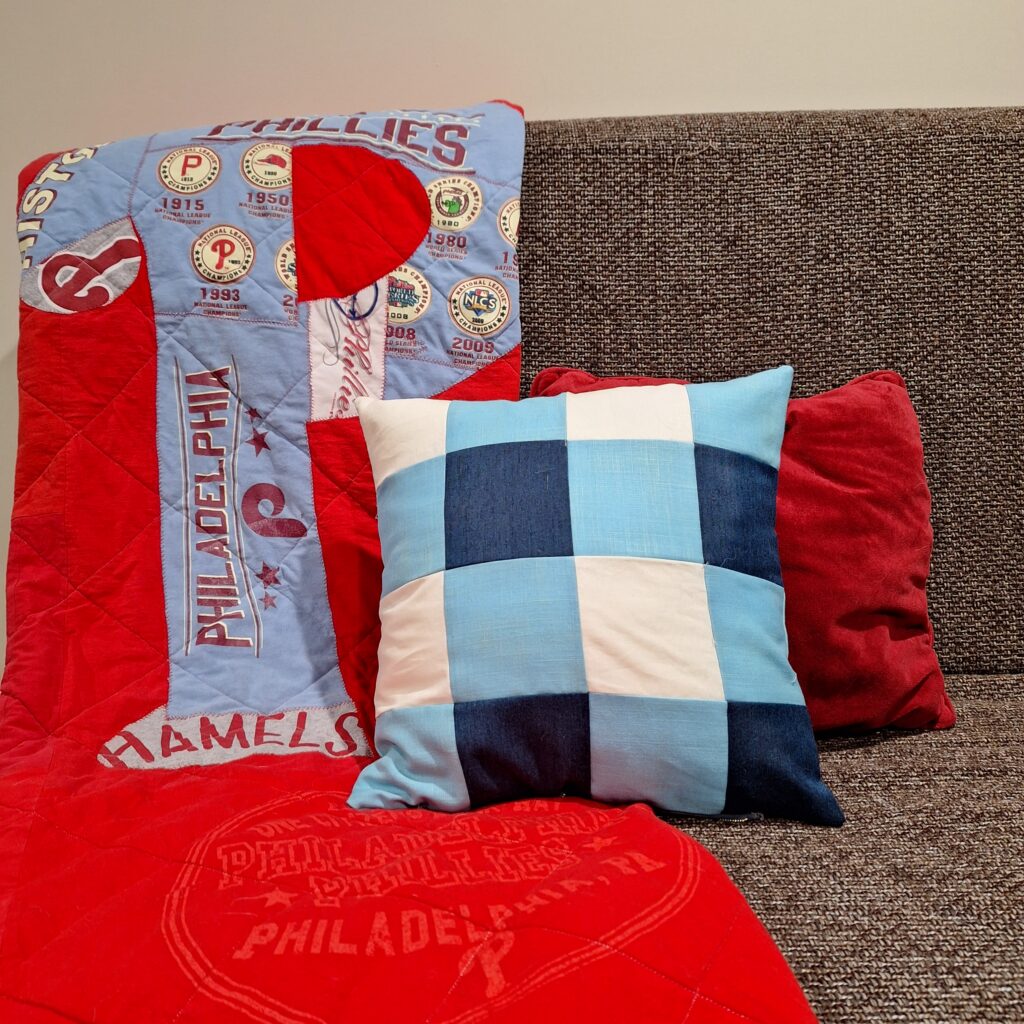
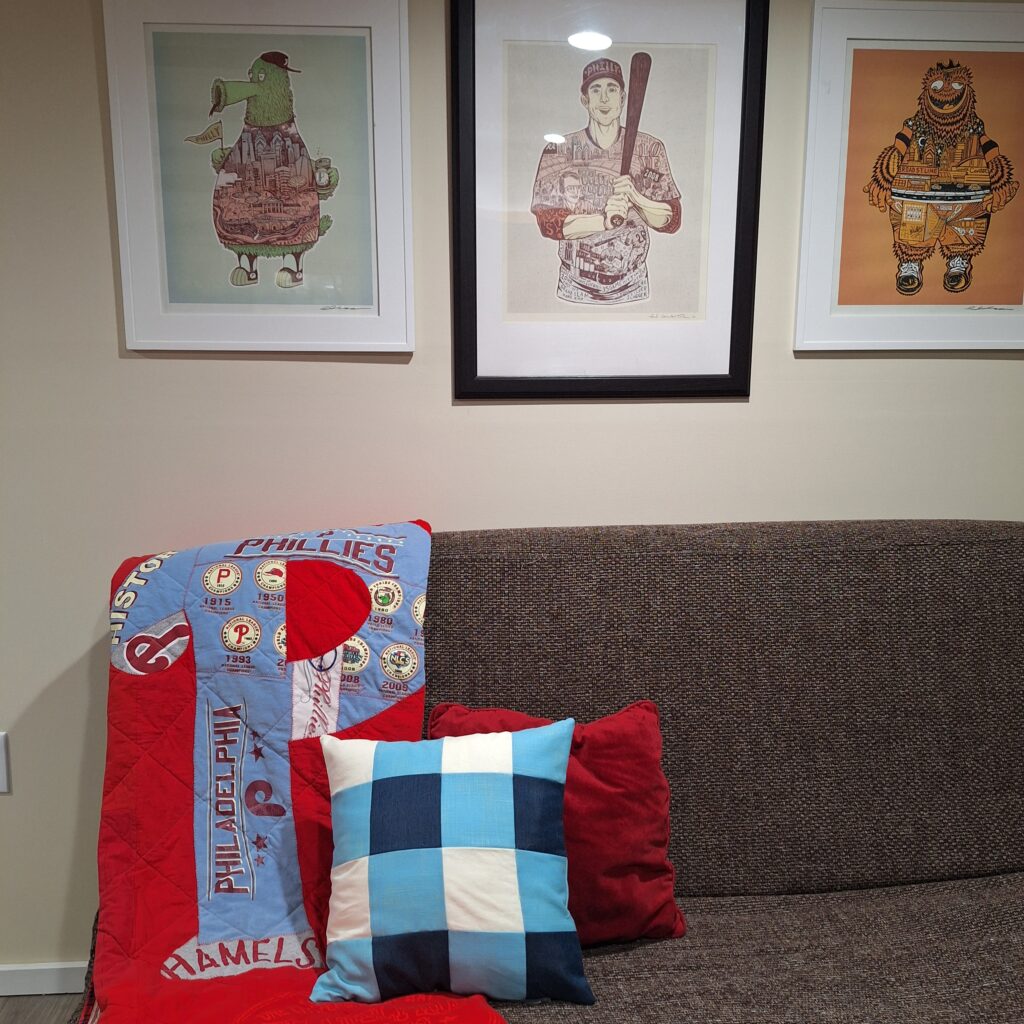
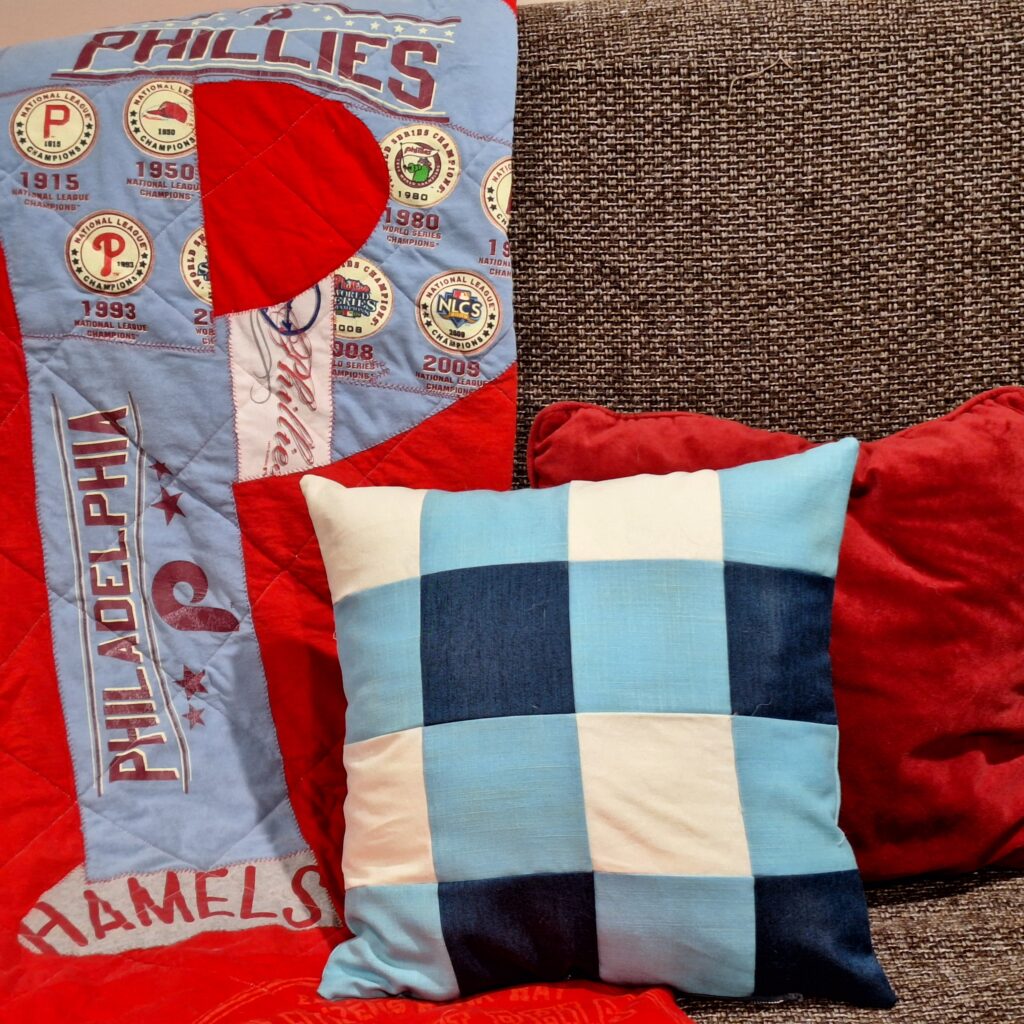
Final Reveal
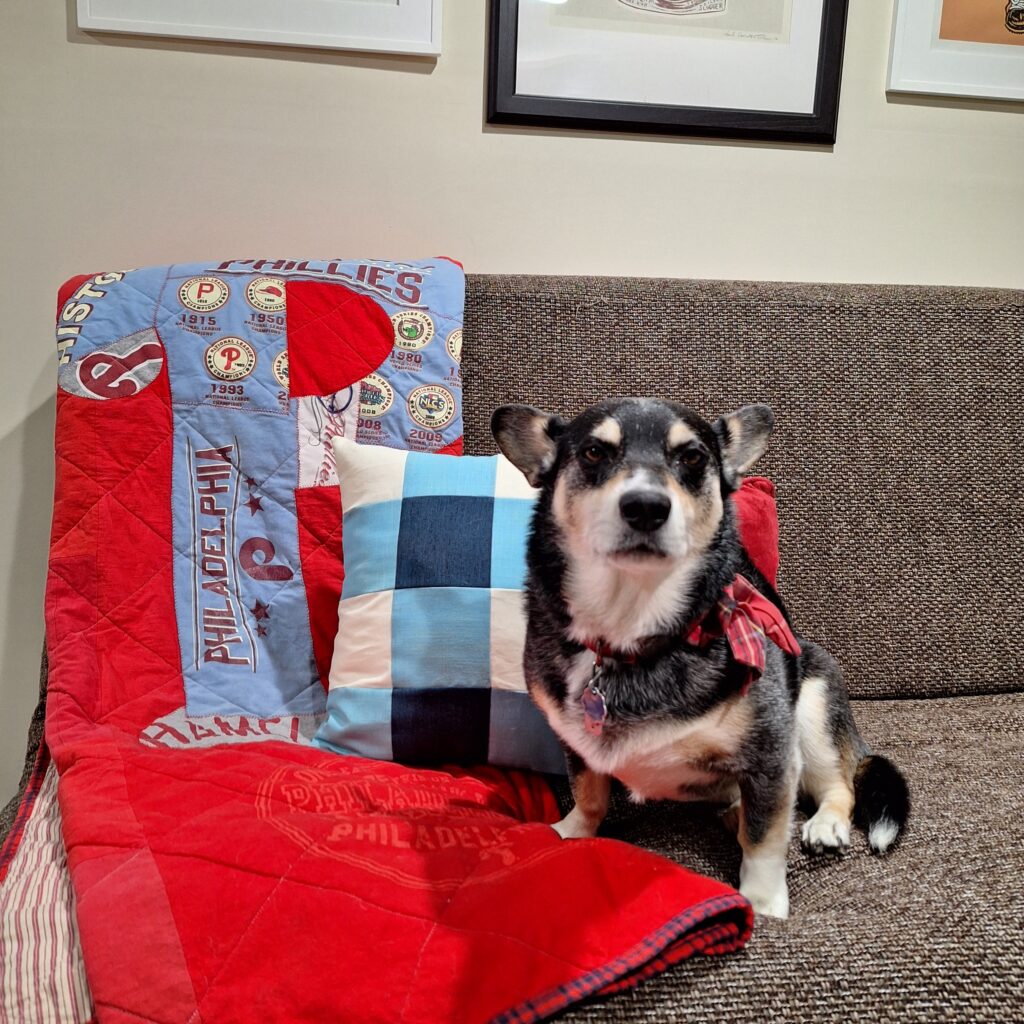
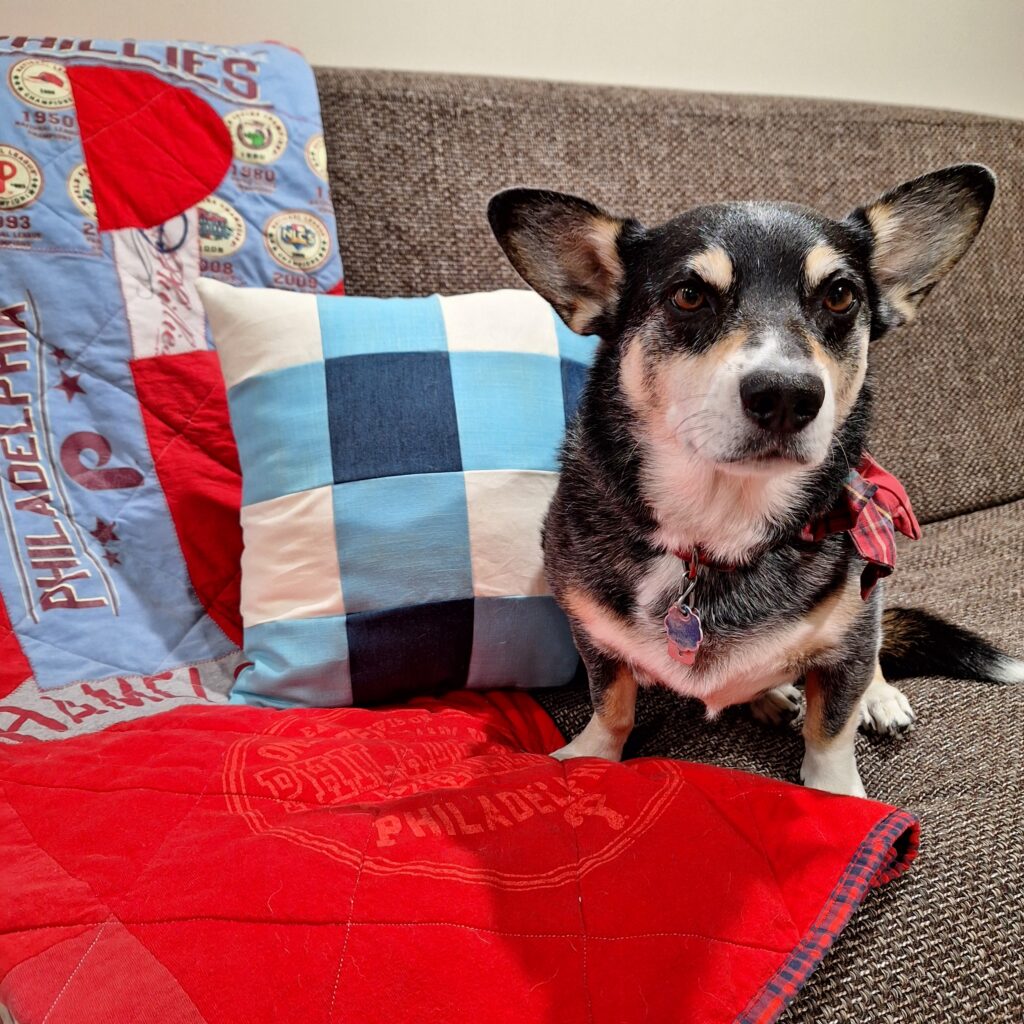
Insert your pillow form, zip it up, and enjoy your handmade buffalo check throw pillow! This design works beautifully in farmhouse, modern, or cozy interiors. And…dogs love more pillows to snuggle with while you watch a game, work on the computer or listen to music.
Final Thoughts
This buffalo check pillow is a fun and beginner-friendly sewing project that helps build confidence with patchwork and zipper installation. Plus, it’s endlessly customizable with different fabrics and colors. If you wanted to do a bit more math, you could easily expand this pattern into a full-on quilt like I did with this lovely Peaches ‘n Cream Buffalo Check Baby Quilt.
If you try this project, I’d love to see your version—tag me or share in our sewing and quilting community!
And remember, every tutorial comes with a matching video and blog post so you can follow along in whatever way works best for you. Grab your supplies and start stitching your own buffalo check pattern today! Happy Sewing, and keep an eye out for more projects on my YouTube, blog and IG soon! Janice
Inspiration and resources are linked where applicable. All written work and photographs are original content and are copyright protected; kindly give due credit by linking back to my website if you use or share.
(©2026, Janice Bailor // laruedefleurs.com)