Learn how to create stunning felt butterfly embroidery designs with step-by-step tutorials, expert tips, and creative ideas for your next crafting project.
The moth and butterfly patch I am using today is designed by Lori Everette of Make Merry Co. The pattern is a free download from The Felt Store which you can find HERE. Now let’s stitch up several (hundred) of these fast and fun embroidered felt butterfly patches!
Pattern Prep
This project uses a free pattern and can be made in many color combinations with just a few small pieces of felt and embroidery floss. I used up scraps from a recent sewing summer camp I taught over the summer. I love working with kids, but they make a lot of scraps while creating. Instead of getting upset about it, I challenged myself to use their leftover bits and pieces to create a collection of these butterfly and moth patches.
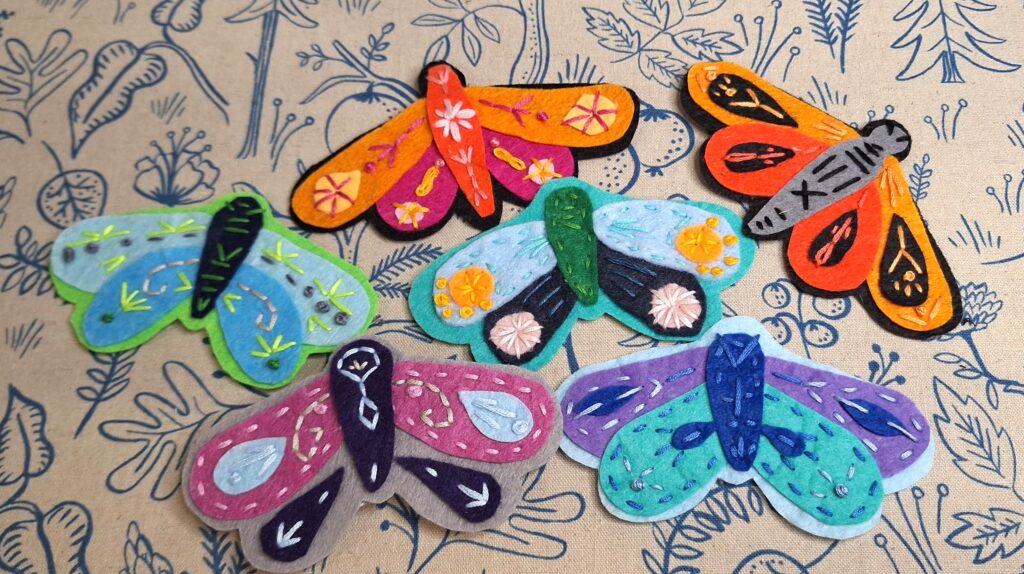
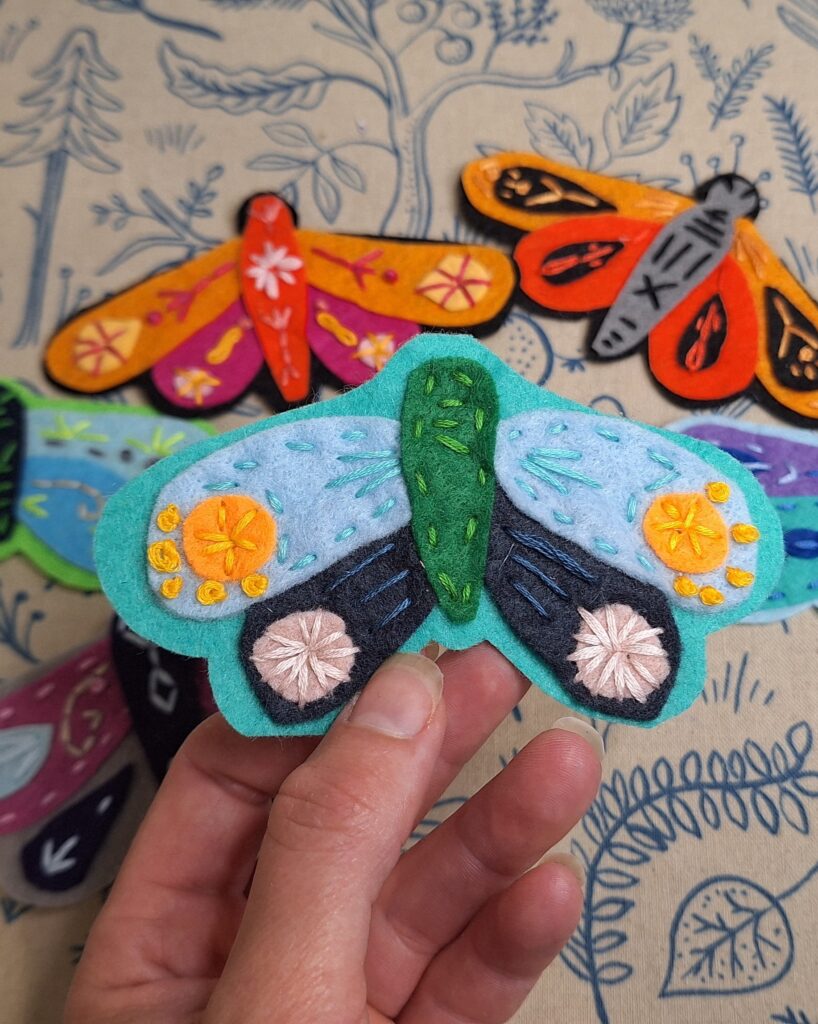
Stiffed felt works best for the base of the moth/butterfly. It will help it hold the shape better if you want to add the patch to a garment or add a hair clip to the back. After cutting out the base shape, you simply use the remaining wing and body pieces to cut out additional felt layers. Seriously, you only need a tiny assortment of felt to make one of the moths or butterflies. I also added additional small shapes from scrap felt to further layer in details on my wings.
Stitch and Color Theory
For one of my moths, I used a piece of chipboard from a set I got at Hobby Lobby ages ago to inspire the color combination. Bright and bold combinations work best for the butterfly, with more cool and muted tones working better for the moth pattern.
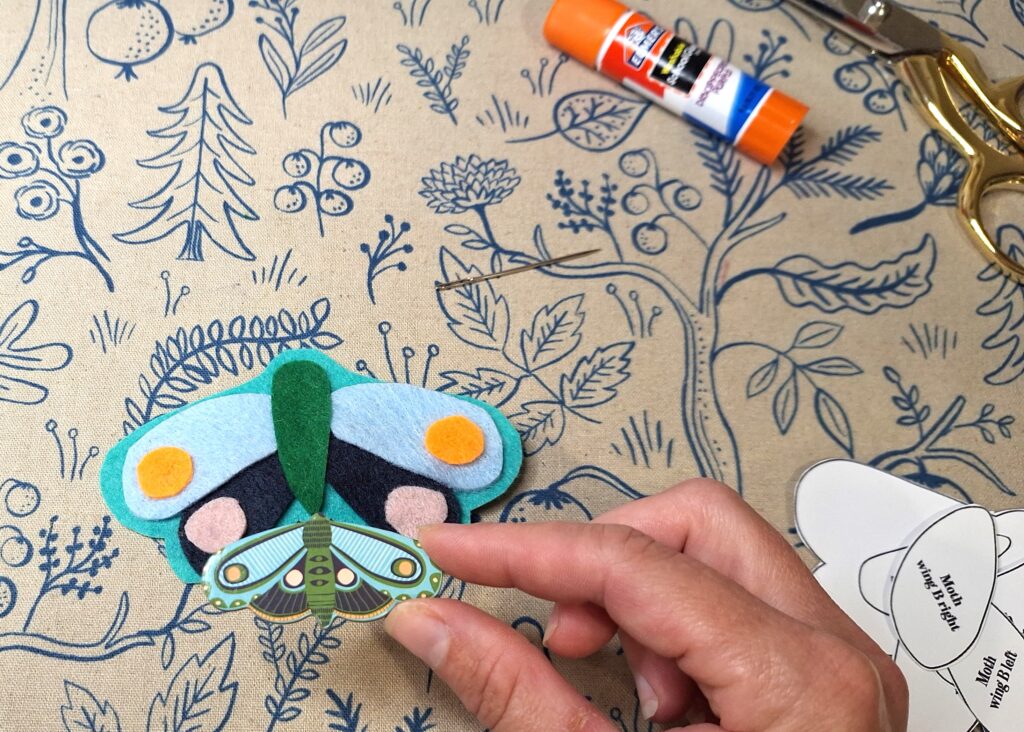
Once I had all of my felt pieces cut out, I added a small dab of glue to the back of each to hold them in place while I stitched. Honestly, you could skip this step, as I found it didn’t hold that well.
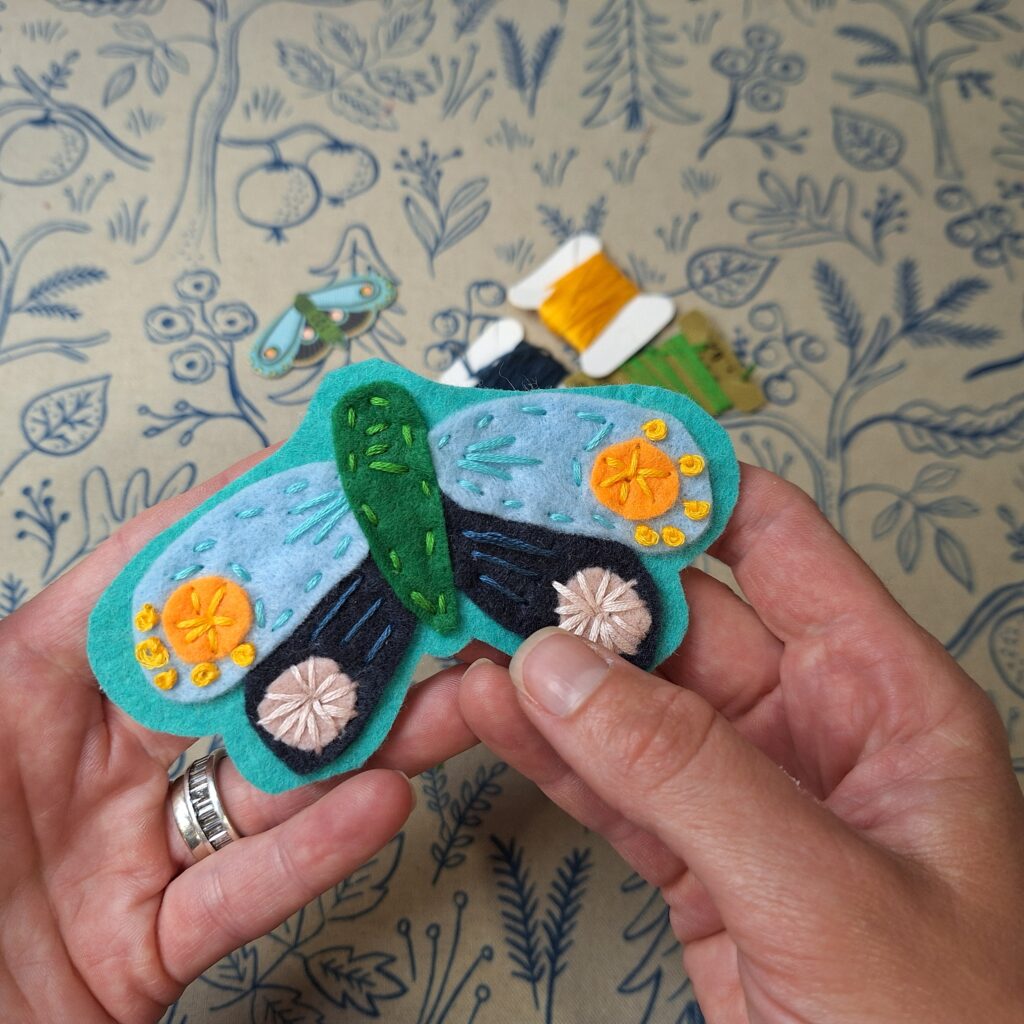
Next, I added interesting lines of embroidery. I let my mind and needle wander across the felt wings, doodling with my stitches. In some areas, I did a running or backstitch to outline. In other areas, I created French Knots in a cluster. Basically, I just did whatever felt right to fill up the space and attach any extra felt layers.
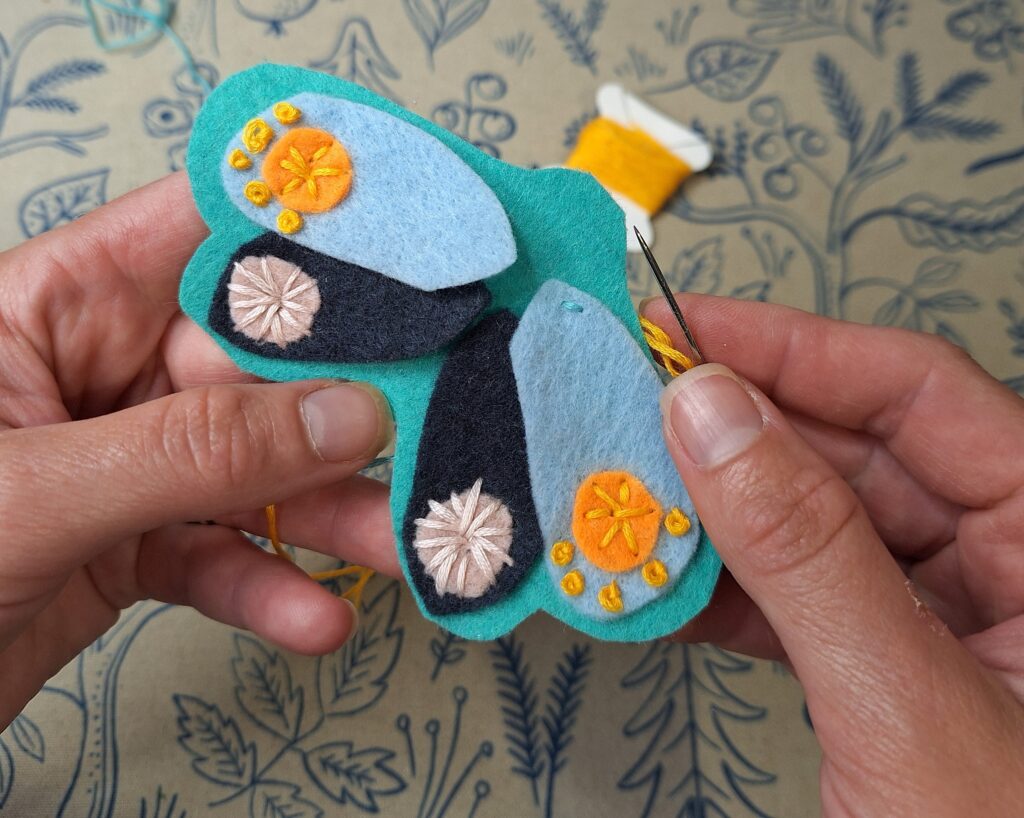
I think this project is the best place to play and practice embroidery stitches. If you need additional inspiration for your stitches, check out my series on the yearly Embroidery Garden Journal for ideas and links to resources.
Making It Useful
Besides being absolutely adorable on it’s own, the butterfly and moth felt embroidery patches would be perfect for turning into gifts. To make my moth patch into a hairclip, I added an additional layer of stiffened felt to the back of my already embroidered moth patch. First I sewed a hairclip using the holes on either side, then I hot glued the clip and backing to the embroidered patch. Voila! The most adorable hair clip ever!
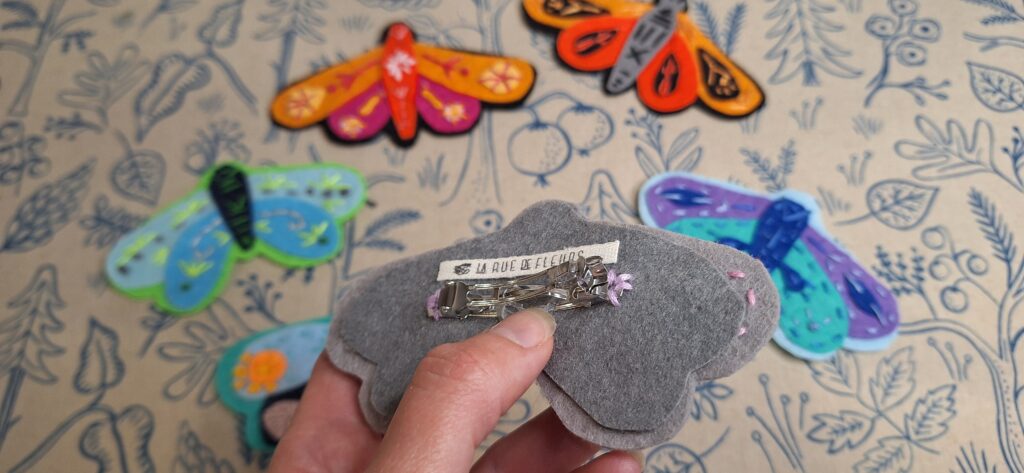
The options are truly endless to make the butterfly and moth patch the most adorable accessory!
Watch me sew the Fast and Fun Embroidered Butterfly Patch on Youtube:
If you join in with the videos or create the moth or butterfly patch above, don’t forget to share your work with the La Rue de Fleurs community by tagging me on IG @laruedefleurs. I hope you’ll join me and have fun creating your own managerie of moths and butterflies!
Stay creative friends, Janice
Inspiration and resources are linked where applicable. All written work and photographs are original content and are copyright protected; kindly give due credit by linking back to my website or source website if you use or share.
(©2024, Janice Bailor // laruedefleurs.com)