Are you new to sewing or quilting and looking for a fun, beginner-friendly project? Or maybe you need a unique gift idea that’s both practical and beautiful. Look no further than the Wild Harvest pre-printed panel from Northcott Fabrics! In today’s post, we’re going to show you how to create a quick apron and oven mitt set using this stunning seasonal fabric.

Why the Wild Harvest Panel?
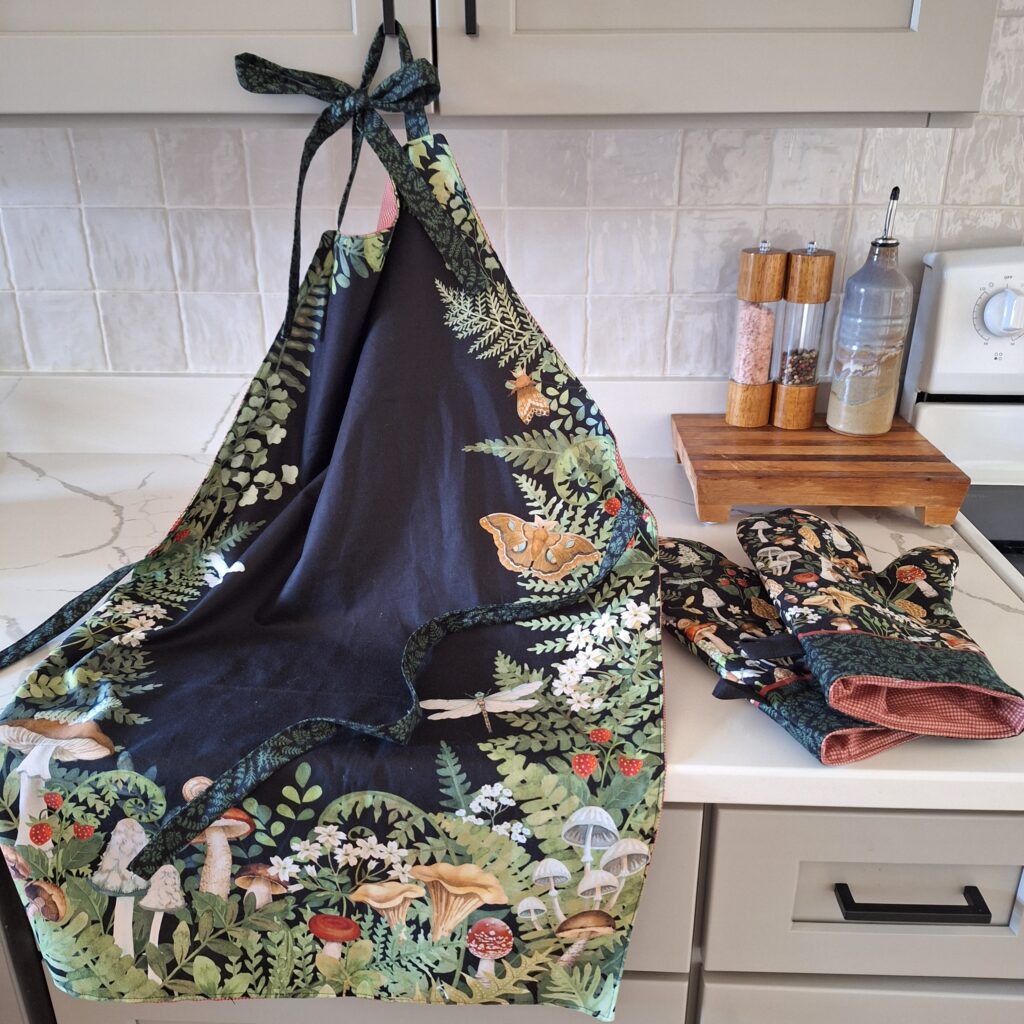
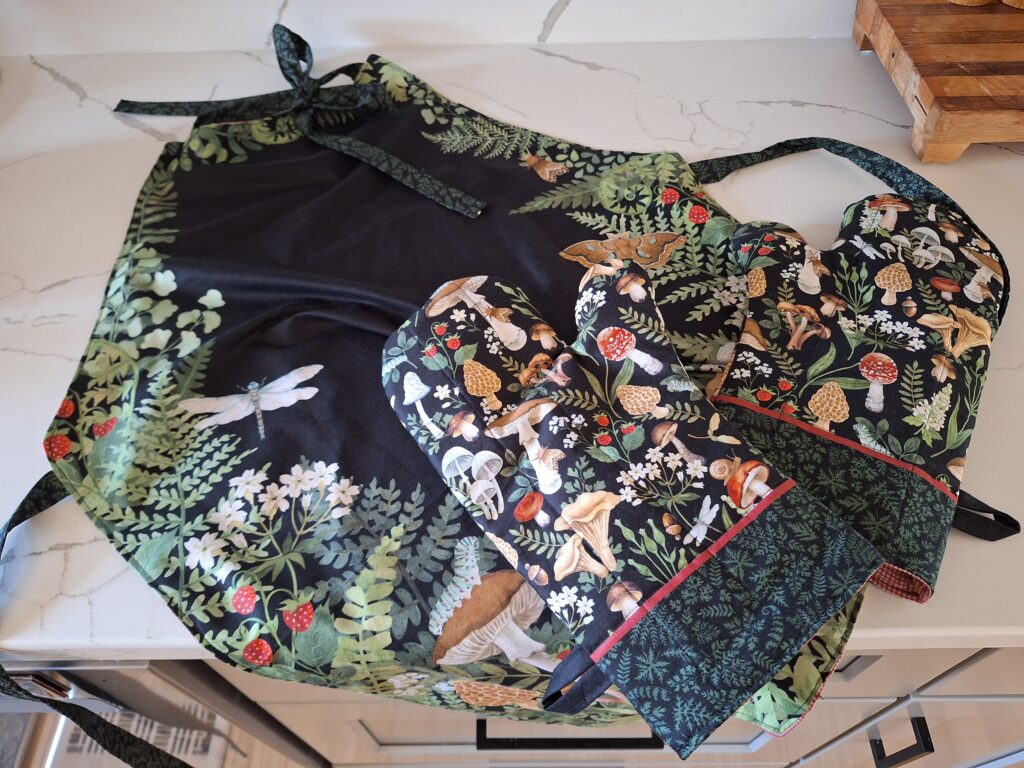
If you’re unfamiliar with pre-printed panels, they’re an absolute game-changer for beginner sewists and quilters. The Wild Harvest panel from Northcott Fabrics features gorgeous woodland-inspired designs that are already printed on the fabric, making it easy to create a polished project without the need for advanced cutting or piecing skills. The best part? This panel comes with everything you need to make a matching apron and oven mitt set — a perfect gift for housewarming parties, birthdays, or just a cozy seasonal addition to your kitchen. All you’ll need in addition to the panel is some Insulbright Heat Reflective Batting and a yard and a half to two yards of coordinating cotton fabric.
The Project: Quick Apron and Oven Mitt Set
This apron and oven mitt set is designed to be simple, functional, and fast! Whether you’re preparing a holiday meal or just enjoying a cozy autumn afternoon, these two kitchen essentials will make your cooking and baking experience so much more fun. Plus, with the vibrant autumn prints from Wild Harvest, your kitchen will look beautiful and seasonal.
What You’ll Need:
- Wild Harvest pre-printed fabric panel (available from Northcott Fabrics)
- A sewing machine
- Coordinating thread
- Basic sewing supplies (scissors, pins, fabric marker)
- Iron and ironing board
- Insulbright Heat Reflective Batting
- a yard and a half to two yards of coordinating cotton fabric.


Step-by-Step Guide:
- Prepare the Fabric: Start by ironing the panel flat and cutting out the pieces from the Wild Harvest fabric panel according to the instructions. The panel will have pre-printed lines to guide you in cutting out the apron and oven mitt pieces. This saves you time and effort!
- Sew the Apron: Follow the instructions to stitch together the apron. It’s as simple as matching the right sides together and sewing along the edges. You’ll be able to finish this step quickly, even if you’re new to sewing.
- Sew the Oven Mitts: Next, tackle the oven mitts. The panel includes all the necessary pieces for this as well. Again, the pre-printed pattern makes it easier for beginners to sew a functional, stylish mitt in no time. Make sure to use the Insulbright liner with the heat-reflective shiny side facing away from your skin. This makes the oven mitts heat-reflective with far less bulk than several layers of regular batting.
- Add Finishing Touches: Finish the panels by attaching ties or loops according to the panel instructions. Ironing and top-stitching around the edges of your apron and mitt finished pieces help create a crisp, professional look.
- Gift It or Keep It: Your apron and oven mitt set is now ready to be gifted or kept for your own kitchen. These make wonderful handmade gifts that anyone would appreciate.


Watch the Full Tutorial!
If you want to see the full step-by-step process, be sure to check out my latest YouTube video, where I walk you through creating this adorable apron and oven mitt set from the Wild Harvest panel. It’s a great way to follow along visually and make sure you’re on track with your project. You can watch the video here: Quick & Easy Apron & Oven Mitt Set Tutorial.
Conclusion
The Wild Harvest panel from Northcott Fabrics is an excellent choice for new sewists and quilters. It’s quick, easy, and yields a beautiful, functional result. Whether you’re making this apron and oven mitt set for yourself or as a gift, it’s a project that will leave you feeling accomplished and creative.
So grab your fabric, fire up your sewing machine, and get ready to make something beautiful! And don’t forget to share your finished projects with me – I’d love to see what you create!
Follow me on Instagram and Subscribe on YouTube for More!
Join in all the fun and stay up to date on the latest by following me on your socials!:
La Rue de Fleurs/Janice Bailor (@laruedefleurs) • Instagram photos and videos
Inspiration and resources are linked where applicable. All written work and photographs are original content and are copyright protected; kindly give due credit by linking back to my website if you use or share.
(©2025, Janice Bailor // laruedefleurs.com)