Hex symbols were once again the focus of my most recent residency with the 8th graders of West Perry Middle School in Elliotsburg, PA. From October 18th through November 2nd, 2021, we worked together to create legacy artwork for the halls of the school. Based on the folk art of eastern and south-central Pennsylvania, the hex symbol blocks brought both the local culture, as well as an opportunity for self-expression to the classroom. An expansion of my residency from the summer of 2021, this residency focused on incorporating both the design of the symbols as well as many sewing and quilting skills to complete the works.
Week One: Foundations and Design
Our opening week of lessons focused on learning about the history and symbolism of the hex symbol. Together we discuss and learn about the history of the hex symbols through a few short presentations based on the work of Patrick Donmoyer, director of the Pennsylvania German Cultural Heritage Center at Kutztown University. Students were asked to apply the traditional symbols and color meanings to their own works to create a unique expression of themselves in the block design. A range of symbols, such as birds, leaves, stars, and scallops were discussed both in the application of what the symbols represented and also how the design could be applied as a striking and symmetrical foundation for the block. Each student, led by the host art teacher, Molly Knisely, created a central circle foundation for the symbol. Inside each circle, the students were asked to add their symbolism and create a color scheme in their foundation sketch.
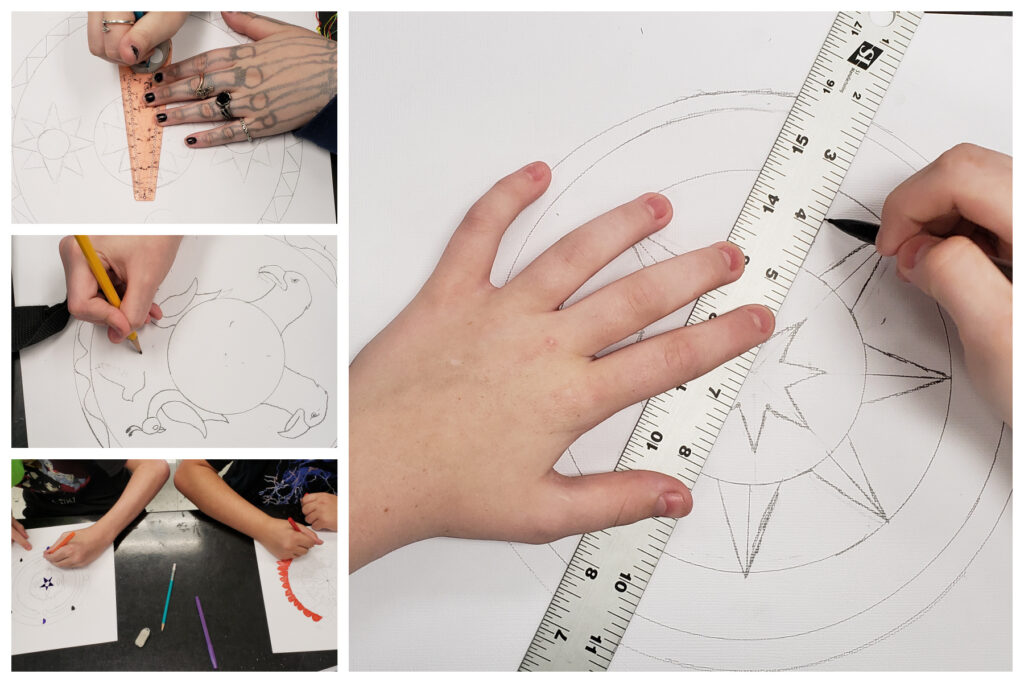
Each student then transferred their sketch onto a muslin block using paint markers.
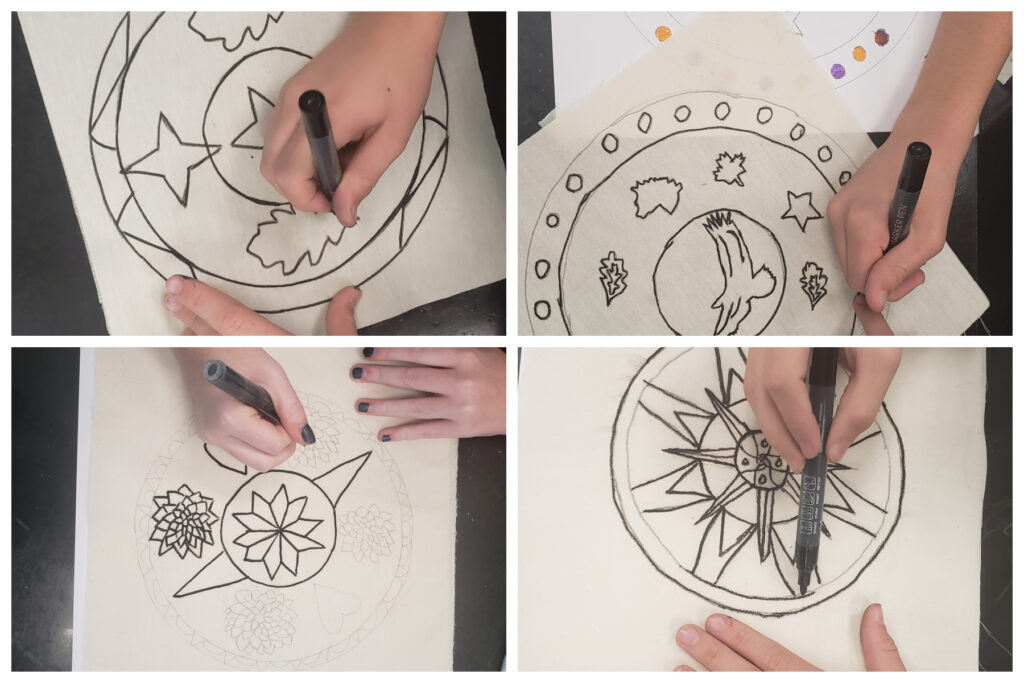
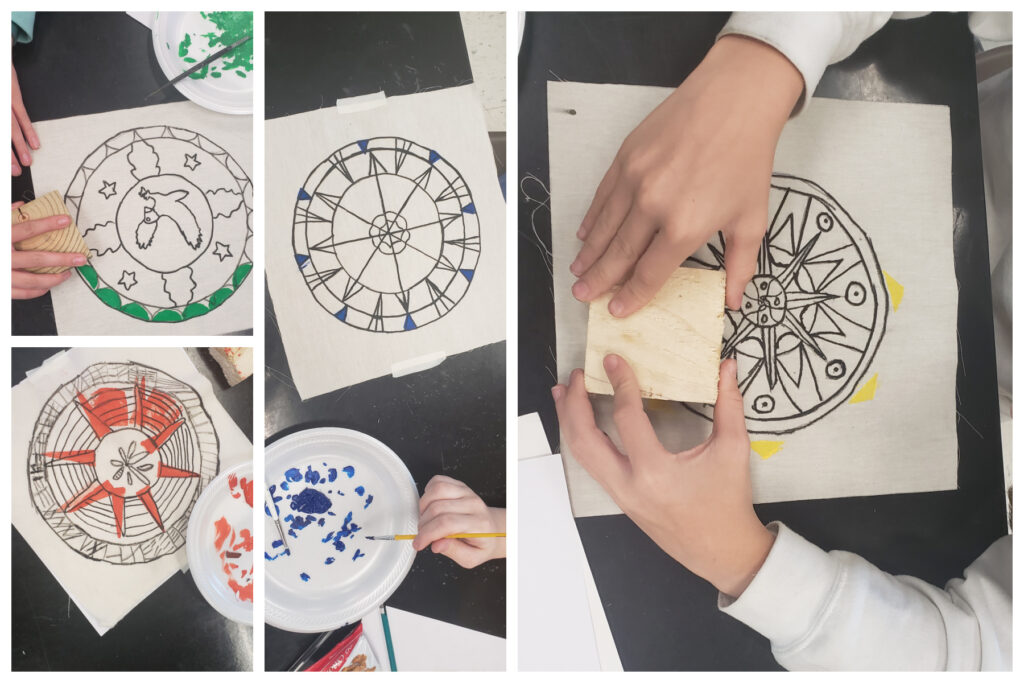
The outlines of the block served as a foundation for the students to add layers of both collagraph stamping with ink as well as layers of appliqué and stitching to complete the many layers of their work. We continued to reference the sketches throughout the layers as we refined our original plans.
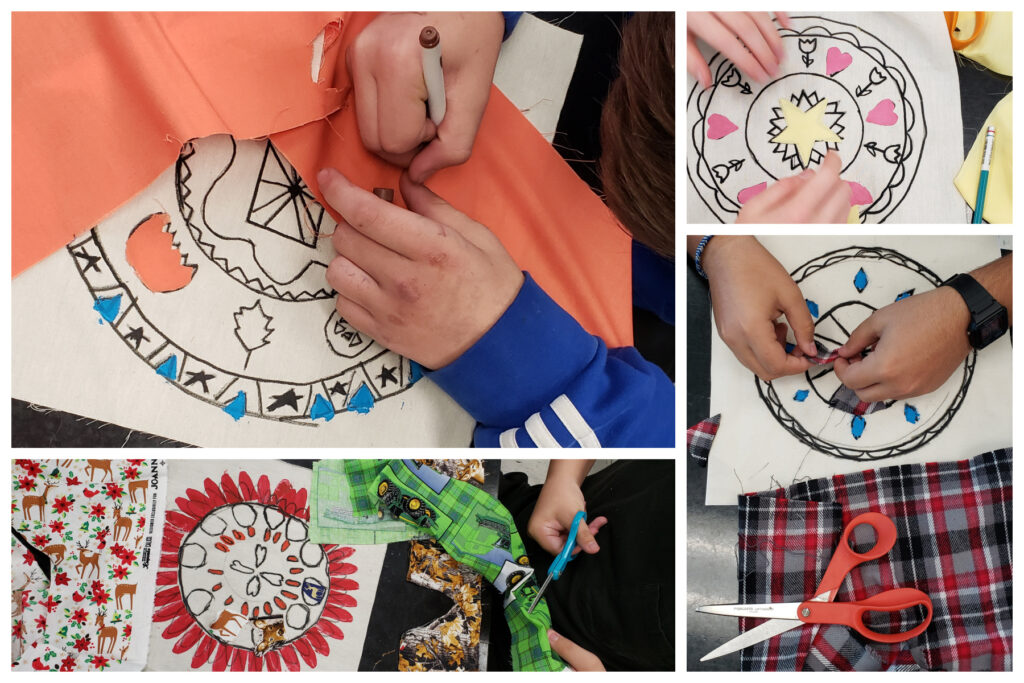
Teaching appliqué and stitching to students can be difficult. Learning how to cut fabric, thread needles and tie knots can be tricky, but I find it works best to constantly be ready to demonstrate. I also continuously remind the students that they are not robots. The work that we are creating will have the touch of their hand and be imperfect and it is precisely that imperfection that makes the work special. If stitches are not exactly even and all parts are not exactly symmetrical, it is not a sign of lack of thought or talent, but rather the signature of their artist’s hand and where they are in their skills at this moment. When they marvel at my seemingly deft abilities to create the things I am showing them, I simply remind them that I do this all the time, and with practice, their skills would improve as well. We all begin at the beginning and work to build our skills over time.
Week Two: Hand Stitching and Quilting
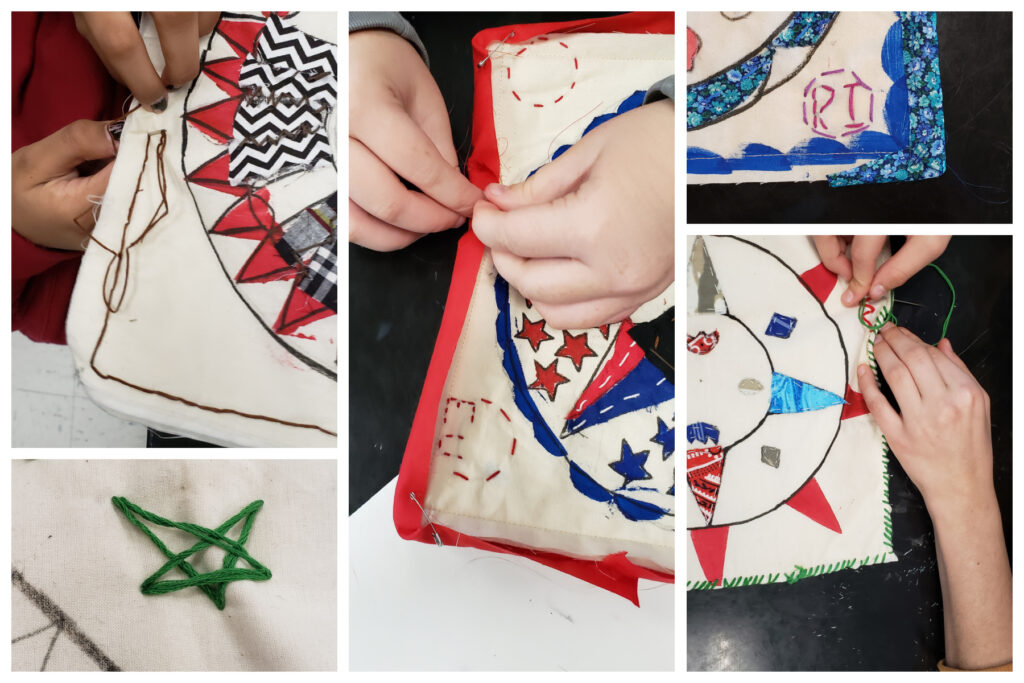
During the second week of the residency, we focused on all things hand stitching! The students learned how to thread a needle, tie knots and plot out stitches to both secure their appliqué and also enhance their design. Students were able to choose from either thin sewing thread or embroidery floss to complete their stitch work. Several students even chose to add buttons to their block to add dimension to their design.
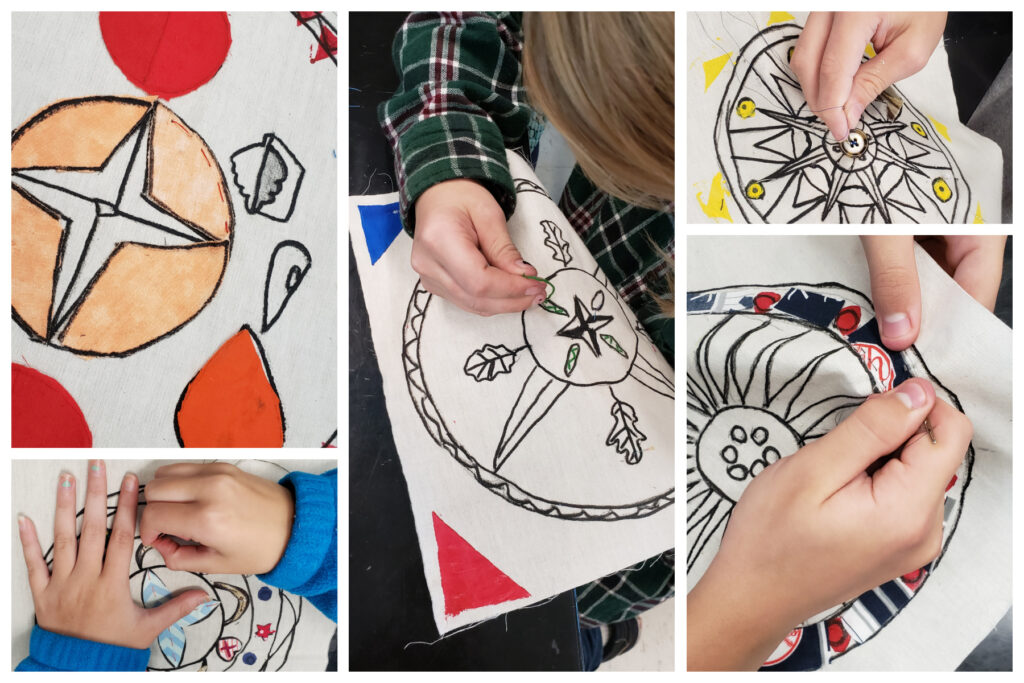
As we progressed through the second week, the students continued to practice their sewing skills and learn more about all of the elements of quilts. We talked about both the history of quilts and the tradition of appliqué to give a sense of place and history to our work. In addition to the slow work of hand stitching, we played a relay game to build a “quilt sandwich.” Students always love a chance to get outside and be a bit rowdy! I also think that using interactive elements in the classroom where you can take the information off the wall and imbeds it a bit deeper into the brain.
Of course, we had to add our initials to our work! Students were encouraged to find a place to highlight their stitched signature.

As a final step to the completion of their block, the students were encouraged to choose the binding technique to best suit their work. Students could choose from either a traditional edge of folded fabric or complete their block with edge stitches.
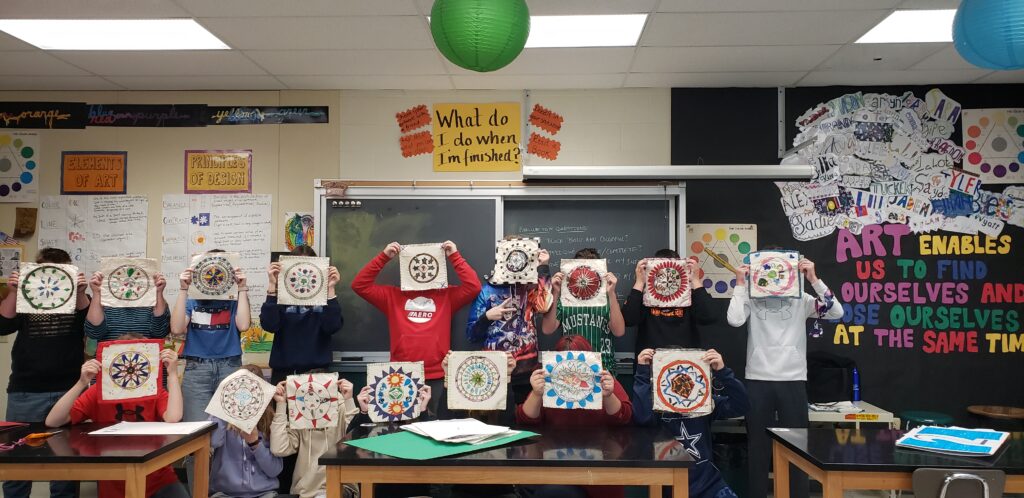
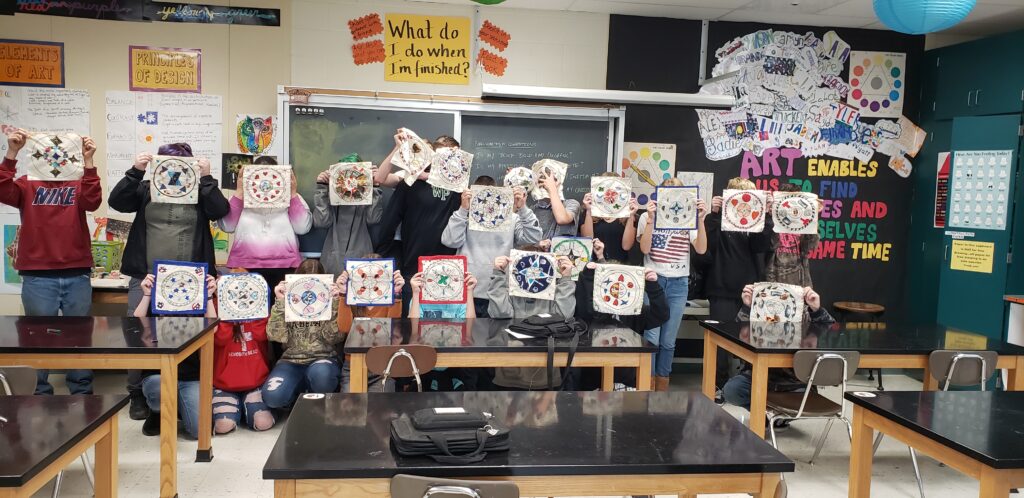
Since the blocks will be hanging in the school for a long-term legacy display, we talked about how the blocks will come together at the end of the project to form panels to hang in the hallways of the school to be enjoyed by fellow students, faculty and families for years to come. On the very last day, I worked with several students to assemble the individual blocks into long panels to be displayed, after we took a few group shots proudly holding up our handiwork, of course!

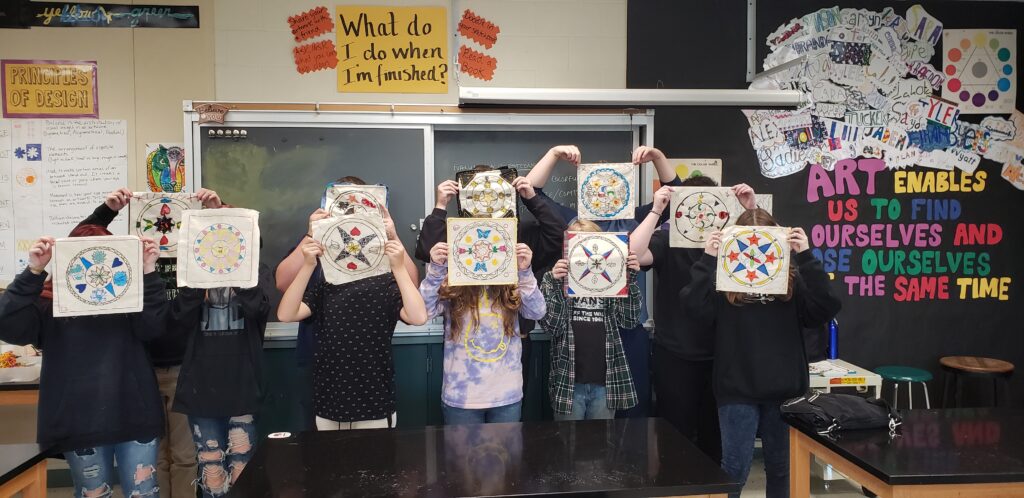
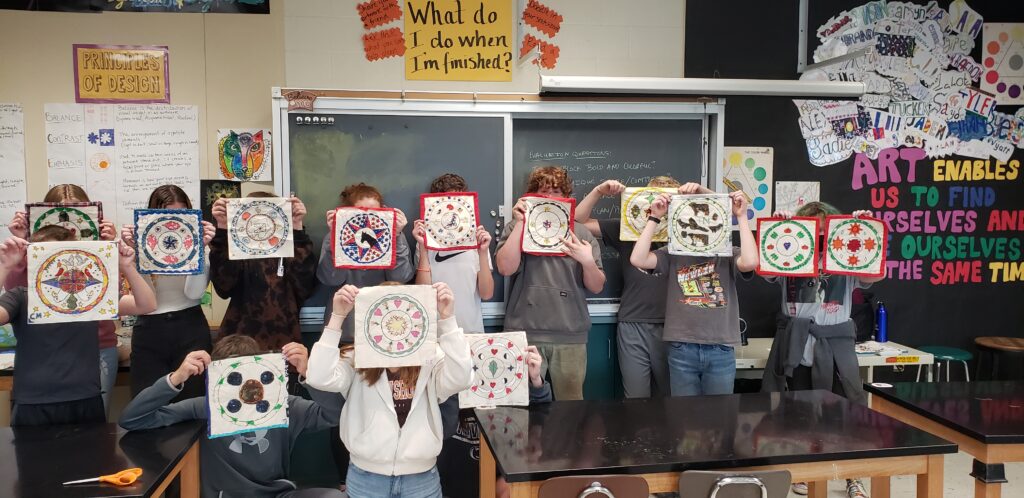
I feel so fortunate to be able to go out into the world, specifically classrooms, and share my passion for creativity and quilting with others. Teaching is so challenging but so very rewarding. All of the students had struggles with their work or motivation at some point during the project and I was so happy to be there to help guide them through it. Working on a piece of art is not just about the project, but it is also about learning how to push yourself through something without a clear end and no right or wrong answer. In that way, it is just like life. It is up to us to choose our path and work our way through and hopefully, we have someone with us to show us a way. Ultimately, however, we have to create it ourselves, in our own image, and produce a result we are happy with or can learn from.
Each student created a unique hex block beautiful in its own way, representing themself at this moment in time, and I am so very honored to have been a part of the journey.
Stay creative friends, Janice
Inspiration and resources are linked where applicable. All written work and photographs are original content and are copyright protected; kindly give due credit by linking back to my website or source website if you use or share.
(©2021, Janice Bailor // laruedefleurs.com)
