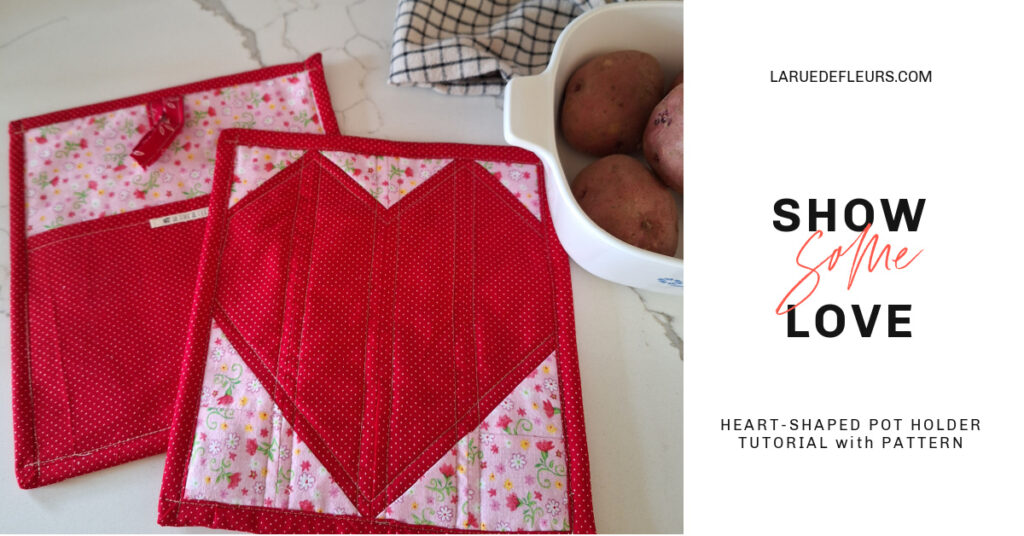
Valentine’s Day is just around the corner, and what better way to show someone you care than by creating a thoughtful, handmade gift? A heart-shaped patchwork pot holder is a practical and adorable DIY project that is perfect for gifting to your loved ones. Whether you’re an experienced quilter or a beginner, this simple yet beautiful project will add a touch of charm to any kitchen. Plus, it’s a great way to practice your quilting skills while creating something useful for the home.
In this post, we’ll guide you through each step of making a heart-shaped pot holder, from piecing the heart block to finishing it with a beautiful binding. We’ll also provide tips on fabric choices, batting selection, and creative gift ideas to make your pot holder even more special. Let’s dive right in!
Materials You’ll Need for Your Heart-Shaped Pot Holder
Before you get started, it’s important to gather all the necessary materials. Here’s a list of supplies you’ll need to make your heart-shaped pot holder:
- The Heart-Shaped Pot Holder PDF Pattern, available for purchase and instant download in the La Rue de Fleurs’ Etsy shop.
- Cotton fabric for the front and back of your pot holder (about 1/4 yard of fabric in your favorite Valentine’s Day, heart prints or solid colors)
- Heat-reflective batting (such as Insul-Bright or other heat-resistant batting) to keep hands safe from hot pots and pans
- Cotton batting for extra thickness (optional, but helps with durability)
- Quilting thread that matches your fabric
- Sewing machine with quilting needle
- Rotary cutter and cutting mat
- Scissors
- Iron and ironing board
- Acrylic Ruler for measuring and cutting
- Hand-sewing needle (if you plan to hand-finish your binding)
- Fabric for the binding (you can use pre-made quilt binding or make your own from 2 1/2 inch strips of coordinating fabric)

Step 1: Cut Your Fabric Pieces
The first step is to cut the fabric for both the front and back of your heart-shaped pot holder. Begin by cutting the following strips, rectangles and squares.
- 10 – 2 1/2 inch squares
- 2 – 7 by 2 1/2 inch strips
- 2 – 9 by 2 1/2 inch strips
- 2 – 6 by 9 inch rectangles
- 1 – 9 inch square
- 1 – 4 by 2.5 inch strip
- 1 – 2 1/2 by WOF strip
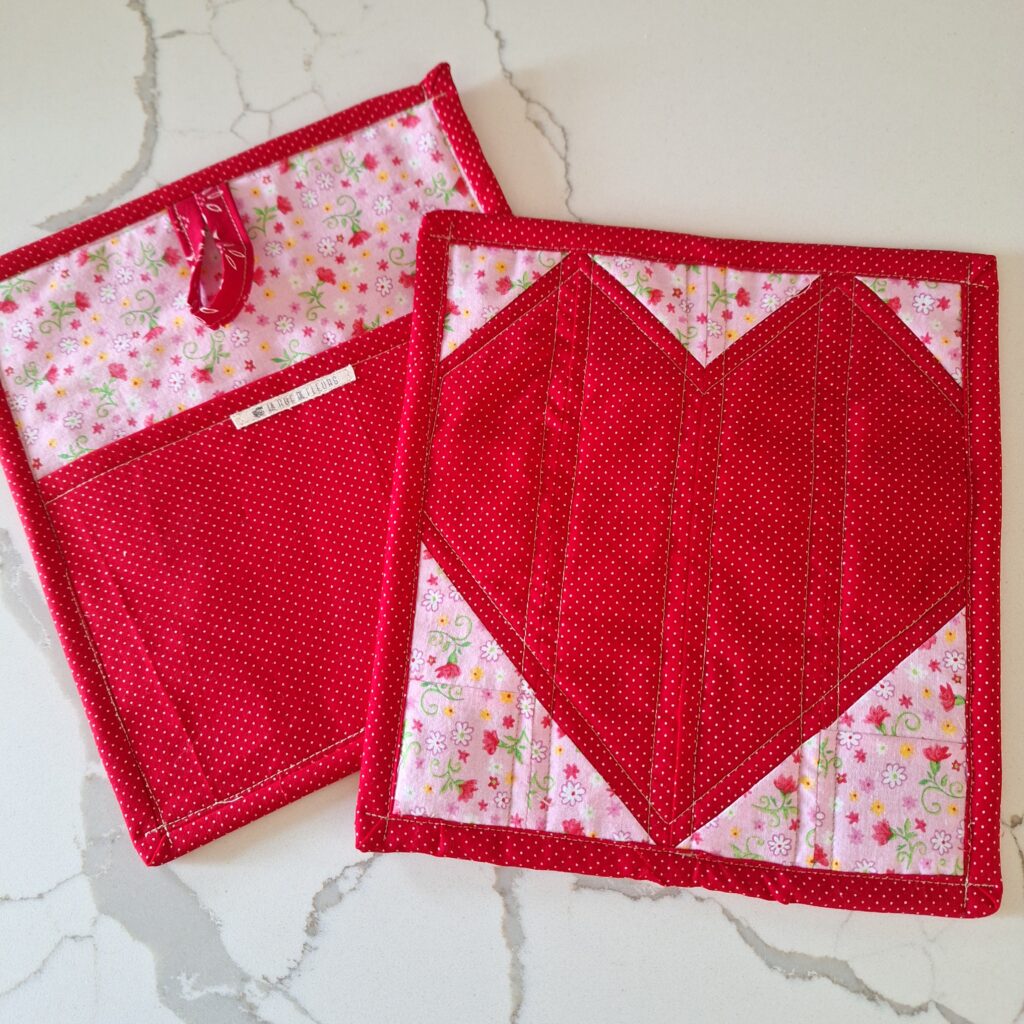
The squares will be lined up at the corners of the strip pieces to crop the edges and give the heart shape. For specific directions on which pieces to cut and how to sew everything together, purchase the pattern HERE.
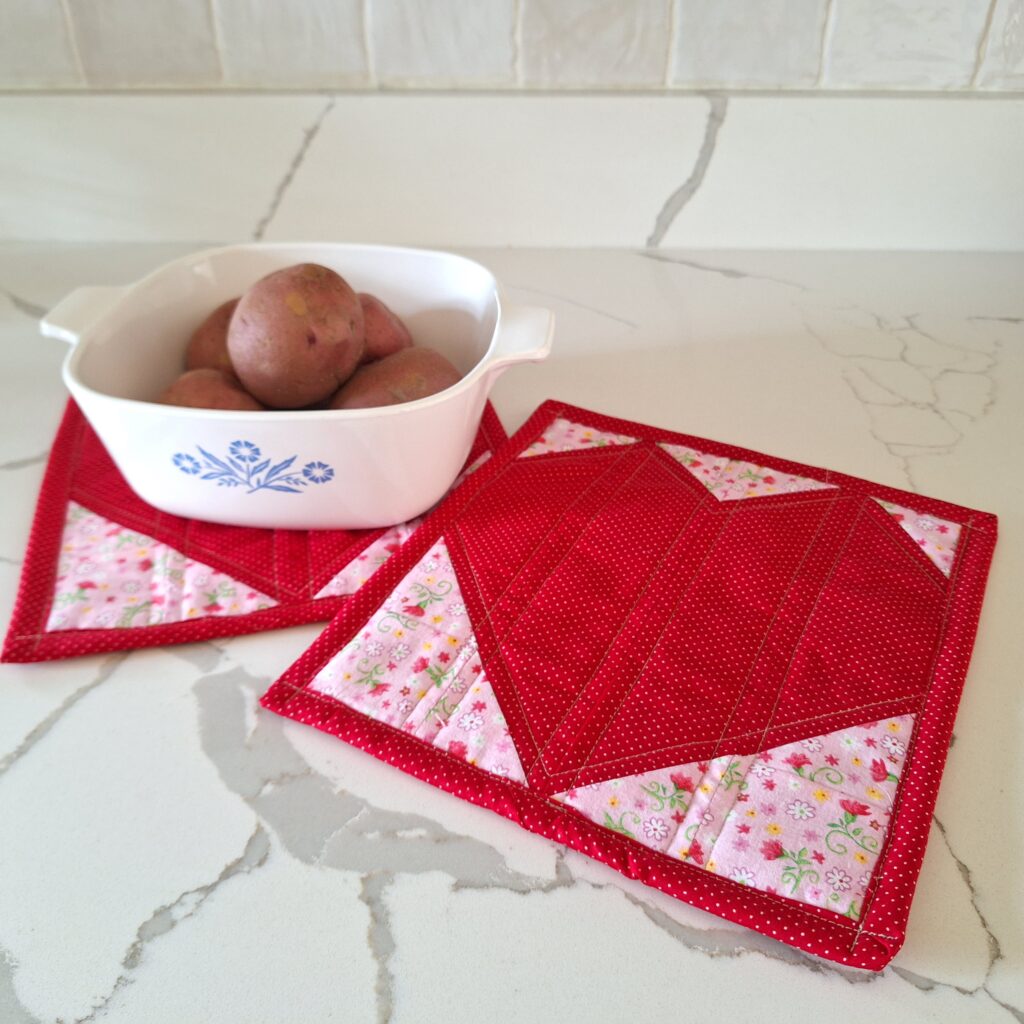
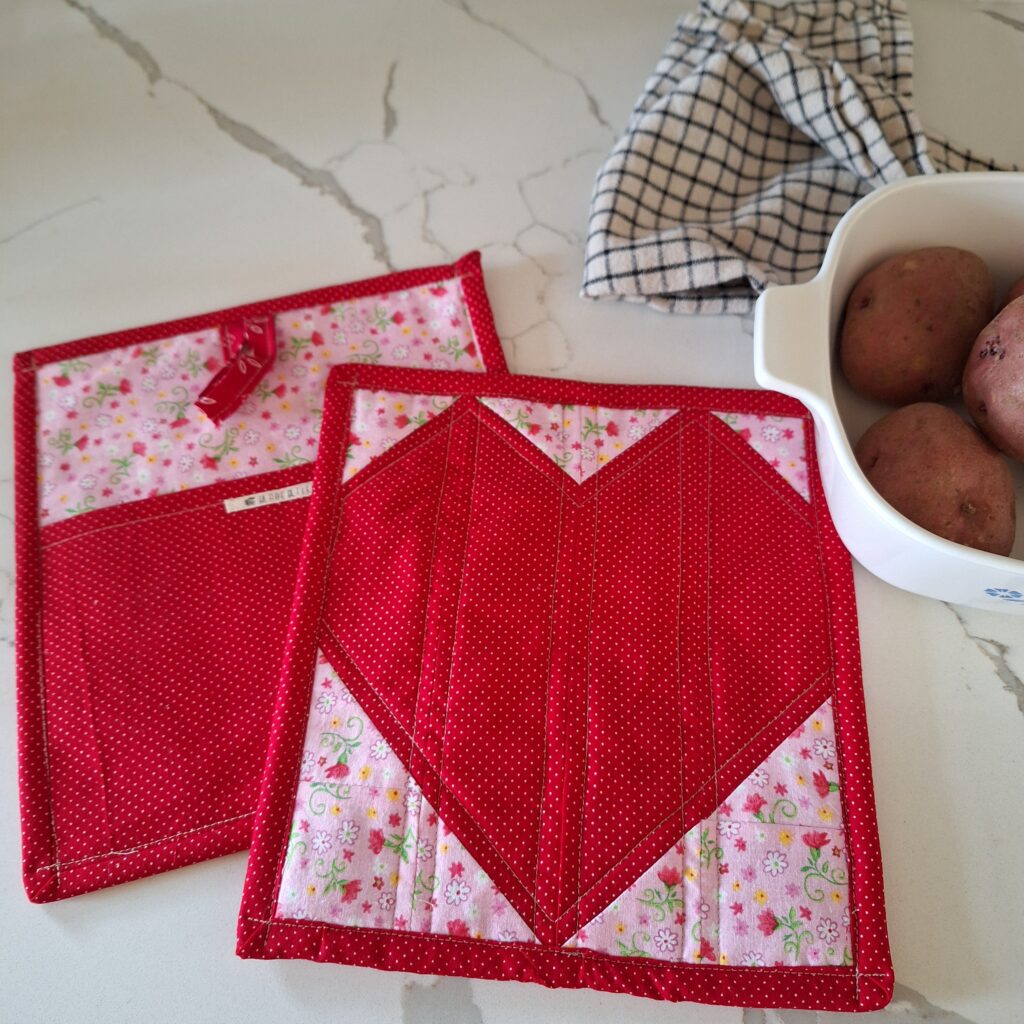
Create one pieced panel using the strips and squares for the front of your pot holder. The squares will crop the corners of each rectangular piece, creating the central heart image for our block.
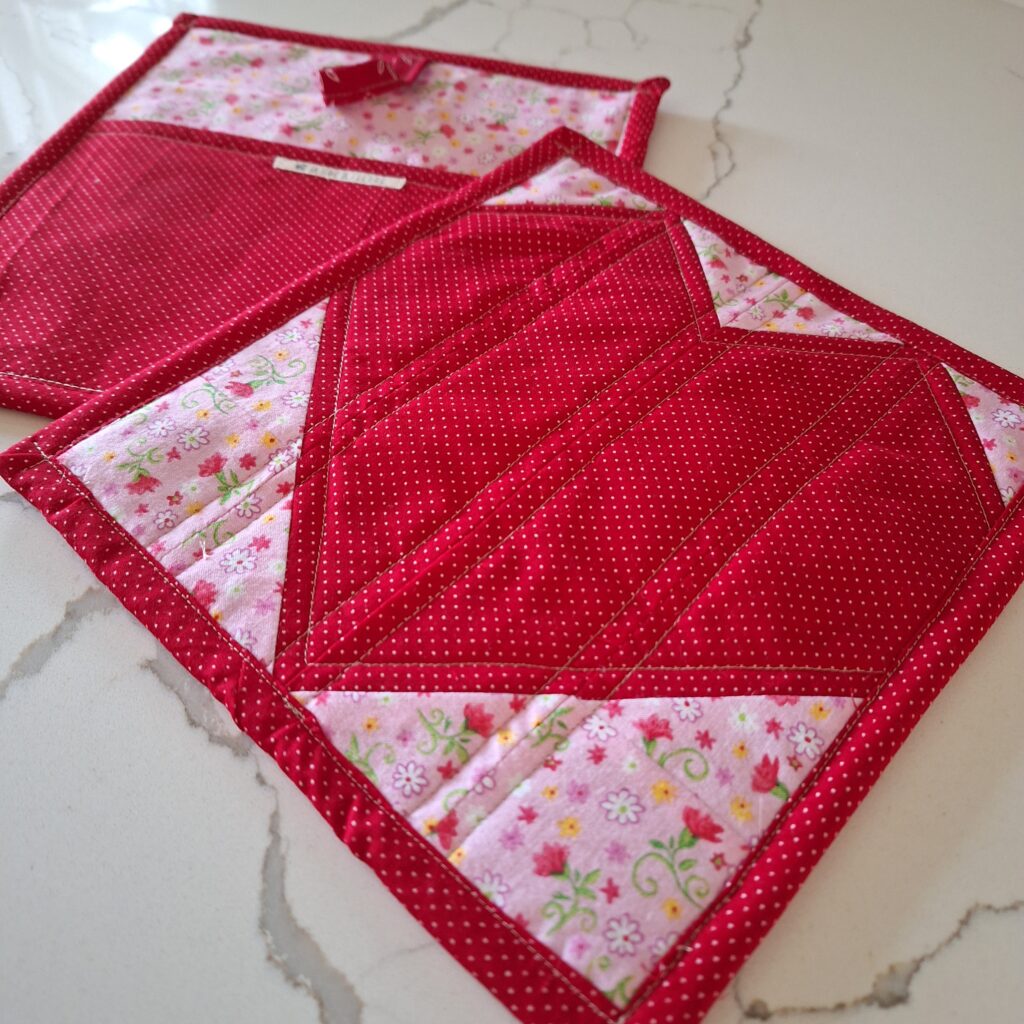
For the back, cut out a solid piece of fabric. This piece will be used to cover the back of your pot holder, so you may want to use a solid color or a contrasting print that complements the front. The back is also where we will add the pocket for protecting your hand as you reach to touch hot items on the stove or in the oven.
Step 2: Add Heat-Reflective Batting
Once your fabric pieces are cut and the quilt block is assembled, it’s time to prepare the batting. Heat-reflective batting (I like the brand InsulBright) is an essential element when making a pot holder because it helps protect your hands from heat. It works by reflecting the heat away from your hands, making it safe to handle hot pots and pans.
Cut a piece of heat-reflective batting that matches the size of your pieced panel, approximately 9 inches. You’ll want to have a layer of heat-reflective batting between the front and back fabric layers. If you choose to add an extra layer of cotton batting for additional thickness and durability, cut a piece of cotton batting in the same size.
Once you have your batting pieces ready, layer them between the front heart block and back fabric pieces. Make sure the reflective side is facing to the outside of the pot holder. You can baste the layers together with a few pins or fabric adhesive spray to keep them in place while you sew.

Step 3: Quilting the Heart Block
Now comes the fun part—quilting the heart block! Quilting adds texture and visual interest to your pot holder. You can choose any quilting pattern you like, but here’s a simple method that works well with strip designs:
- Set up your sewing machine with quilt thread and a quilting needle.
- Starting from the center of the heart panel, sew straight lines or a simple swirl pattern. This will give your pot holder a fun, quilted texture.
- You can also stitch around the edges of the heart for added definition with a thicker thread, such as an embroidery floss.
If you’re new to quilting, don’t worry! You don’t have to make your quilting perfect—it’s all about the handmade charm. Plus, the quilting will add structure and durability to your pot holder, making it both functional and decorative.

Step 4: Create a Pocket for Your Hand
Now that the heart block is quilted, it’s time to create a pocket for your hand on the back of the pot holder. This is a very important step, as it will allow you to safely grip hot items. Here’s how to make the pocket:
- Use a smaller rectangular piece of fabric (6 by 9 inches) for the pocket, along with a piece of interfacing and lining fabric to finish it off on the inside.
- Place the right sides of cotton fabrics together and layer on the interfacing then stitch everything together across the top long side with 1/4 inch.
- Fold over the top edge of the pocket fabric so both cotton fabrics are right side out and press it with an iron to create a finished edge. Top stitch along the folded edge to give it a neat finish.
- Position the pocket on the back of the pot holder, about 1/3 of the way down. Pin it in place, making sure the folded edge is facing the top.
- Using your sewing machine, sew around the pocket, leaving the top open so it can hold your hand. Make sure to sew securely along the sides and bottom edges.
Step 5: Add a Tab for Hanging
Adding a hanging tab is a simple but thoughtful finishing touch. It makes it easy to hang your heart-shaped pot holder in the kitchen, where it can be easily accessed for use.
To make the hanging tab, cut a small strip of fabric (about 2 1/2 inches by 4 inches). Fold it in half, press, and then fold in the edges to meet in the center. Press again, and sew down the open side to form a neat little tab.
Position the tab at the top of the heart shape block, with the raw edges facing up and the fold facing down toward the heart. Sew securely in place, making sure it is centered so the pot holder hangs properly.
Step 6: Binding the Pot Holder
The final step in making your heart pot holder is adding the binding. The binding gives the pot holder a polished finish and helps to hold everything together.
- If you’re using pre-made quilt binding, open it up and begin sewing it along the edge of the heart block, starting on one of the long sides. Be sure to leave a small gap at the beginning of the binding so you can finish it neatly later.
- If you’re making your own binding, cut a strip the entire width of a coordinating fabric and 2.5 inches wide. Sew the strips together to form one long piece, then fold and press it in half to create the binding.
- Line the binding with the raw edges of your quilt sandwich as you sew around the edges. When you get to a corner, create a mitered corner by following my tutorial in the corresponding Beginner Quilting: Easy Potholder Tutorial. Sew the binding in place with a 1/4-inch seam allowance.
- Fold the binding over to the back side of the pot holder, and hand-stitch or machine-sew it in place for a clean, finished look.
Step 7: Optional Personalization and Gift Ideas
While this heart-shaped pot holder is a sweet and thoughtful gift on its own, there are plenty of ways to personalize it and make it even more special:
- Embroider a name or initials on the pocket of the pot holder to add a personal touch.
- Use a variety of Valentine’s Day fabrics—such as red, pink, and white prints, hearts, and florals—to make the pot holder extra festive.
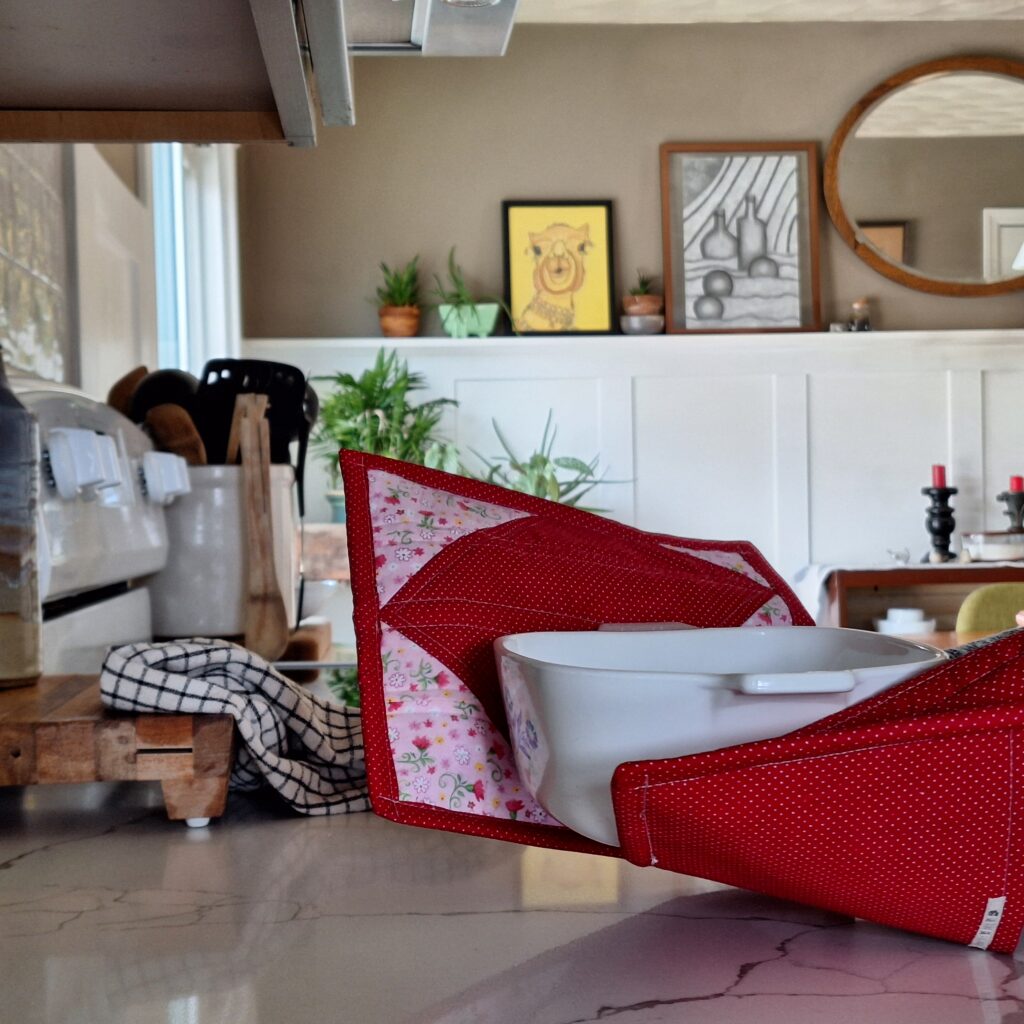
- Use fabrics that coordinate with the kitchen decor of your intended recipient so they can use it all year long.
- Create a set of matching pot holders and pair them with other homemade kitchen gifts like an oven mitt or tea towel, similar to the ones I made HERE.
- For a fun twist, add a little applique design (like a heart, rose, or cupid) to the front of the pot holder to make it truly one-of-a-kind.
A heart-shaped pot holder also makes a great Valentine’s Day craft project to do with older kids or as part of a quilting group. You can create a whole collection of pot holders to give away as thoughtful, handmade gifts for friends, family, or even as a special gift for your significant other.
Quilt Along with Me on YouTube
For those who prefer a visual guide, be sure to check out the accompanying YouTube video where I walk you through the entire process of making this heart-shaped pot holder. From cutting out your fabric pieces to binding the edges, the video provides step-by-step instructions that are easy to follow. Whether you’re a beginner or a seasoned quilter, you’ll find helpful tips and tricks to make your project go smoothly.
Watch the video tutorial HERE:
Watch the video to see how each step comes together and get a closer look at the techniques used to create this adorable and practical Valentine’s Day gift. Don’t forget to like, comment, and subscribe for more quilting tutorials and creative DIY projects!
Final Thoughts on Your Heart-Shaped Pot Holder
Making a heart-shaped pot holder for Valentine’s Day is a creative and fun way to show love and appreciation to someone special. Whether you’re a seasoned quilter or just starting your sewing journey, this project is perfect for anyone looking to add a handmade touch to their Valentine’s Day celebrations.
Create your own version of the scrap-friendly pot holders above by purchasing the PDF Pattern available in the La Rue de Fleurs’ Etsy shop HERE.
Not only will your gift be practical, but it will also carry the heartfelt energy of something created with your own two hands. From selecting fabrics to quilting the heart block, every step of the process will help you craft a beautiful and functional gift. The HEART SHAPED POT HOLDER PDF Pattern is available for purchase in my Etsy shop and will include the materials, measurements, and complete instructions so you can make your very own pot holders like the set I’ve made in this post. So grab your sewing machine, gather your supplies, and get started on this adorable project today.
Happy quilting and happy Valentine’s Day! Janice
Inspiration and resources are linked where applicable. All written work and photographs are original content and are copyright protected; kindly give due credit by linking back to my website if you use or share.
(©2025, Janice Bailor // laruedefleurs.com)