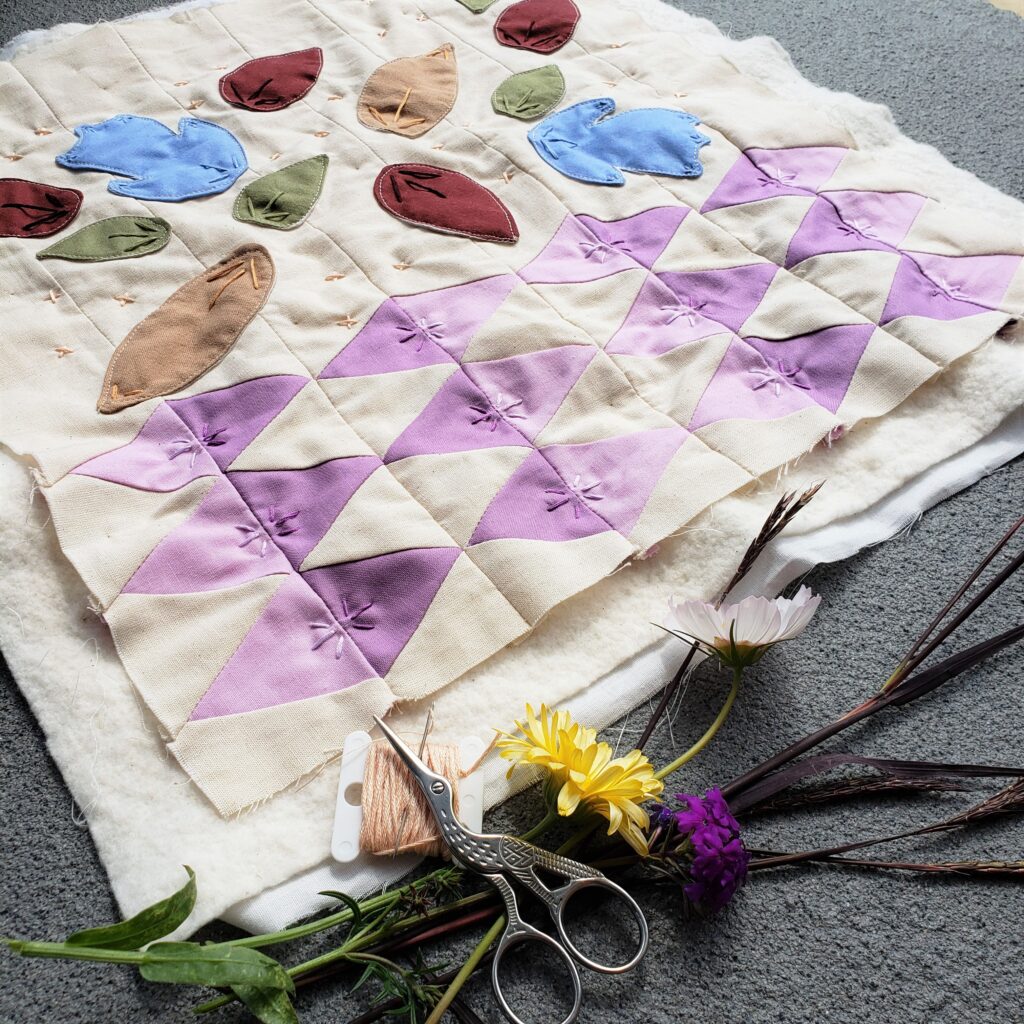
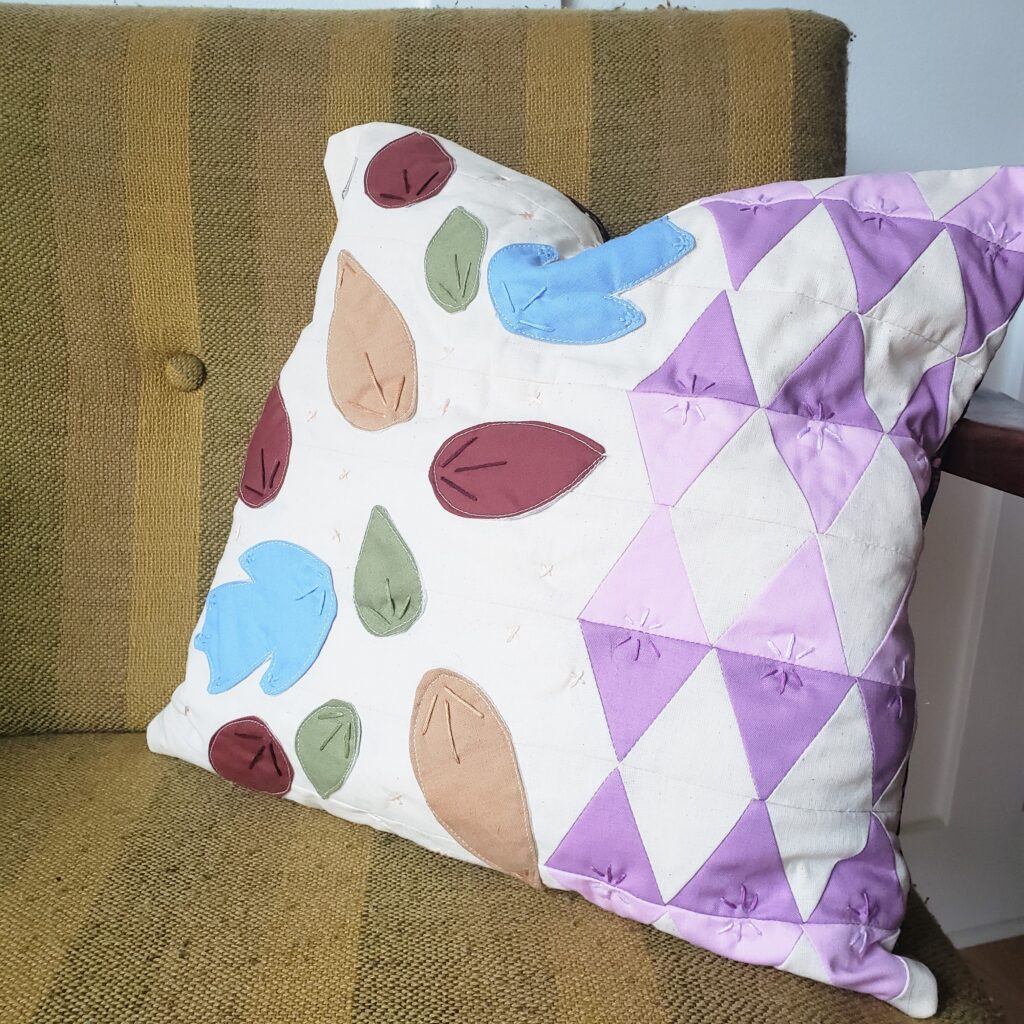
Today I am writing about a new pattern I have written and will soon be being published in a new Prime Publishing venture, We Like Sewing digital magazine. Originally, I designed this cascade of triangles pattern for a larger quilt inspired by a scrapbook page by Anke Kramer from 2018. Hence, since Anke inspired it, the name of the quilt had to be the Anke Triangle Quilt with Floral Appliqué. The specs for the magazine ended up with the need to downsize the pattern from a throw and bed size to just that of a pillow. Though I cannot reveal all of the details of the pillow pattern, I thought I would show what can be done with it so you can get inspired to read the upcoming article and make your own with the We Like Sewing pattern. The pillow background and all of the measurements are included with the We Like Sewing pattern and article, as well as a printout of the floral appliqué pieces I designed for that version.
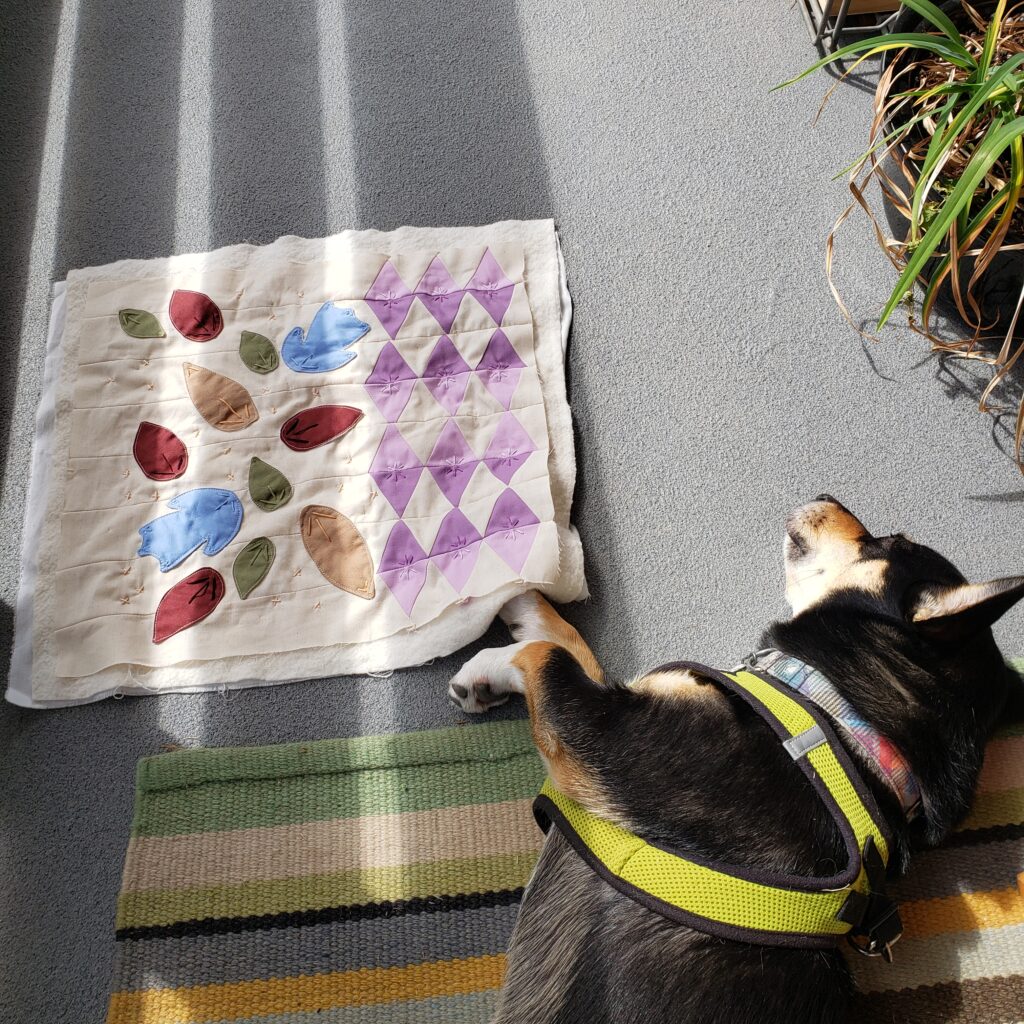
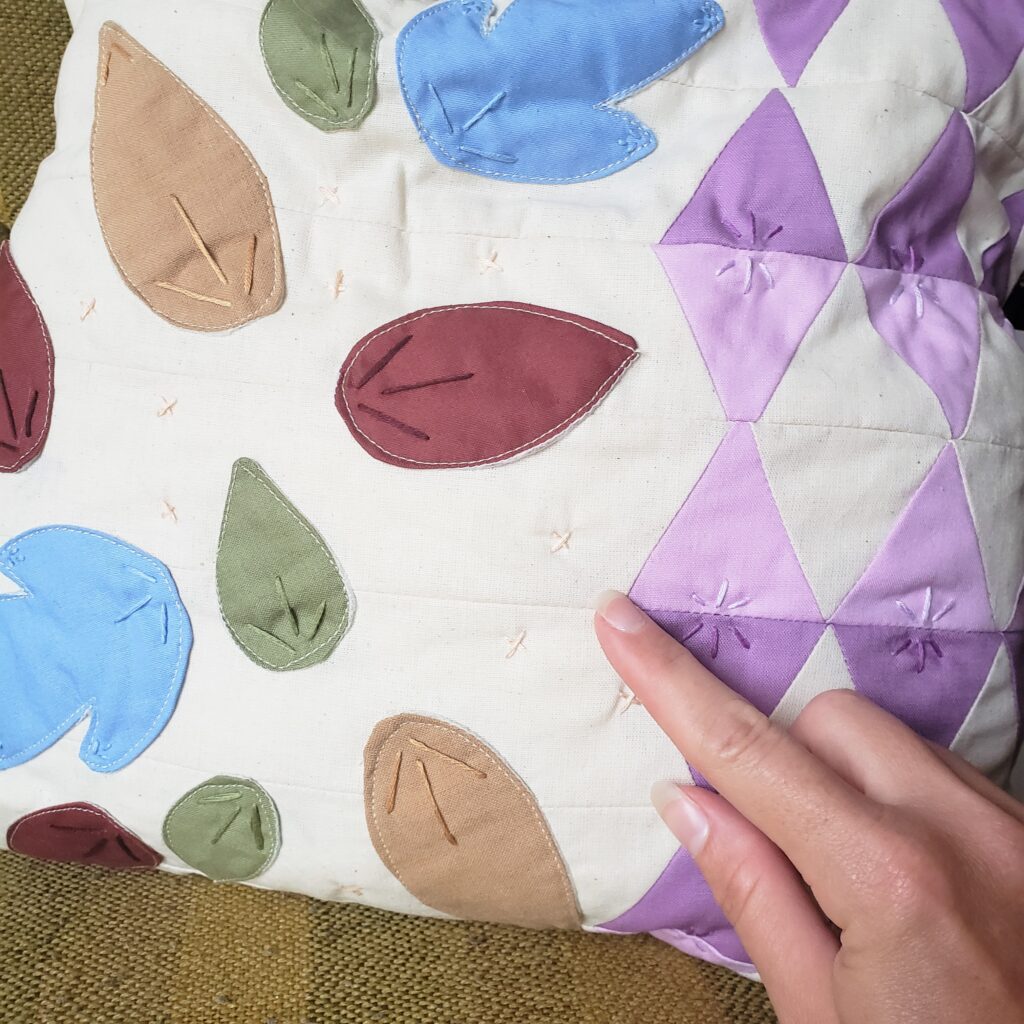
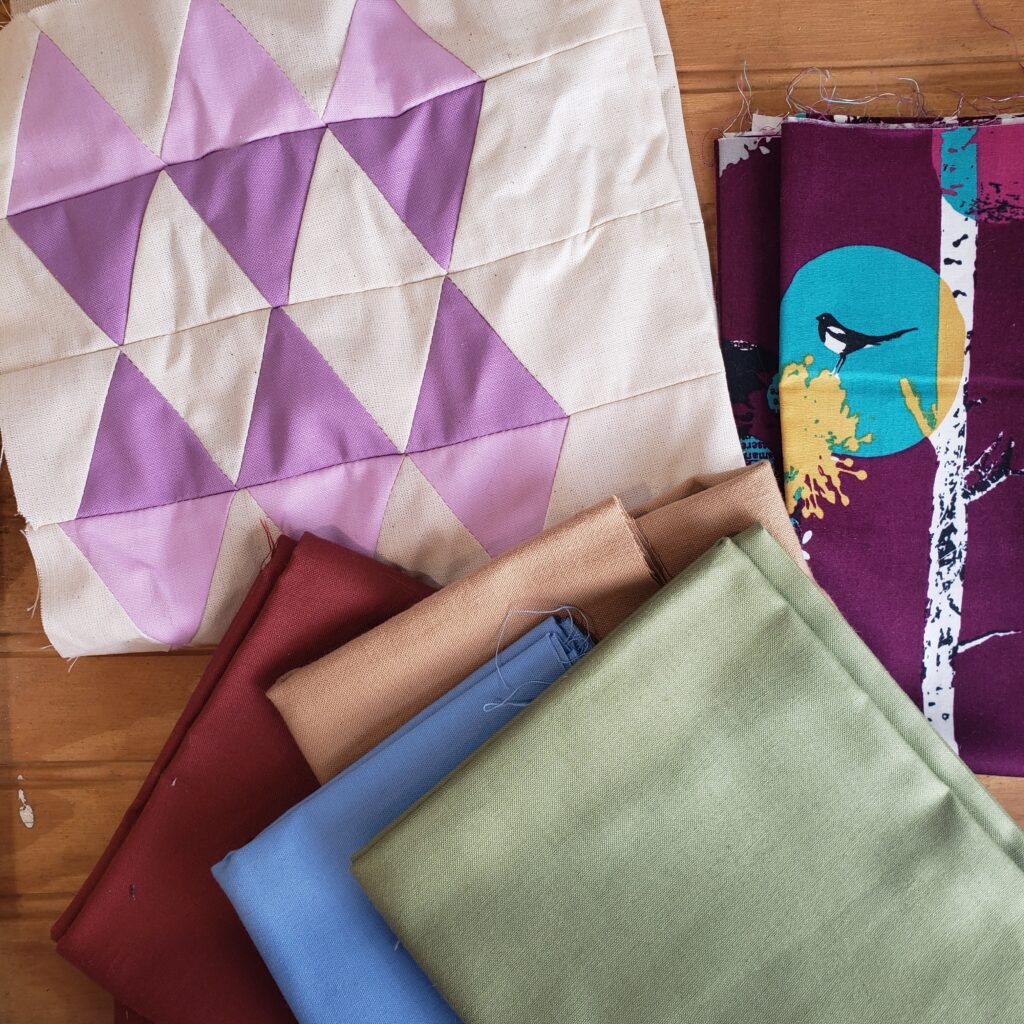
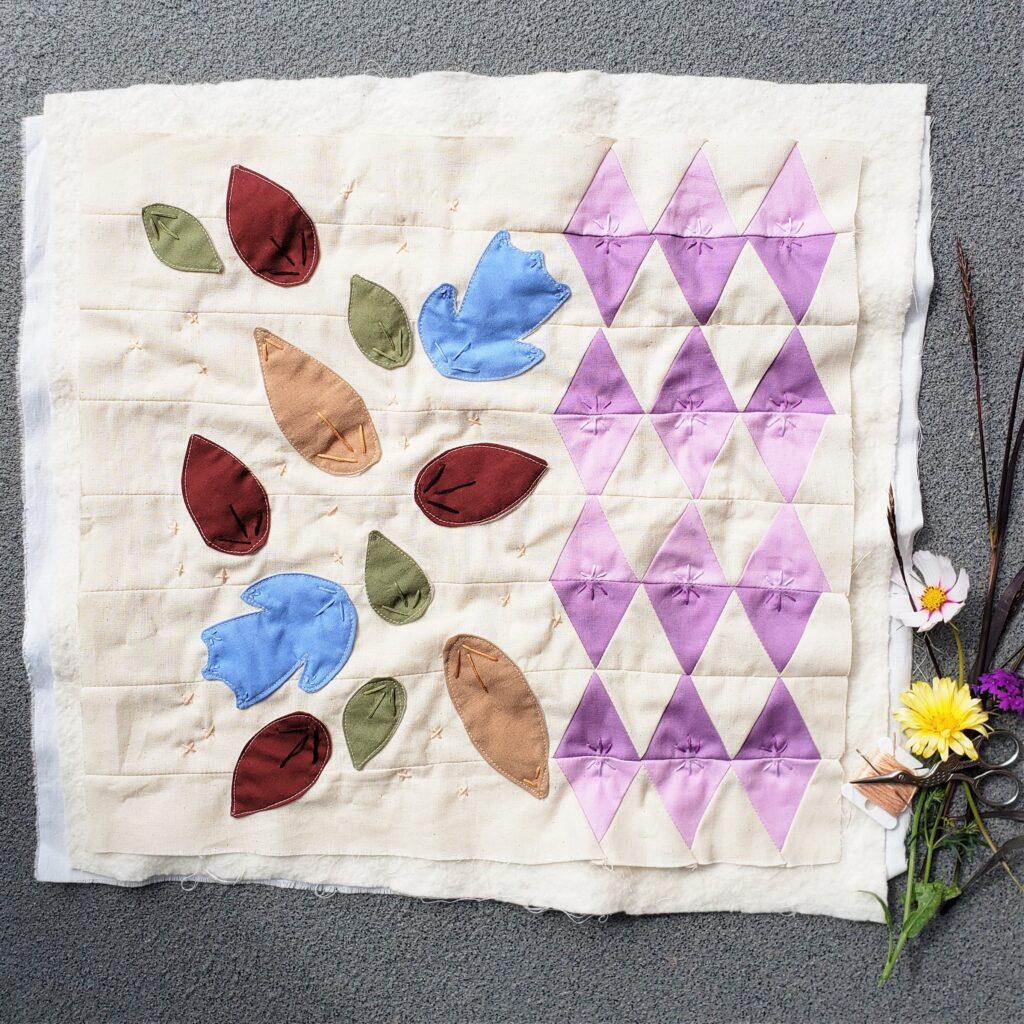
In the blog today, I am showing you the original background I created when I was testing the pattern. It varies slightly from the final version, but many of the elements are the same. The triangles feature two colors in the same family, just in different hues. You could skip this if you want to just have your diamonds all one color, but I like the variation and think it adds just a bit more depth of interest. Once the background is complete it is time to add the fun appliqué details to the open background side of the pillow. Again, I went off book for the appliqué, just using the leaves for a more autumnal look.
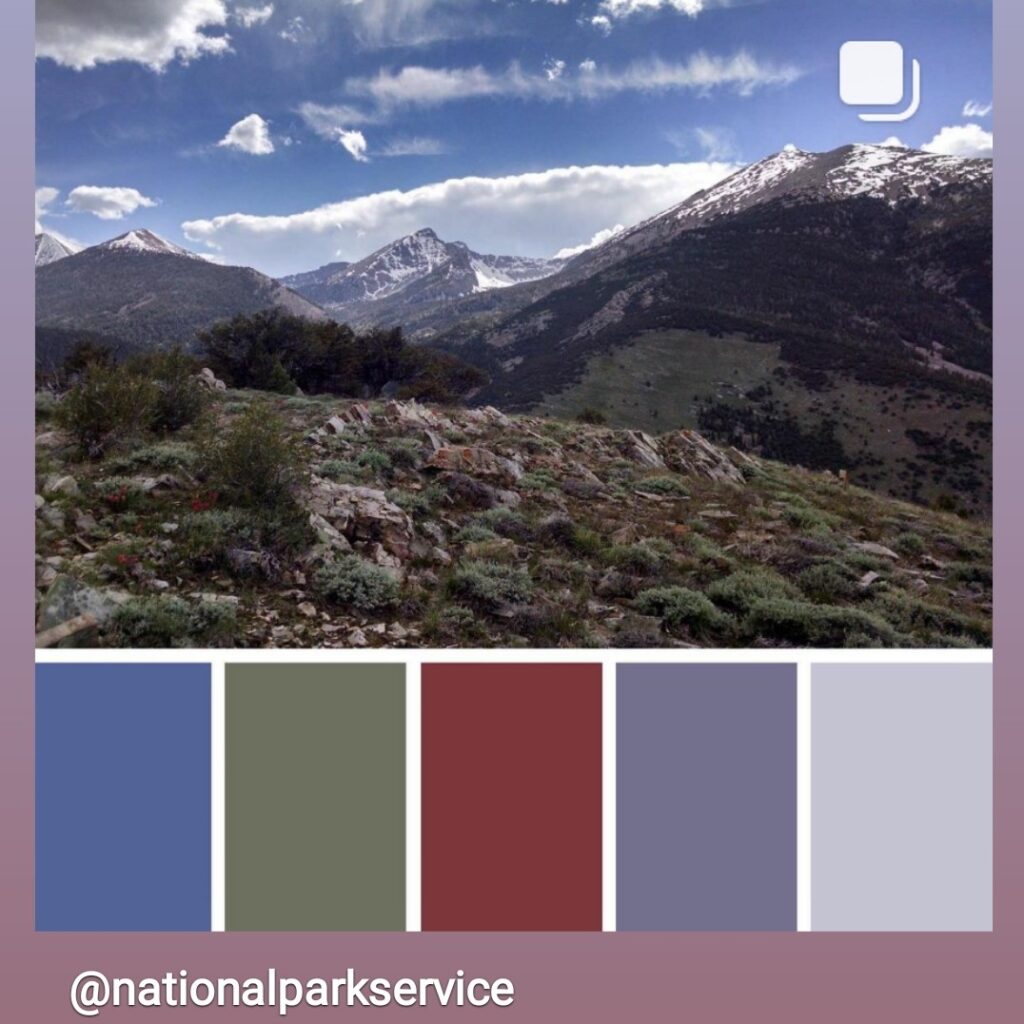
To complete the color palette choice for the pillow, I was inspired by a recent Instagram post by the National Park Service. The NPS took several pictures from various parks here in the USA and created basic color palettes for each. I felt really inspired by all of them, but the one that worked best with the background I had already begun was that of the Great Basin with the purple, dusty blues and greens, and a rust color. In addition to the NPS color palette, I added in a light neutral brown because I felt my pattern needed another neutral and to pull in some of the warmth from my background unbleached muslin. My solids are all Kona Cotton: Pansy and Petunia for the triangles, Periwinkle, Ivy, Wheat and Cocoa for the leaves.
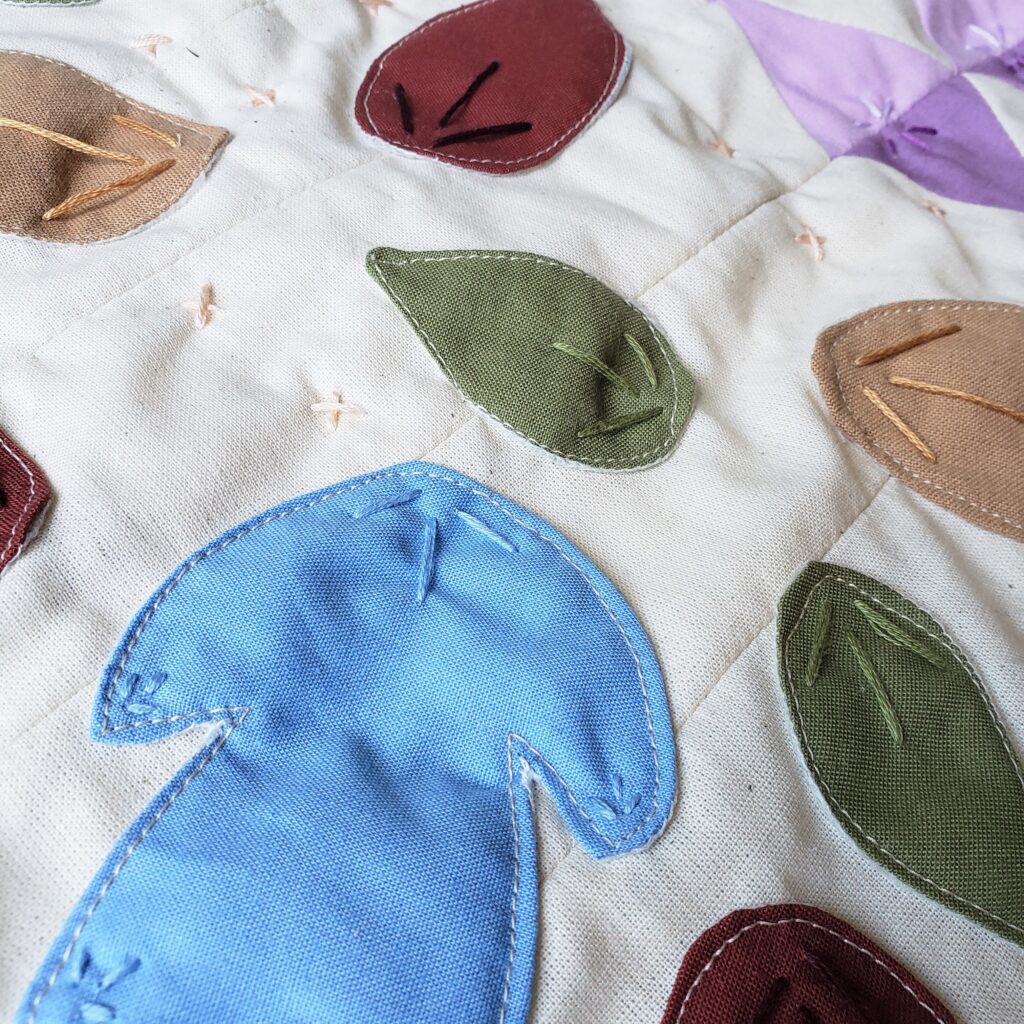
When I create appliqué, I like to have finished edges, but in a quick way. I have little patience for regular hand stitching, so I use a machine as often as possible. To create the turned edge for my leaves, I trace the pattern pieces using a washable white pen. Then I layer the pieces RST (right sides together) with a thin interfacing. I like Heat ‘N Bond Featherweight. I sew around the traced image basically right on the line. Don’t worry if you are a bit off of the line, no one will be able to tell once you turn the image right side out. Once all of the stitching is complete, cut out the images leaving a ⅛ in seam allowance. When they are all cut out, I take each appliqué and create a small slit in the interfacing by gently pulling it away from the cotton layer and cutting an opening with my scissors. Use the slit in the interfacing to pull and turn the right side of the cotton through and smooth around the interior seam to complete turning the image. Viola! Now you will have a piece of appliqué with turned edges. I also press with a hot iron to flatten and crisp up the image before adhering it to the background.
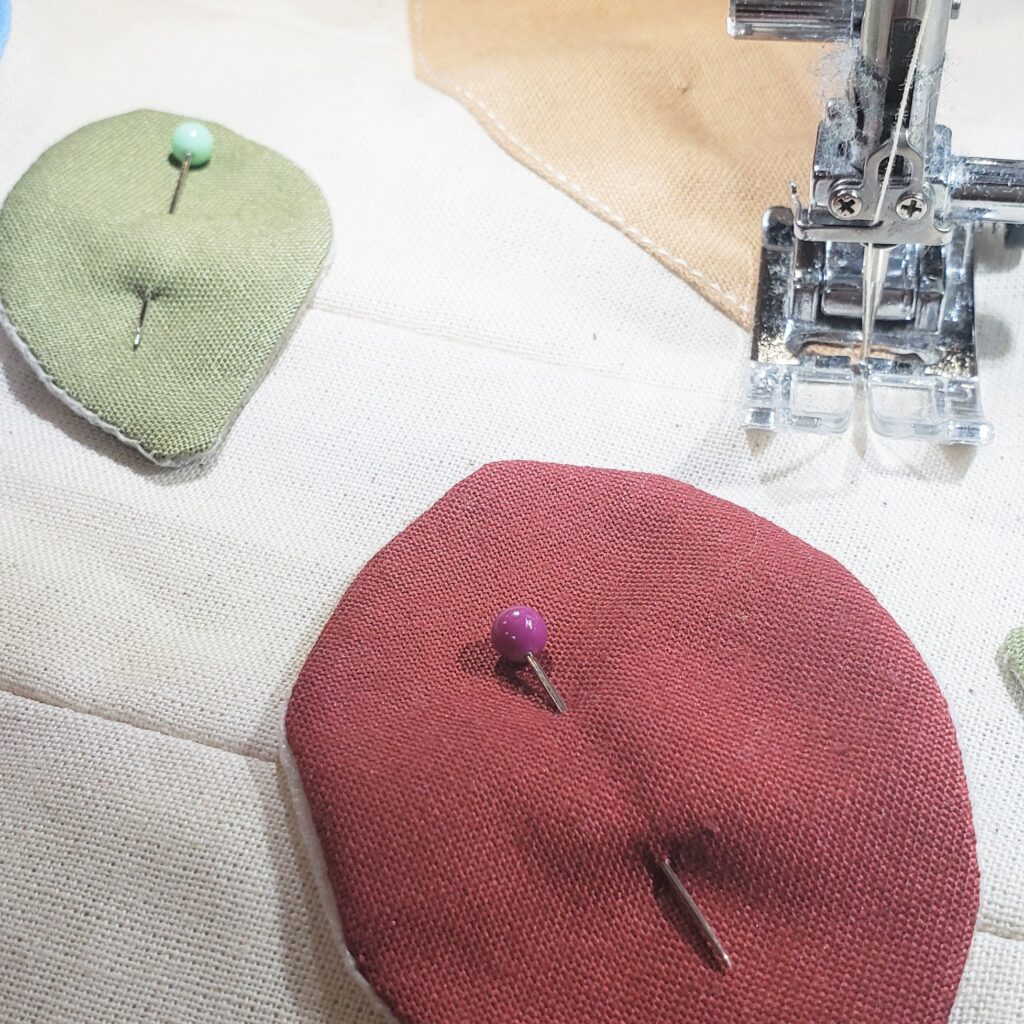
The appliqué can be adhered to the background any way you see fit. Truly, there are very few rules in sewing and quilting beyond seam allowance 🙂 I just played around with placement of the leaves until I felt they had the right cascading effect I was going for and pinned them in place to stitch down.
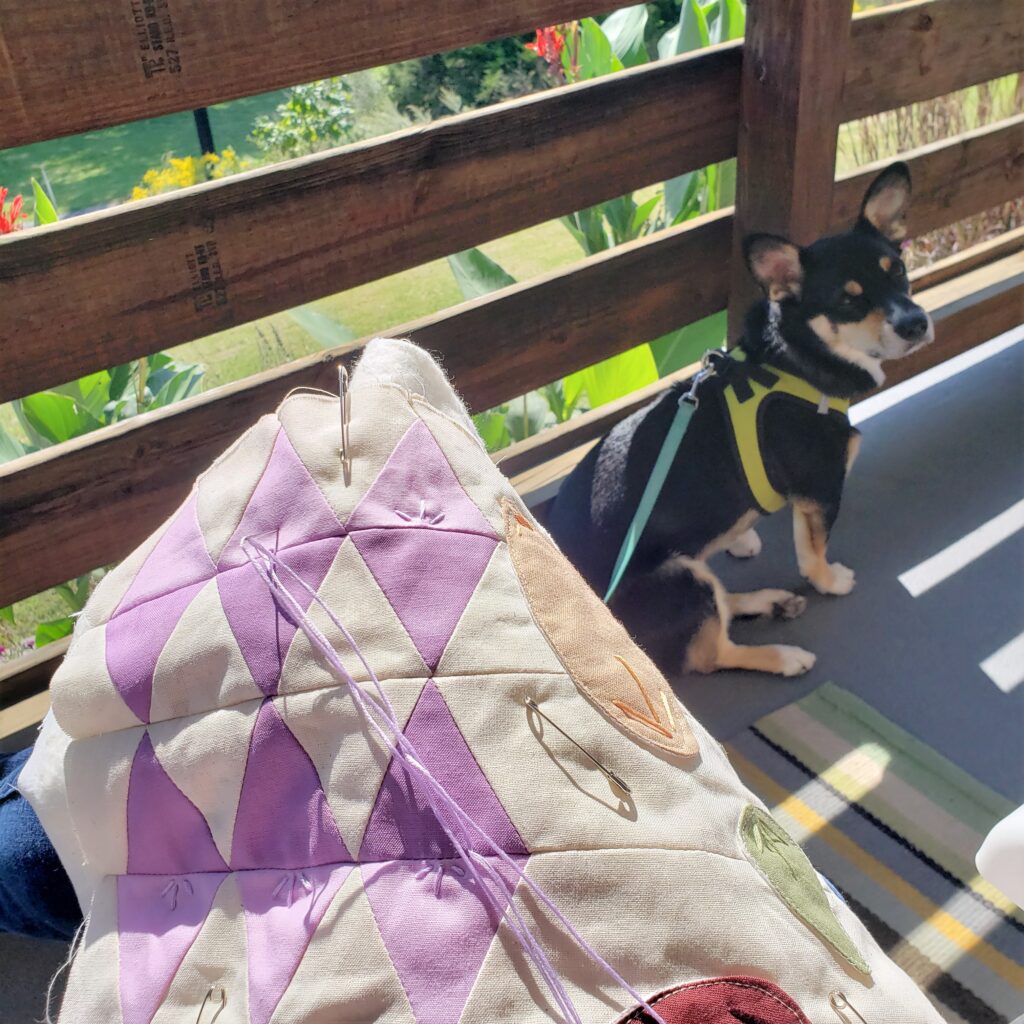
To complete my leaves, I first stitched them in place with thread color that matched my background fabric. Honestly, I don’t really love the look, but was too lazy to pick it out. So, to detract from the top stitching I added some embroidery details. In the magazine sample I created I used only embroidery details to attach the appliqué and it gave a much richer look, and also took a lot more time. For the version here I used a sparse amount of hand embroidery, but I feel it adds much needed texture and interest to the leaves. For something you will touch and see up close often, I think the time spent on hand embroidery is definitely worth it. I tried to match the embroidery floss to the cotton colors as best I could from my stash. If you wanted to be spot on, I’d take the cotton solids with me to the craft store and color match right from the large selection of DMC floss. In my case, I figured close enough was good for me. It was one of the last forecast warm days, so Nibbles and I sat on the porch and stitched several lines of embroidery on each leaf in a spray of three radiating from the tips of the leaves. I tried to keep it simple, yet interesting. Then to top it off and create a bit more background interest, I added groupings of small x marks in several of the open spaces between the leaves. The embroidery is the only quilting holding the pieced top to the batting and backing for the front of the pillow, but I think it adds such a sparse and handmade touch.
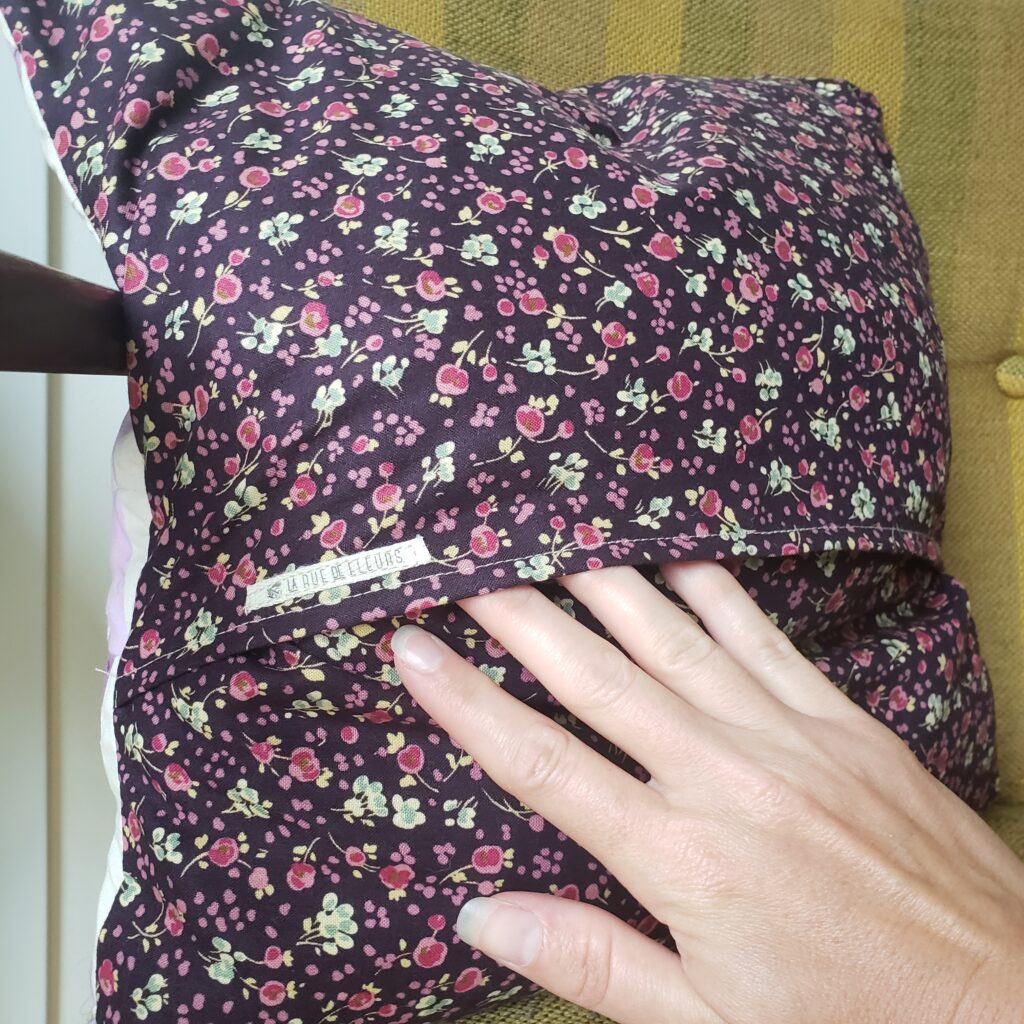
To complete the pillow overall I found a piece of printed fabric in a rich plum background with small twigs and flowers in colors similar to those on the front. I created a simple envelope opening for the addition of an insert. The pillow finishes at 15in square, perfect for stuffing with a 16in insert for that great, full pillow look. The size of the pillow finishes slightly larger when you use the We Like Sewing version, but you could just adjust the pieces down if you want a smaller size like I did here.
The Anke Autumn Pillow Cover will be available in my Etsy Shop for this holiday season and would make a lovely addition to your home or the home of a loved one. Purchase the Anke Pillow here.

Thank you so much for joining me to learn about how I created the Anke Pillow. I hope you feel inspired and will check out the We Like Sewing pattern when it is available!
Stay creative friends, Janice
Inspiration and resources are linked where applicable. All written work and photographs are original content and are copyright protected; kindly give due credit by linking back to my website or source website if you use or share.
(©2021, Janice Bailor // laruedefleurs.com)

