
Now that we have all of our beautiful fabrics selected for the Alpine Trail Shattered Squares Quilt, it’s time to get cutting! If you missed the fabric selection for this quilt, you can check out the previous post in the SHattered Squares Quilt with Me! series HERE, where I describe all of my picks in detail.
If you want to quilt-a-long and need the Shattered Squares Quilt pattern, you can grab it for PDF download HERE.
Here are my cutting tips for the Alpine Trail Shattered Squares quilt. If you have some cutting tips of your own, be sure to leave them in the comment section below so we can all benefit!
Cutting the Feature Print Blocks
The Shattered Squares Quilt pattern only looks complicated! Basically, for the purposes of cutting it is super simple and straightforward. The pattern calls for two different sizes of feature print squares which eventually get paired up to create the shattered square effect.
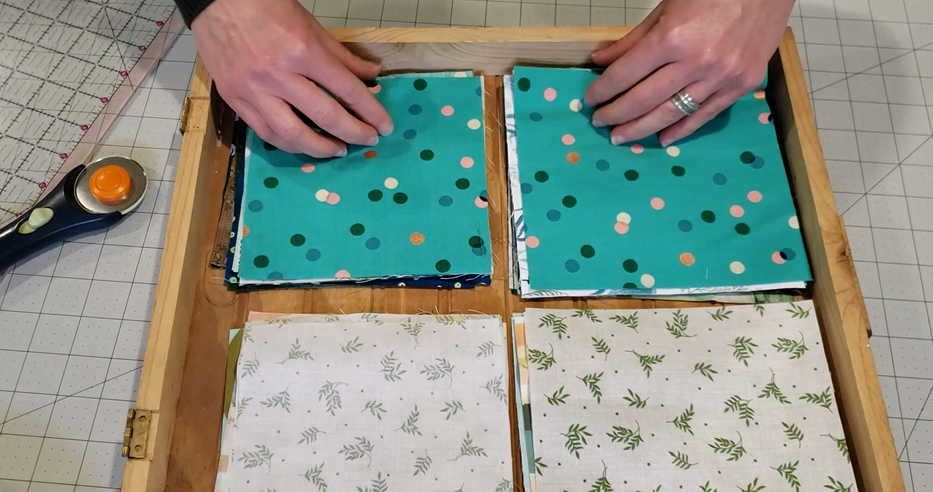
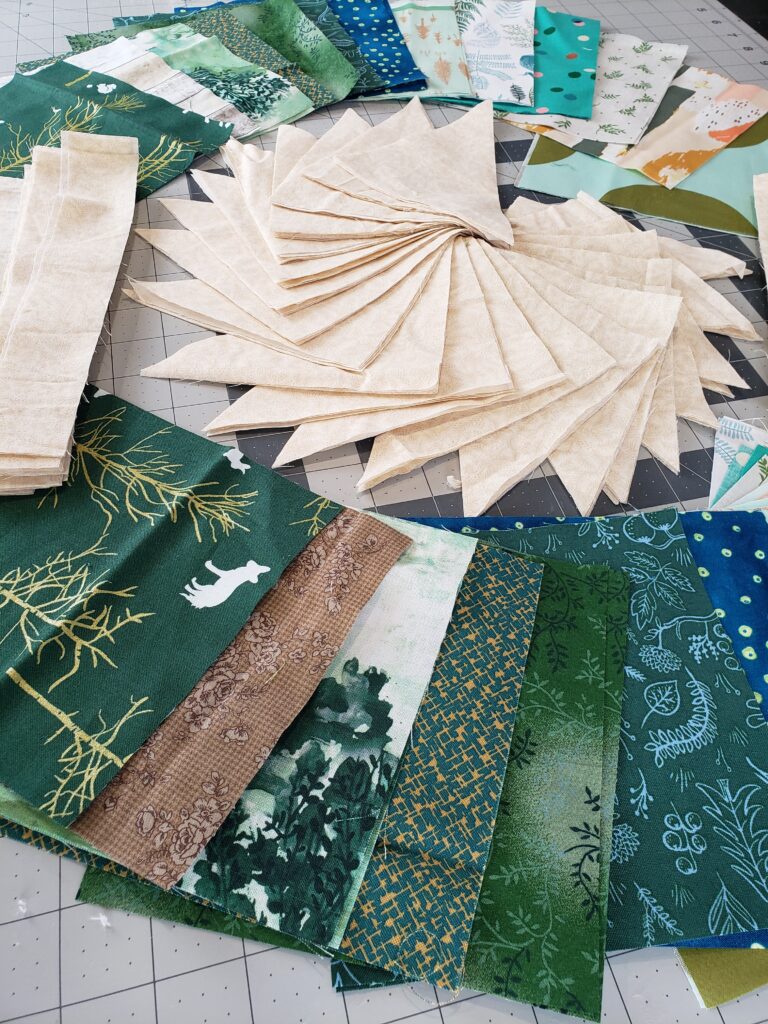
To begin, I always check over the fabric requirements of any pattern. This way I can make adjustments to the amount to cut based on any modifications to the number of blocks to complete the quilt size I want to make. The Shattered Squares Quilt pattern is another pattern in my collection great for using up smaller cuts of fabric. I recommend using 6-8 different prints for the throw version, which is what I will be working on throughout the series HERE on YouTube. However, you could make it much scrappier if you like. I have a hard time limiting my choices and I love using up my favorite cuts of fabric, so I always go for the scrappiest version of any option.
To begin cutting the blocks, I used my 6.5″ square acrylic ruler to cut the first size block. Then I also make a smaller block to complete the pair. HERE is the Omnigrid version I like as a value bundle. Clear rulers and rotary cutters make it extremely easy to see if I was cutting out a precision piece even if I only needed two from any scrap or fat quarter cut.
For larger strips of my selected prints, I simply cut them into strips and finally the squares required. I didn’t need to worry that I wouldn’t catch particular parts of the images, since the Shattered Squares pattern is specifically designed to use up scrappy all-over prints.
Cutting the Background
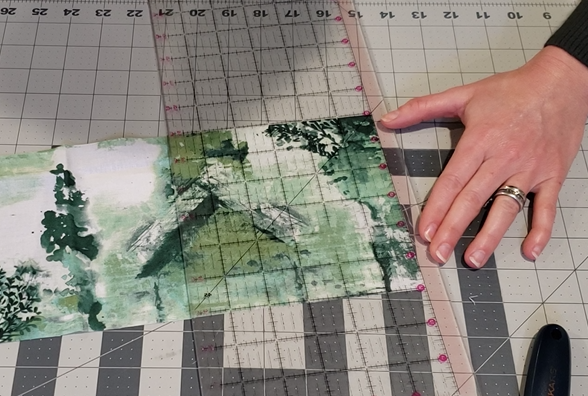
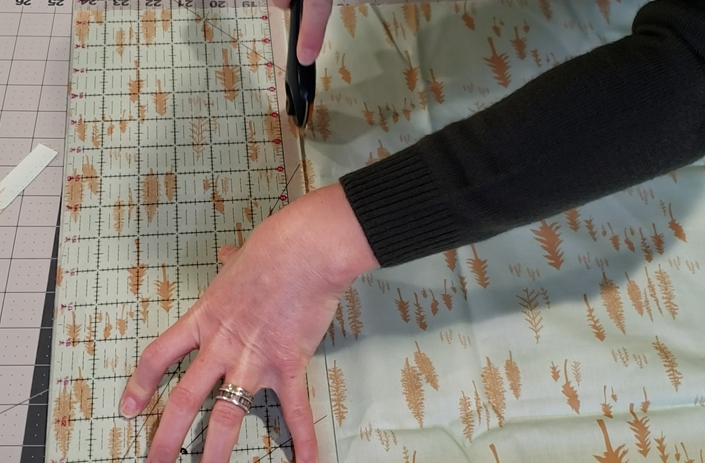
Cutting all of the background blocks and strips that surround the feature prints of the shattered squares, is very straightforward. Simply iron the fabric and trim all of the ends straight so you have a clean-cut starting edge. Then, just line up the straight edge and selvage edge along the grid of your cutting mat and slice! I typically fold my fabric in half so I am cutting through four layers which makes the process go fairly quickly. In no time at all, you’ll be ready to get sewing!
The Shattered Squares quilt works best with one background fabric or lots of low-volume scraps as the background. For this design, we want the offset geometry of the shattered squares to stand out. The background here is simply the background.

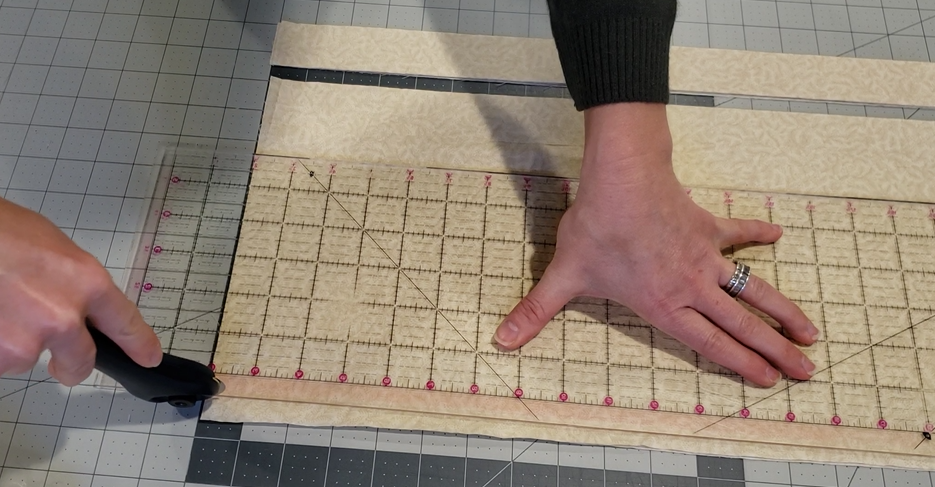
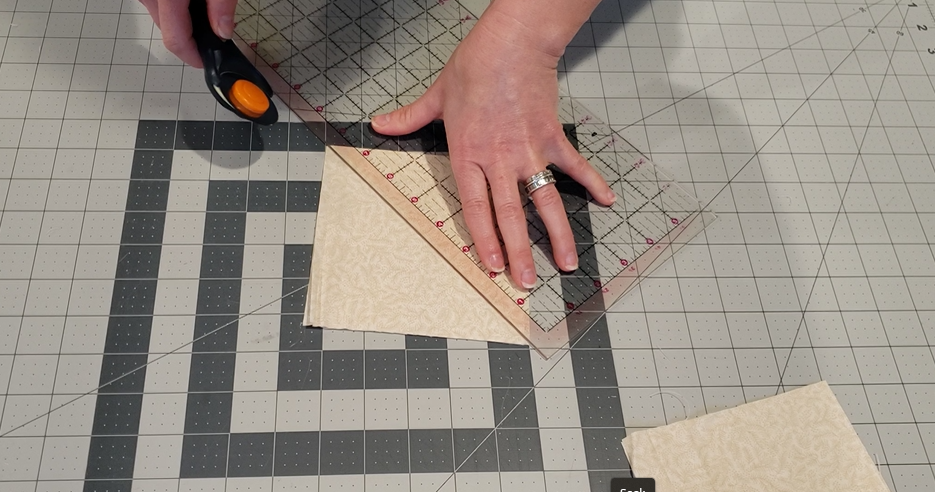
Creating the blocks for the background is the same as creating the feature fabric squares for the blocks. Simply cut the wider strips, then sub-cut them into squares. Then, in the final step, the background squares are sub-cut on the diagonal to create triangles which make the block sit at a jaunty angle. I love turning blocks on-point, as it really makes the details of each shattered square have a lot of movement and pop off the background of the quilt.
Work Along with Me
The Shattered Squares Quilt is a great way to get those beautiful scrap blocks and fat quarters used up and highlighted using a fun twist on basic squares and triangles. The on-point half-square triangle style block finishes at approximately 8″ square, which means you can create a fun scrap busting quilt pretty quickly. Everyone loves a quick win!
In this week’s video, I share a few tips on cutting the fabrics for our Alpine Trail Shattered Squares Quilt. These tips include:
- preparing your fabric for cutting
- ways to slice and dice fabric quickly
- sub-cutting scrap fabrics and fat quarters
To view the video and see all of the tips, click the video box below.:
Quilt With Me!: The Shattered Squares Quilt
Grab the Shattered Squares Quilt Pattern for just $10 USD HERE. Then pop on the video for a few quick suggestions before you cut. After you’ve cut up all your fabrics based on those tips, join me to machine stitch the simple to create quilt blocks. I swear they only look complicated!
In upcoming videos, we will work together as we talk about putting each block together and finally piecing the entire quilt top.
If you join in with the video or create the Shattered Squares Quilt on your own, don’t forget to share your work with the La Rue de Fleurs community by tagging me on IG @laruedefleurs and using the hashtags #shatteredsquaresquilt and #laruedefleurspatterns. I hope you’ll join me and have some fun using those mixed fat quarters and scraps!
Stay creative, friends!
Inspiration and resources are linked where applicable. All written work and photographs are original content and are copyright protected; kindly give due credit by linking back to my website if you use or share.
(©2022, Janice Bailor // laruedefleurs.com)