Now that we have our beautiful fabrics pressed and cut for the Alpine Trail Shattered Squares Quilt, it’s time to get sewing! For my quilt, I will be sewing up 72 blocks to make the elongated throw size I want for the room. Each pint in soft greens with woodland vibes will repeat several times within the consistent background. I hope that the quilt will be welcoming and serene to go with the cozy vibe of our remodeled media room. If you missed the fabric selection for this quilt, you can check out the previous posts in the Alpine Trail Shattered Squares series HERE and HERE, where I describe all of my fabric picks and other block preparation in detail.
If you want to quilt-a-long and need the Shattered Squares pattern, you can grab it for PDF download HERE.
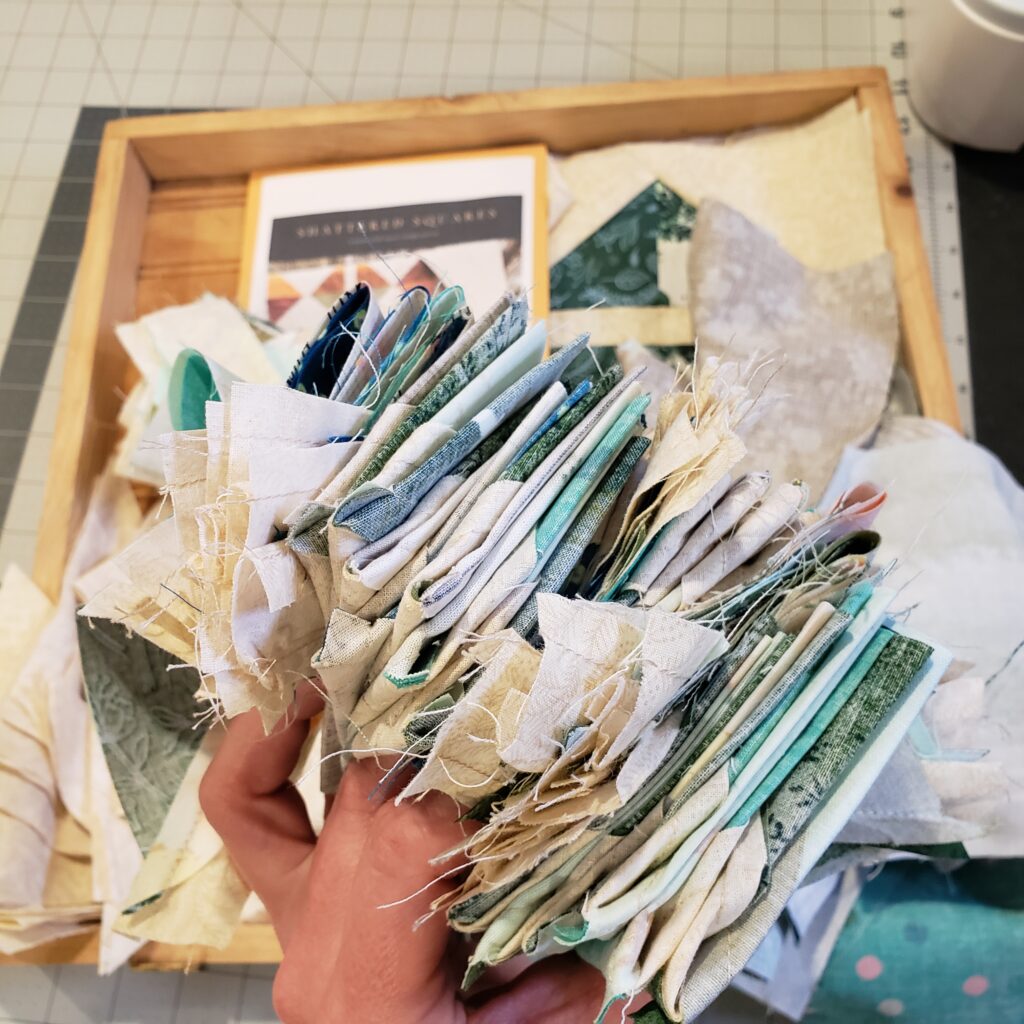
Here are my sewing tips for the Alpine Trail Shattered Squares quilt. If you have some tips of your own, be sure to leave them in the comment section below so we can all benefit!
Organizing Fabric Pairs
The best part of quilting is creating the magical assembly of little scraps and strips of fabric into a cacophony of color! But the success of most quilts comes down to the basics of organization and preparation. I recommend sorting all your fabric strips and squares into groupings by color, pattern, and length before you begin. The tidy stacks will keep you on track as you work through the piecing of each stage in the pattern. If you have everything lined up and ready to go you will be able to chain piece (leave each piece attached to the one before and after it), minimizing wasted time and thread. Good preparation also minimizes time wasted moving back and forth from your machine.
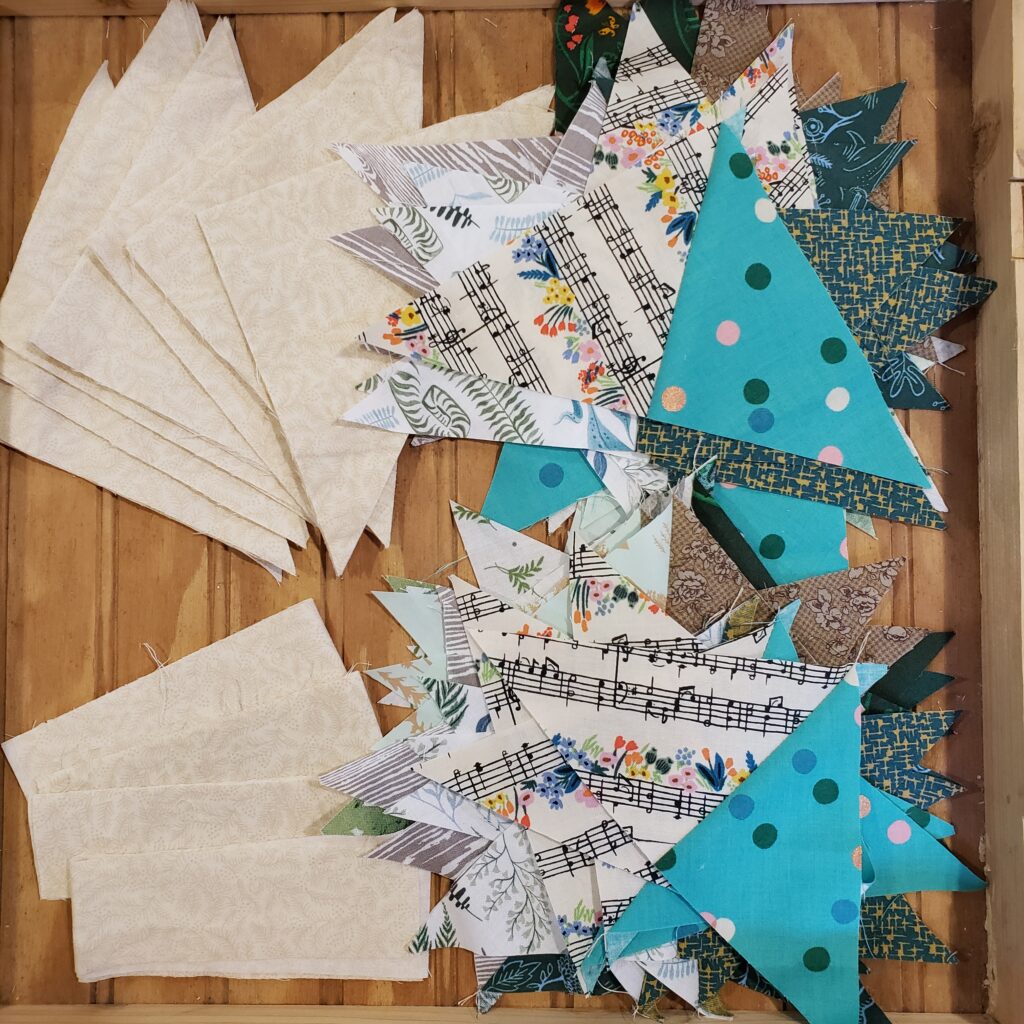
I made sure to use a variety of fabrics to keep my quilt interesting and have the scrappy style I like. However, as you may recall from the build your best bundle post, I was working with a very limited color pallet and theme. I like to do this especially when I am trying to create a specific vibe or tell a specific story through the quilt. For the Alpine Trail Shattered Squares Quilt, I wanted every choice to reference the woods or nature. Of course, there are a few simple geometrics in the mix as well, just to add color and texture.
To make sure I got a good mix of light and dark greens all over the quilt, I made sure to choose different combinations of my fabrics when matching them up into pairs for the shattered squares. I also tried to pay attention to separating very similar prints in theme or design so they could all stand out. For example, I did not put the two fern prints together because they were too similar to each other. Other than that, I just went with my gut and had fun pairing up the prints I had chosen.
Sewing the Block Pairs
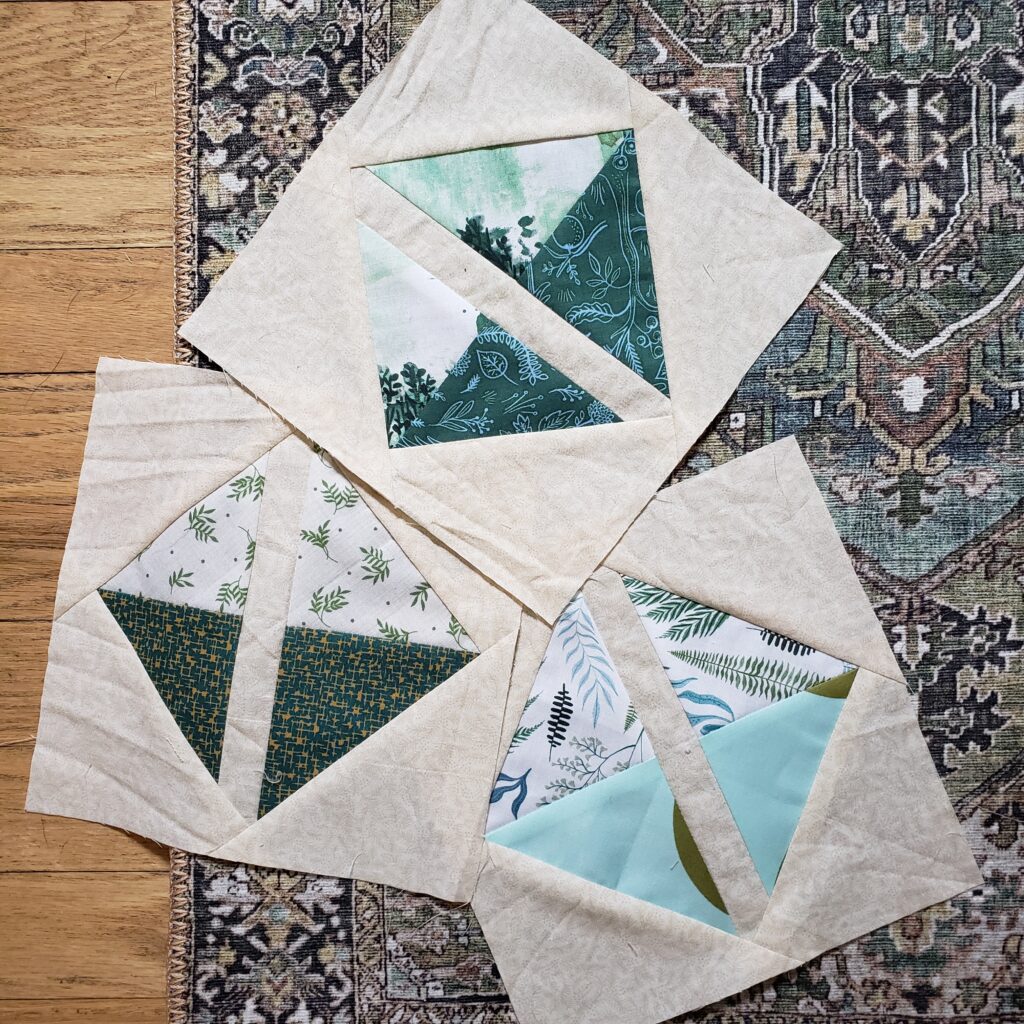
The Shattered Squares pattern has you grouping your larger and smaller cut squares together, then sewing down either side of the center on a diagonal. Once sewn, you will cut the squares into four pieces to reveal four pairs of half-square triangles.
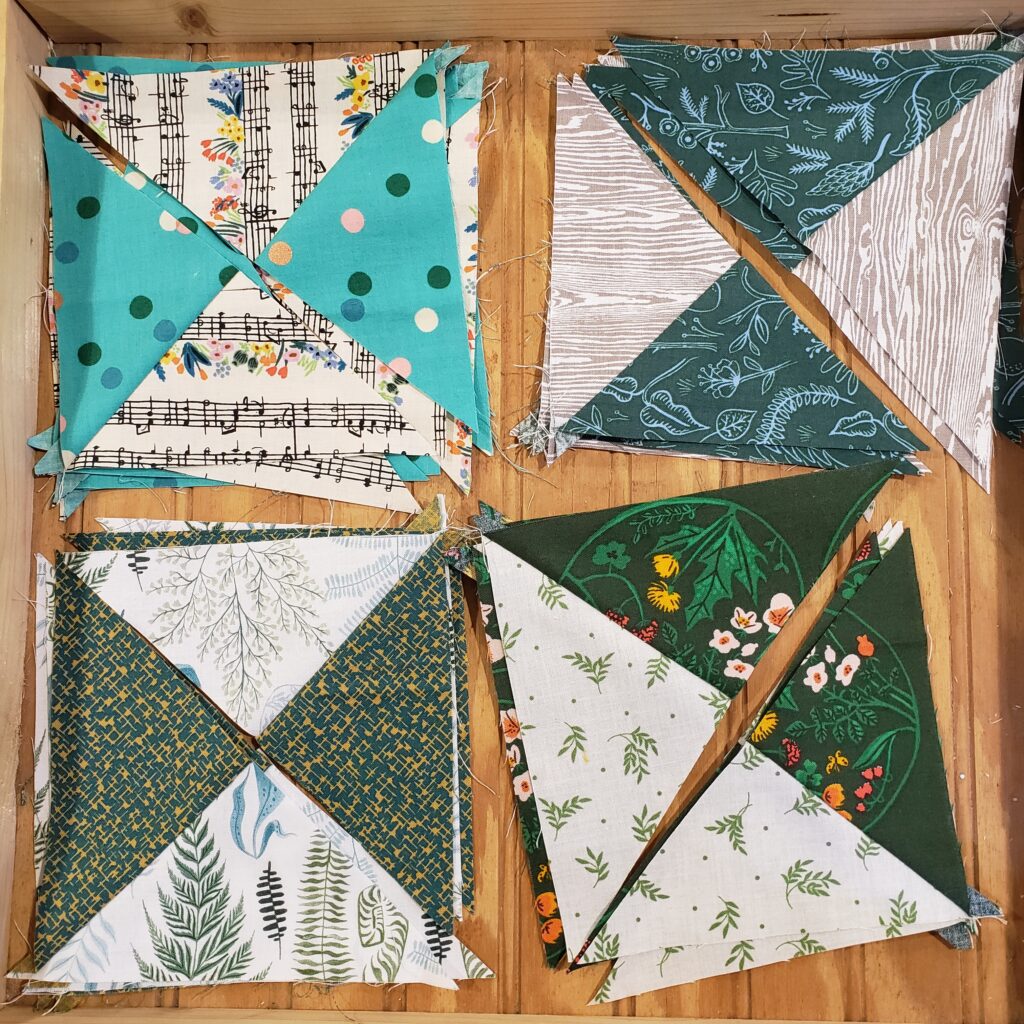
After the squares have been cut open according to the pattern directions, it is time to pair up the two sizes and their corresponding triangles of patterns. The central strip of background fabric gets added in at this point to keep the pairs together and provide the “shattered” effect.
I worked through several grouping of pairs before cutting, pressing, and trimming. For this block, it is not necessary in my opinion to trim off the overlap of the central strip. The triangle background corners will be sewn over the strip and not cutting provides a little extra wiggle room if all of your HSTs didn’t line up perfectly.
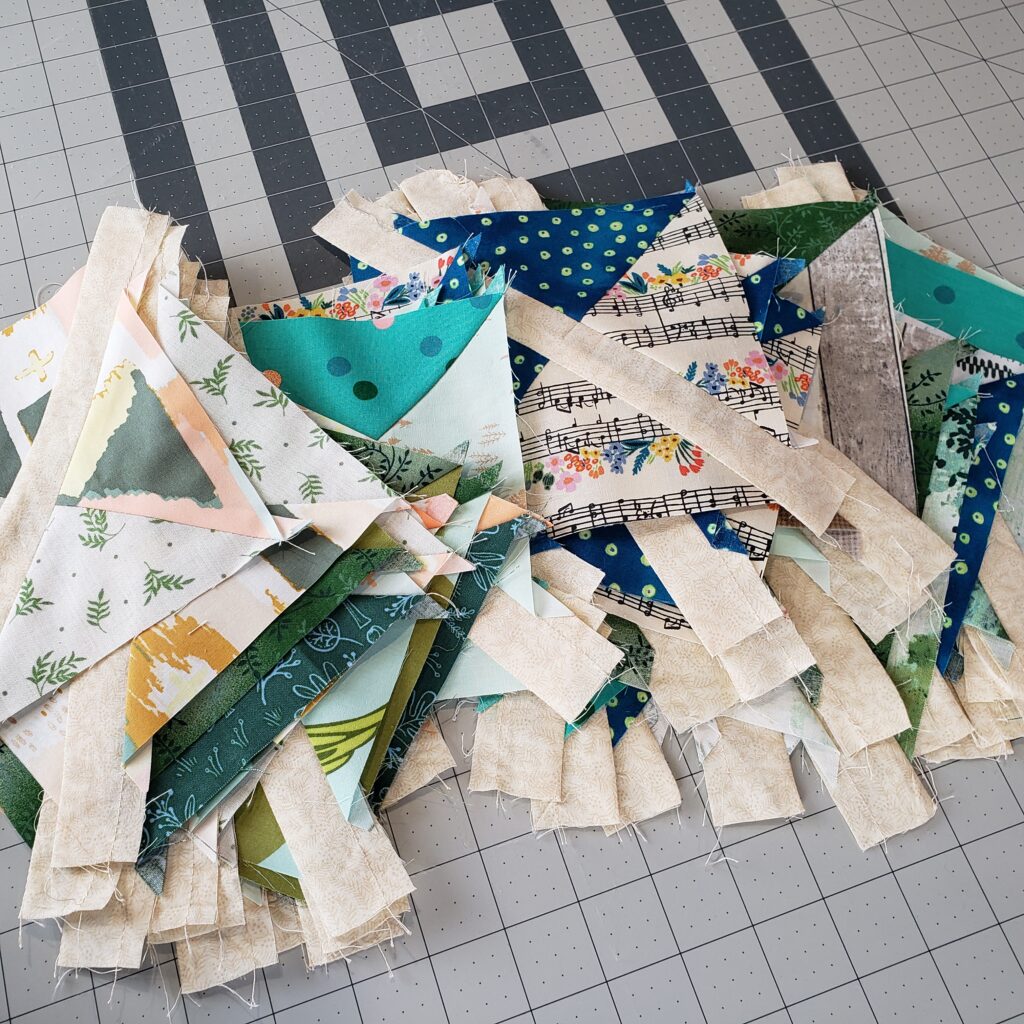
Adding the Background Corners
Once all of the central strips have been added to the feature fabric triangle pairs, it is time to set all of the blocks on a slight tilt. The fun part of the Shattered Squares Quilt pattern is that the triangle pairs are slightly off-centered within the block! The addition of the corner background pieces floats the block in an interesting and fun way. I also feel it further makes each block stand out because they have a little bit of a place for the eye to rest in between each statement piece.
Finally, we need to press the blocks one more time to find a center line on each side of the block to line up our triangle background pieces. By pressing everything in half, we find a simple center that acts as the alignment guide. Typically, I pin the background shattered square pieces to the background triangles at the crease and sew one side, then the opposite. Then I rotate the block and sew the additional two opposing sides to finish the block.
The final step is to trim all of the blocks to a neat 8.5″ ready to put together into rows and columns to complete the quilt top!
I can’t wait to get all of my blocks completed and put the whole quilt top together! I am sure it will have the calming and cozy effect I am going for in the media room. I am also so excited to finish this project overall and start enjoying our new space with family and friends!
Work Along with Me
The Shattered Squares Quilt is a great way to play with half-square triangles and experiment with a fun twist on basic squares and rectangles. The on-point half-square triangle-style block finishes at approximately 8.5″ square, so you can build an eye-catching quilt quickly. Everyone loves a quick win!
In this week’s video, I share a few tips on piecing the blocks of our Heather Ross Geometry Dash Quilt. These tips include:
- how to organize and sew your blocks efficiently
- ways to organize your cut pieces for each block
- lining up and matching points for a crisp finish to the block
To view the video and see all of the tips, click the video box below.:
Quilt With Me!: The Geometry Dash Quilt
Grab the Shattered Squares Quilt Pattern for just $10 USD HERE. Then pop on the video for additional tips before you start sewing. After you’ve prepared all your blocks based on those tips, join me to machine stitch the simple to create quilt blocks!
In upcoming videos, we will work together to piece the entire quilt top and complete our Alpine Trail Shattered Squares Quilt!
If you join in with the video or create the Shattered Squares Quilt on your own, don’t forget to share your work with the La Rue de Fleurs community by tagging me on IG @laruedefleurs and using the hashtags #shatteredsquaresquilt and #laruedefleurspatterns. I hope you’ll join me and have fun using those triangles with a twist!
Stay creative, friends!
Inspiration and resources are linked where applicable. All written work and photographs are original content and are copyright protected; kindly give due credit by linking back to my website if you use or share.
(©2022, Janice Bailor // laruedefleurs.com)