Now that we have our beautiful Heather Ross Geometry Dash Quilt blocks completed, it’s time to get sewing the top together! We are in the home stretch! Now we get to see the amazing whirlwind of colors come together as we stitch all of the blocks together into rows to complete our quilt top. If you missed any of the previous posts from fabric selection for this quilt to piecing the blocks, you can check out the previous posts in the Geometry Dash series part 1 on fabric selection, part 2 on cutting fabrics, and part 3 on piecing the blocks where I describe all of the processes in detail.
If you want to quilt-a-long and need the Geometry Dash pattern, you can grab it for PDF download HERE.
Here are my sewing tips for completing the Heather Ross Geometry Dash quilt. If you have some tips of your own, be sure to leave them in the comment section below so we can all benefit!
Arranging the Blocks
Once you reach the stage of sewing all of the blocks together, the real fun begins as you see your work combining into what will soon be the completed quilt top. I recommend sorting all of your blocks into groupings by either dominant color or pattern before you begin. Tidy stacks will keep you on track as you lay out the rows of your quilt top. If you have everything organized and ready to go you will be able to know which blocks you want to work with and how many of each dominant color or pattern are available. Good preparation also minimizes time wasted moving each block around to space out the colors or patterns evenly across the quilt top.

I made sure to use a variety of fabrics to keep my quilt interesting and have the scrappy style I like. However, when I go to lay out my quilt I want to keep in mind the placement of both the feature fabrics and dominant colors of each of my blocks. For this quilt, I am keeping all of the feature fabrics organized and together across the rows. The Chloé girl fabric was the main feature print, so it will be placed one the central row. Then I work out from the center to distribute any like prints, such as the floral medallions and woodland scene in alternating rows. Generally, I place darker fabrics toward the bottom to “ground” the quilt. Notice the brown floral medallion is the bottom row. Finally, the other main feature print, the light unicorns, is placed at the top of the quilt in another dominant row for the eye.
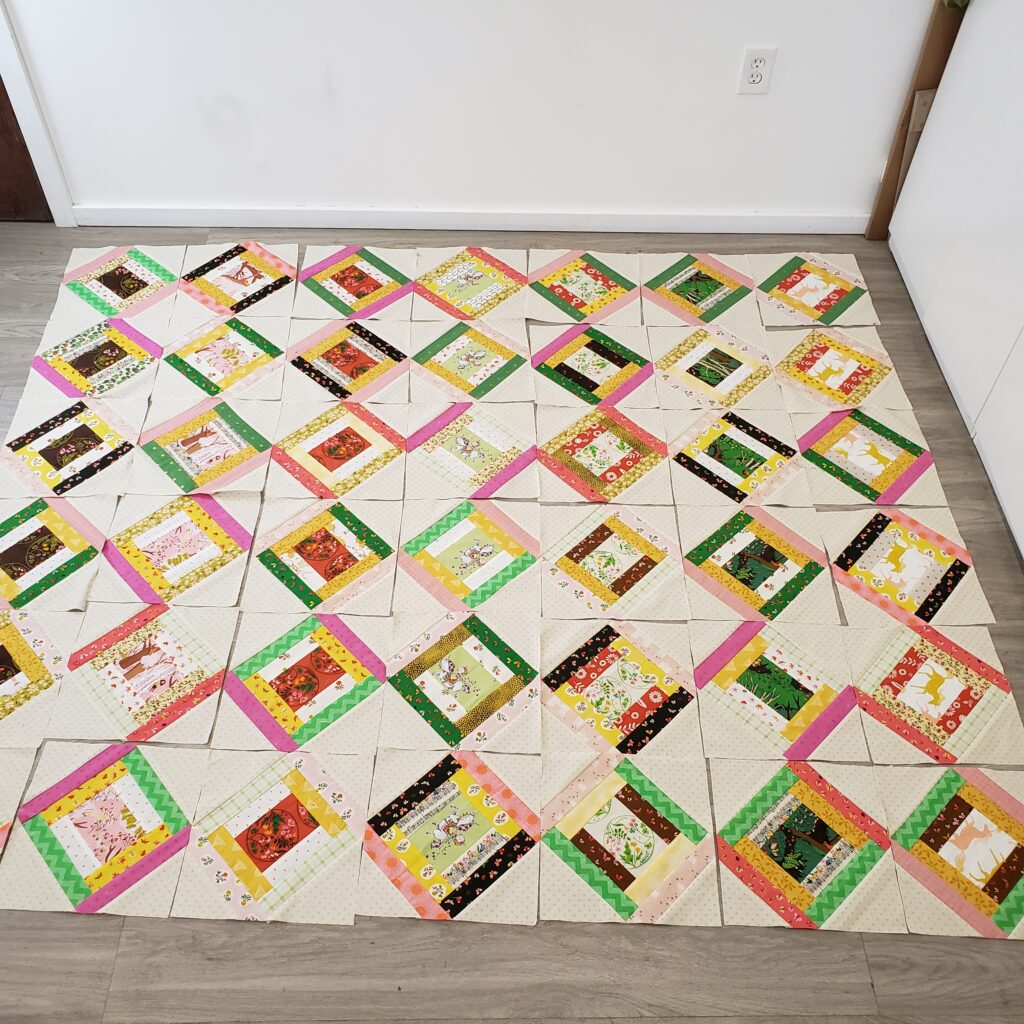
I do not want all of the dark colors located right next to each other. Nor do I want too many similar fabrics right next to each other. I want the fabric colors to bounce around the quilt top which will pull the eye around the entire surface and keep the quilt from being overly dark or light in any one area. Take a picture of your layout and then turn it into black and white to help you see if all of the darks and light values have been generally evenly distributed around the quilt.

Sewing the Blocks into Rows
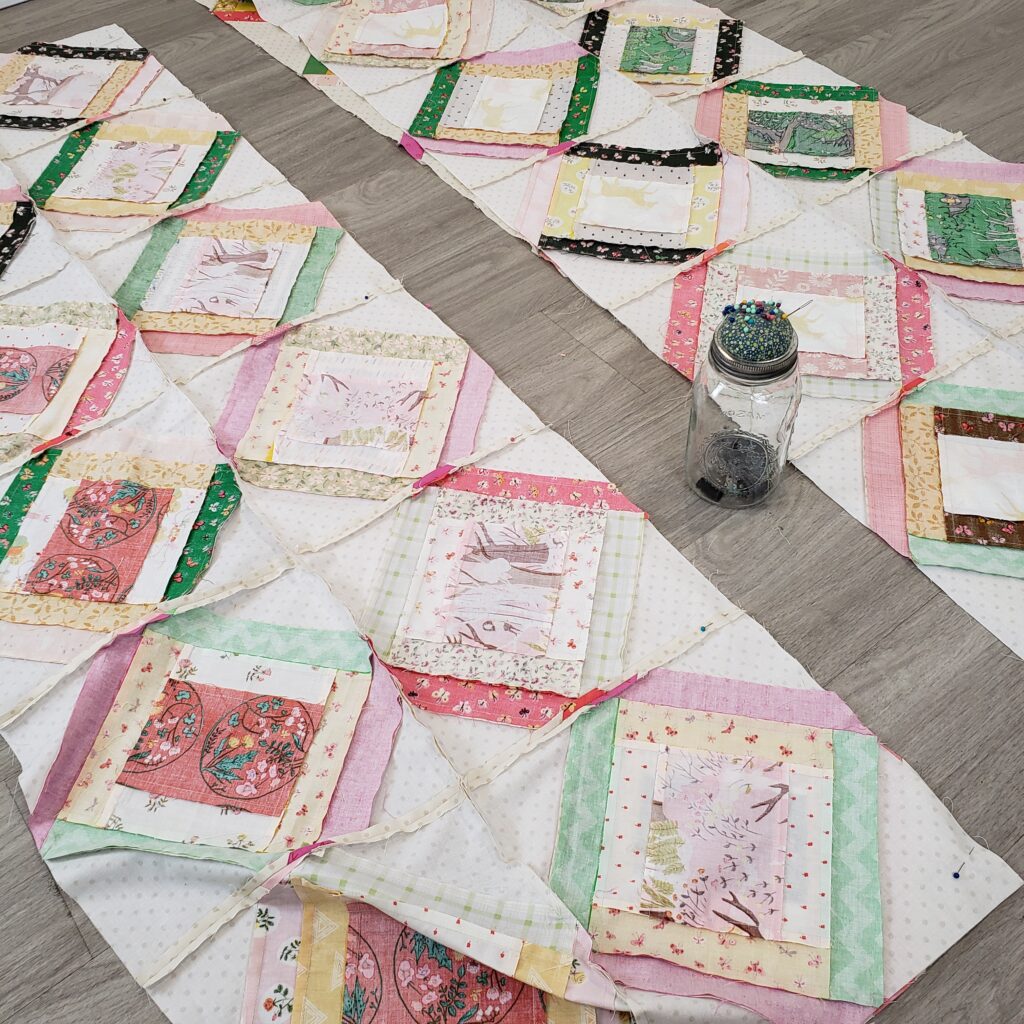
The Geometry Dash goes together really quickly once you decide on your preferred layout. I recommend marking your rows with either a letter or numbered piece of paper or pin just so you don’t forget which row you carefully ordered where.
There are many ways to complete your quilt top! Do what works best for your mind and organizational style. When I’m piecing my rows, I just want this time to be somewhat mindless and task-oriented. I have come up with a system that works for me so I can zone out on a podcast or daydream. I work from left to right placing the block to the right face down on the one before it so I can sew down the right side seam. When the row has been completed, I return it to its original place in the layout before moving on to the next row. Then I flip the rows on top of one another in order by the alphabet marker until I’ve sewn all of the rows together. For me, this keeps everything from getting mixed up, but you do you.
Completing the Quilt Top
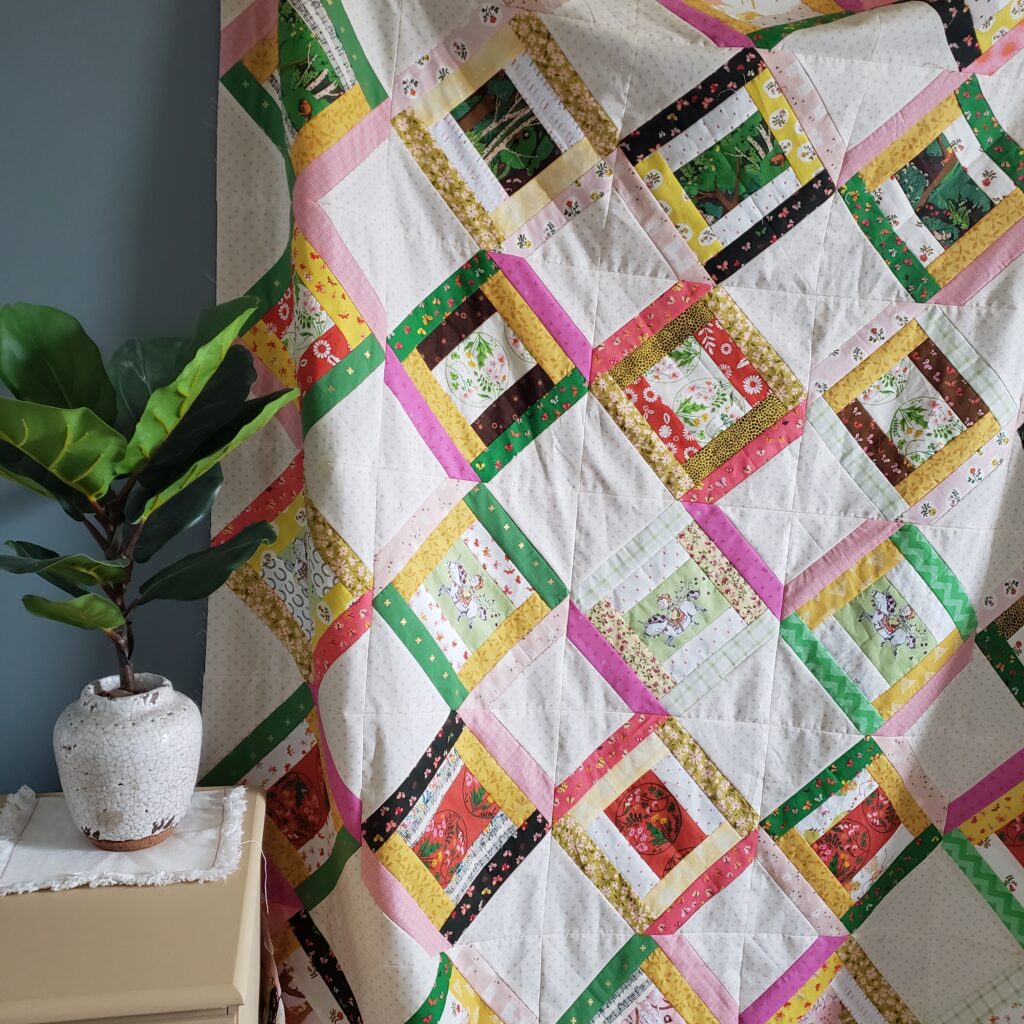
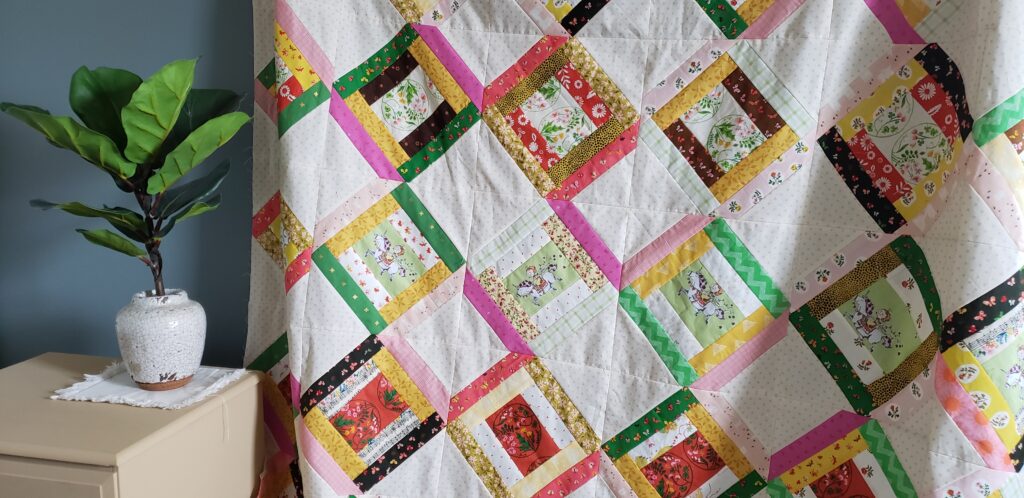
Once all of the rows have been sewn together, I pop the quilt top onto the ironing board and press all of the seams open. The fun part of the Geometry Dash Quilt pattern is that the traditional log cabin receives a literal spin! The completed top has lots of movement in both colors and with the rotation of the blocks themselves. The overall finished design reminds me of a piece of twisted hard candy!
My favorite thing when designing a pattern is thinking about whether or not it would look different in multiple versions. Obviously, the quilt could be amazing in many other themes and colorways. I think a scrappy version would be such a fun way to use up large feature prints left over from other projects. Rainbows are always stunning. You could work from the top down in a ROY G BIV layout to get the same size twin I worked on here. And, I think it would be fun to try the Geometry Dash pattern with an emphasis on the background and make the central fabrics more subdued. What would that look like if the concept of the pattern were completely turned on its head?! Now I want to find out!

I can’t wait to create the backing and finish my Tiger Lily Geometry Dash Quilt! I am also so happy to have finally used and enjoyed this amazing Heather Ross Tiger Lily bundle! A completed project that showcases your fabrics is always better than a hoarded bundle on the shelf.
Work Along with Me
The Geometry Dash Quilt is a great way to get those beautiful large prints used up and highlighted using a fun twist on basic squares and rectangles. The on-point log cabin style block finishes at approximately 12″ square, so you can build an eye-catching quilt quickly. Everyone loves a quick win!
In this week’s video, I share a few tips on completing the Heather Ross Geometry Dash Quilt. These tips include:
- how to organize and sew your blocks and rows efficiently
- ways to work through your sewing without pinning
- laying out the quilt blocks
- what to do with off-cuts so you don’t waste a thing!
To view the video and see all of the tips, click the video box below.:
Quilt With Me!: The Geometry Dash Quilt
Grab the Geometry Dash Quilt Pattern for just $10 USD HERE. Then pop on the video for a few finishing suggestions before you create. After you’ve selected, cut, and pieced all your fabrics based on those tips, join me to machine-stitch the entire quilt together!
Watch the complete Quilt with Me! videos HERE, where we will work together to piece the entire quilt top and complete our Heather Ross Geometry Dash Quilt!
If you join in with the video or create the Geometry Dash Quilt on your own, don’t forget to share your work with the La Rue de Fleurs community by tagging me on IG @laruedefleurs and using the hashtags #geometrydashquilt and #laruedefleurspatterns. I hope you’ll join me and have some fun using those large prints and strip scraps!
Stay creative, friends!
Inspiration and resources are linked where applicable. All written work and photographs are original content and are copyright protected; kindly give due credit by linking back to my website if you use or share.
(©2022, Janice Bailor // laruedefleurs.com)