
This week I am sharing how to create the decorative sprinkle stitches on the Anniken Pillow! Last week, I walked you through how to create the outline stitch on the triangle patchwork. If you missed that post, catch up HERE. There is also a La Rue de Fleurs’ Channel YouTube video walking you through the hand stitching, appliqué, and creating the pattern’s triangle background. You can watch that via a link in the aforementioned blog post, or HERE on YouTube.
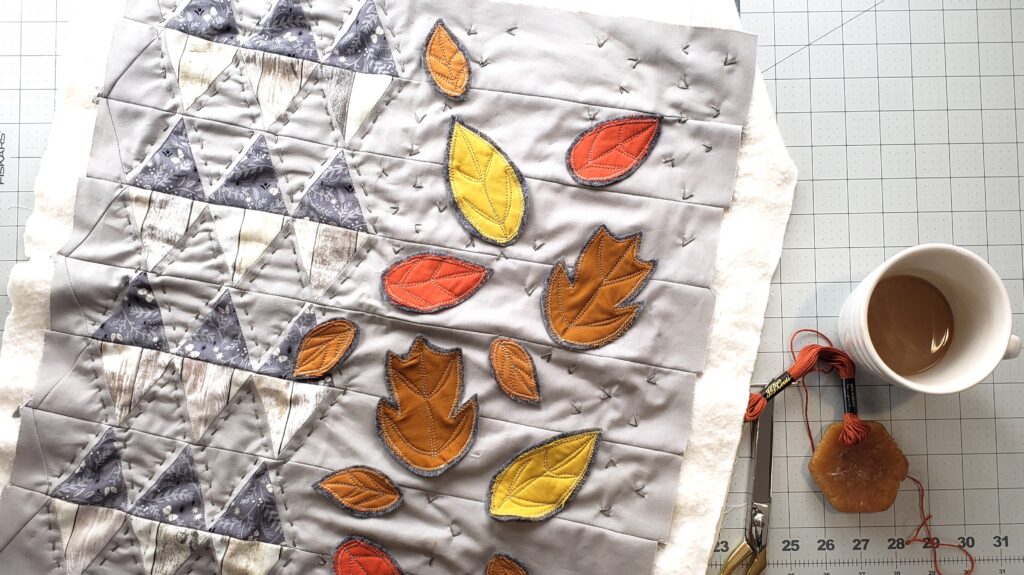
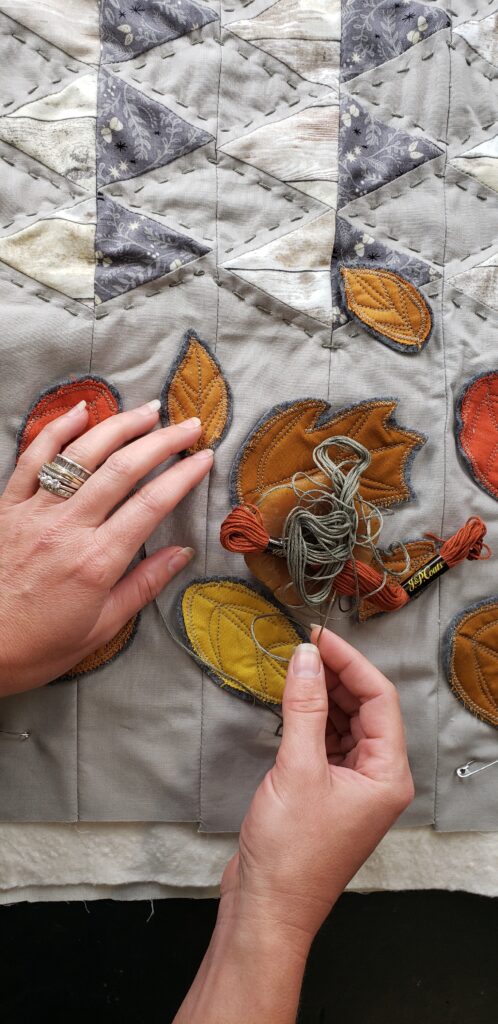
To complete our hand stitching, I am demonstrating how to use decorative stitching to complete the feeling of the movement on the leaf appliqué area! For my hand quilting, I will be using six-strand embroidery floss in a dark taupe gray that matched well with the gray tones of both my triangles, background, and felt lining the appliqué. Specifically, the color is Dark Beige Gray DMC 642, which you can purchase HERE. I am using a large-eye hand embroidery needle to do all of the hand stitching. You can find a pack of the same needles HERE.
If you’d like to read more about the pattern, including design inspiration, follow the link to part one HERE, part two HERE and part three HERE to my read all previous posts about the Anniken Pillow.
Concept Breakdown
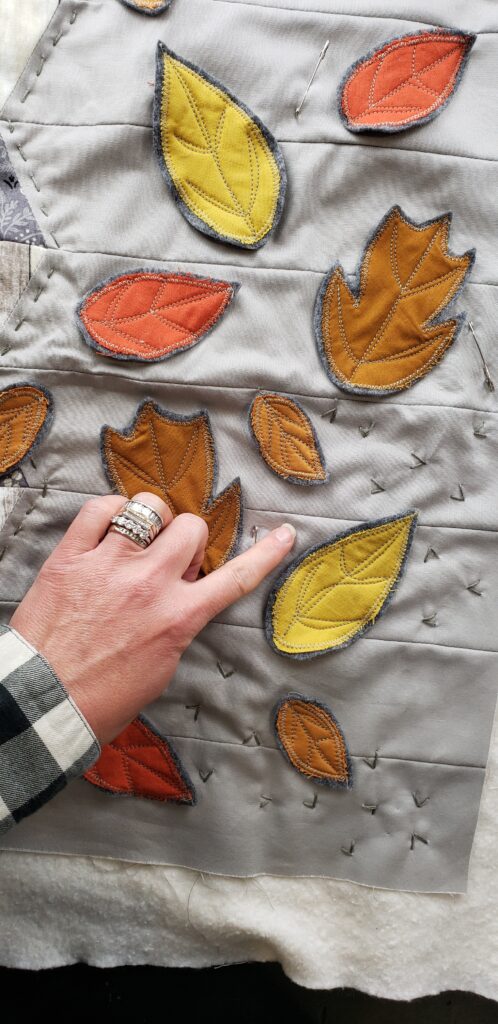
The Anniken Pillow is a small-scale quilting project perfect for decorative hand stitching! Because the Anniken pattern has two distinctive sides, I love trying to use the stitching to connect both areas, while still keeping them distinctive. Here the pillow finishes at approximately 20″ square with each side being approximately half of the quilted top. Since the area that needs to be quilted isn’t massive like a regular quilt, we can play with stitches. To secure the leaf appliqué side, I simply used clusters of “V” stitches to combine the geometric triangle’s side with the more playful, wind-swept feel of the leaves. I love how the movement of the “V”s looks clustered between the appliqué!
In this week’s video, I share a few tips on creating decorative quilting stitches. These tips include:
- choosing and creating the areas of stitching
- how to create the “V” stitch
- additional design ideas for finishing your pillow top
To view the video and see all of the tips, click the video box below.:
Quilt With Me!: The Anniken Pillow Sprinkle Quilting
Grab the Annkien Pillow Pattern for just $5 USD HERE. Then pop on and view the video for a few tips, tricks and best practices before you stitch. After you’ve made your design choices based on those tips, join me to relaxingly hand-quilt those cute sprinkles onto our pillow top!
In the final video of the series, we will work together to create the fold-over envelope back which will finish the pillow for stuffing and use.
If you join in with the video series or create the Anniken Pillow on your own, don’t forget to share your work with the La Rue de Fleurs community by tagging me on IG @laruedefleurs and using the hashtags #annikenpillow and #laruedefleurspatterns. I hope you’ll join me and have some fun with triangles and appliqué!
Stay creative, friends!
Inspiration and resources are linked where applicable. All written work and photographs are original content and are copyright protected; kindly give due credit by linking back to my website if you use or share.
(©2022, Janice Bailor // laruedefleurs.com)