This week we are ready to finish the backing of our Anniken Pillow. If you missed the series posts, catch up HERE. There is also a La Rue de Fleurs’ Channel YouTube video walking you through each part of the project including hand stitching, appliqué, and creating the pattern’s triangle background. You can watch that via a link in the aforementioned blog posts, or HERE on YouTube.
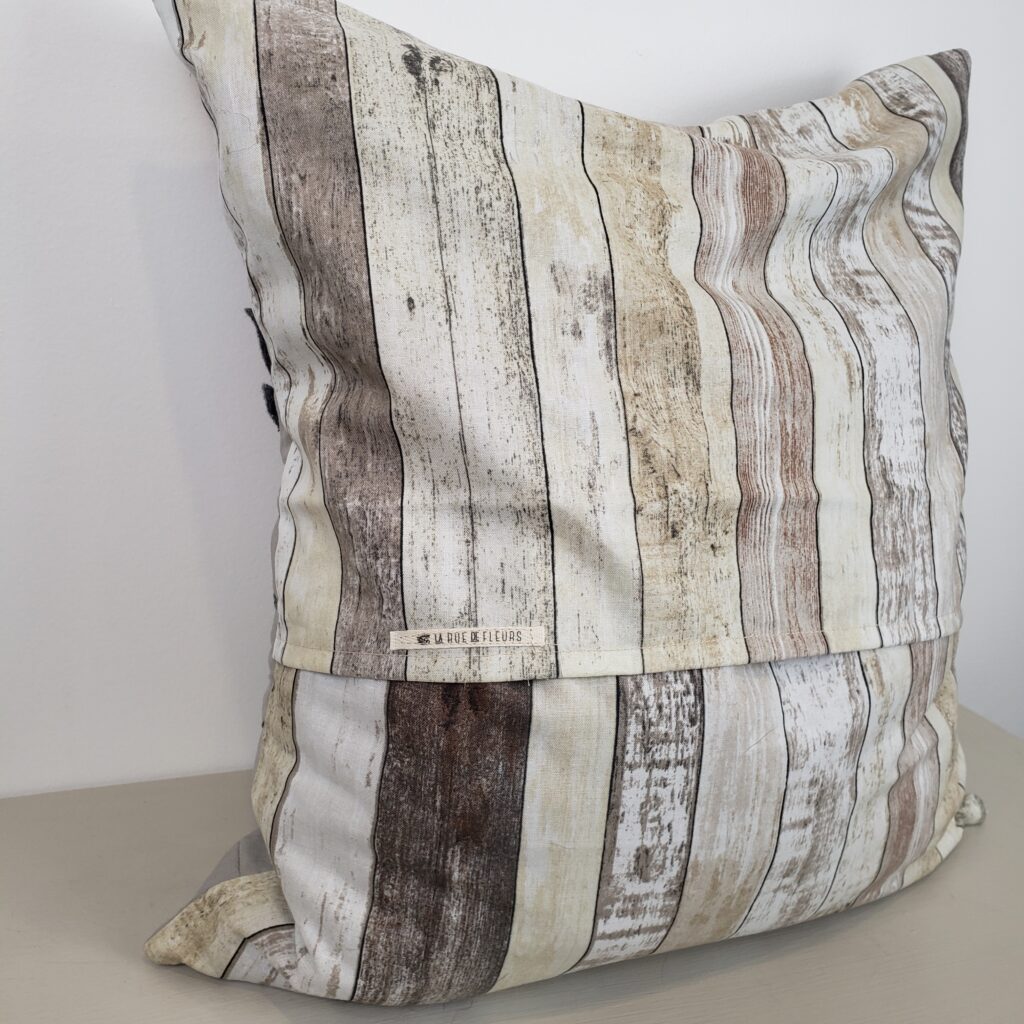
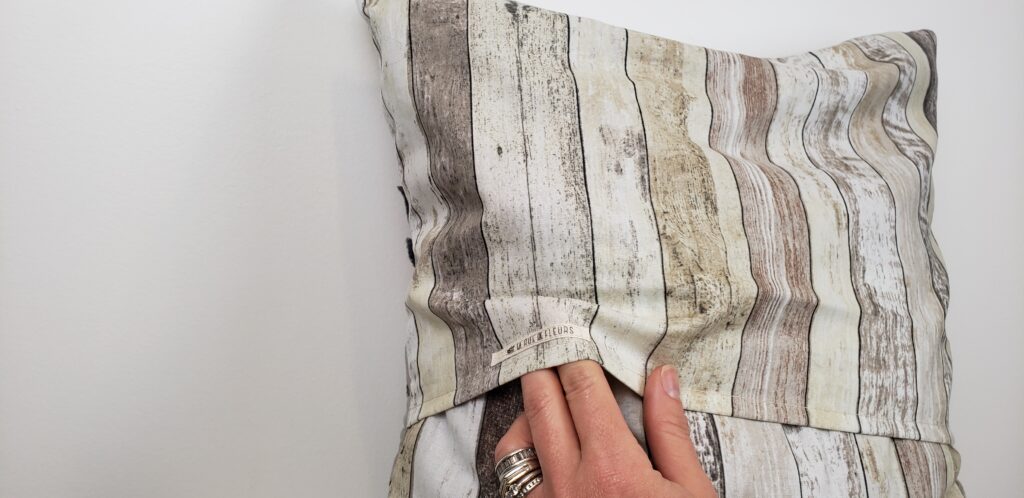
To complete our envelope back, I am using up the remaining wood grain fabric we used to create some of the triangles on the front. I try to coordinate when I can and it also keeps my scrap bins from having any unnecessary additions! For my pocket, I will be sewing both a rolled hem and adding a personalized tag to “sign” my work. Specifically, I purchase custom labels from Inked Paper on Etsy. You can purchase your own custom labels HERE.
If you’d like to read more about the pattern, including design inspiration, follow the link to part one HERE, part two HERE, part three HERE and part four HERE to my read all previous posts about the Anniken Pillow.
Concept Breakdown
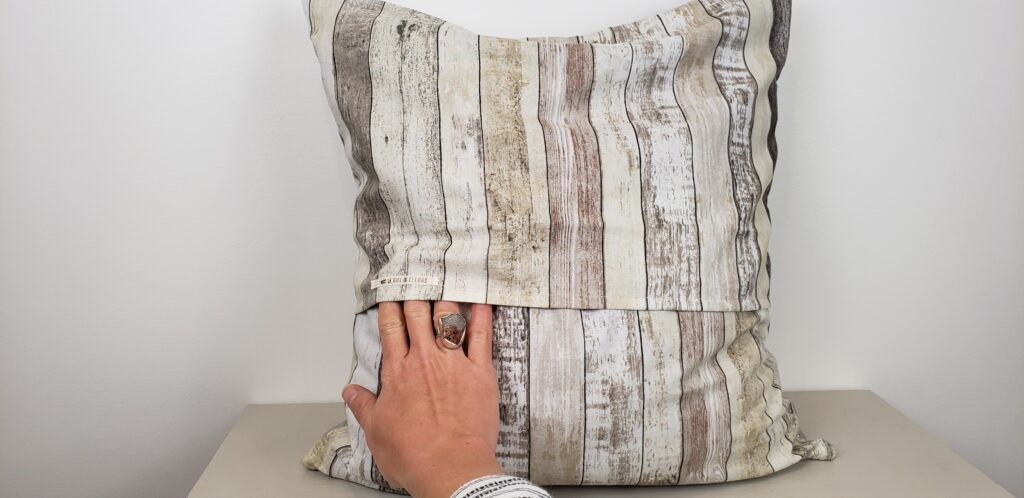
The Anniken Pillow is nearly complete! All we need to do to is add a pocket that can be stuffed with your favorite pillow form. Because the pillow finishes at approximately 20″ square, I recommend stuffing with at minimum a 20″ form, but preferably with one slightly larger if you love that over-stuffed look. Since the backing flap needs to overlap, make sure you are selecting a piece of fabric large enough to span the width of the pillow AND overlap across the center back approximately 5-6 inches. To create the pocket, called an envelope closure, I simply hem each piece of overlapping fabric and then sew around the perimeter of the pillow top to secure all of the edges. I love simple it is to create a complete pillow with the envelope back method!
In this week’s video, I share a few tips on creating the envelope pocket back. These tips include:
- how to select and measure the fabric
- how to hem and prepare the pocket sides
- additional tips for sewing it all together
To view the video and see all of the tips, click the video box below.:
Quilt With Me!: The Anniken Pillow Envelope Pocket Back
Grab the Annkien Pillow Pattern for just $5 USD HERE. Then pop on and view the video for a few tips, tricks and best practices before you complete your pillow. After you’ve made your design choices based on those tips, join me to create the envelope pocket and complete our pillow!
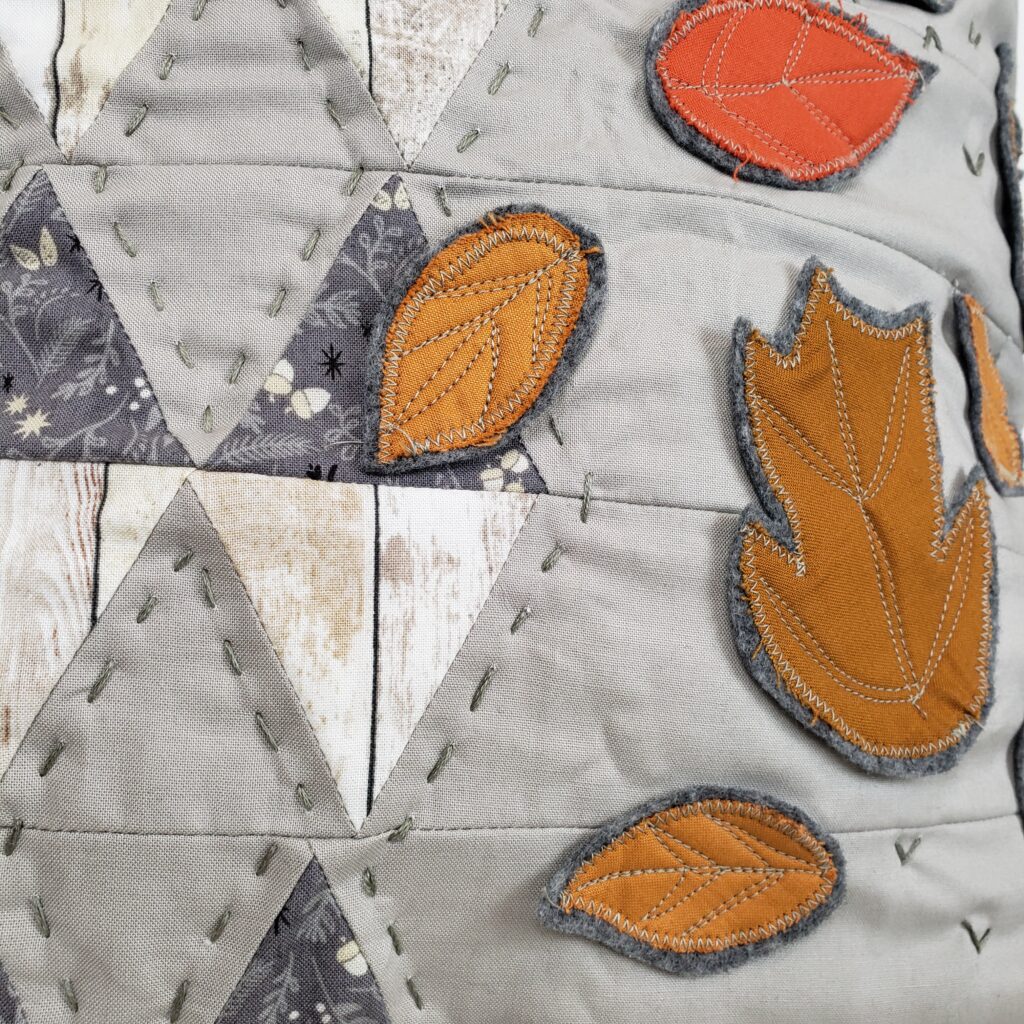
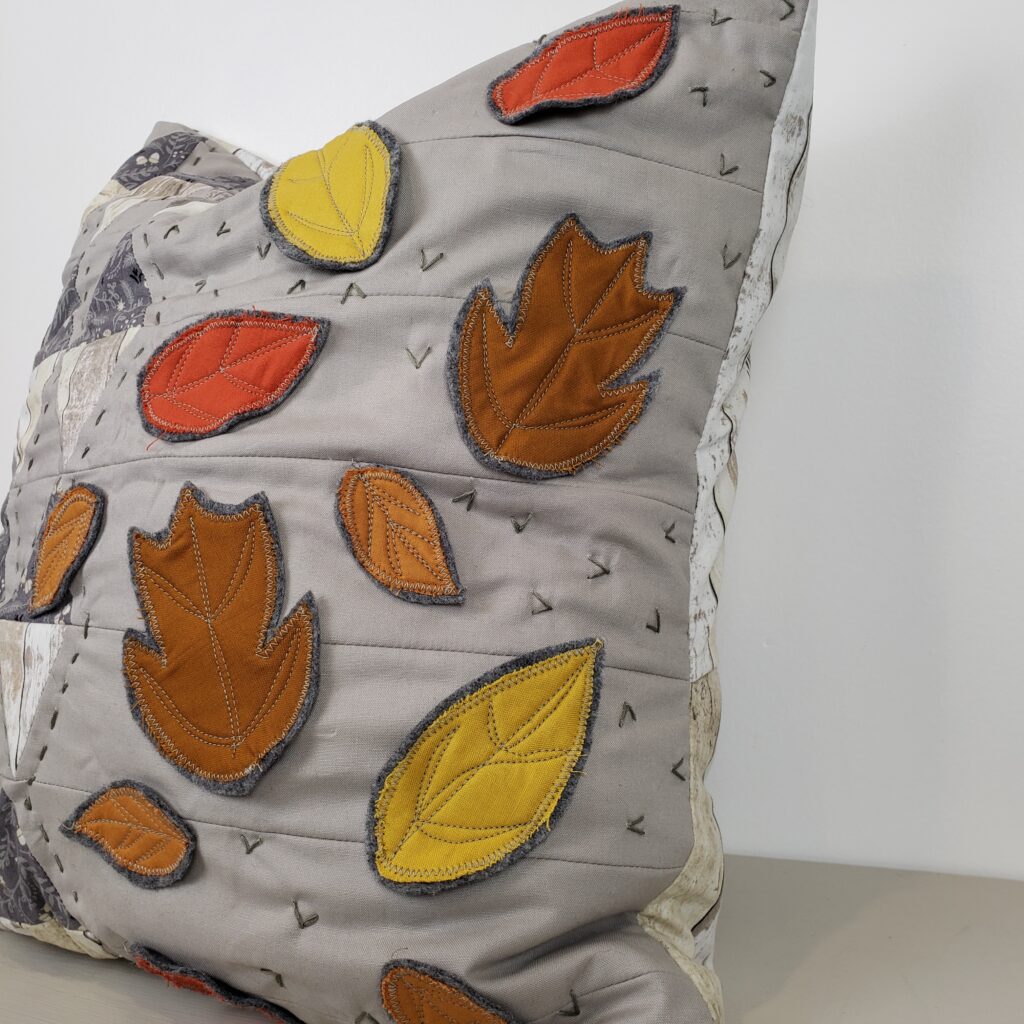
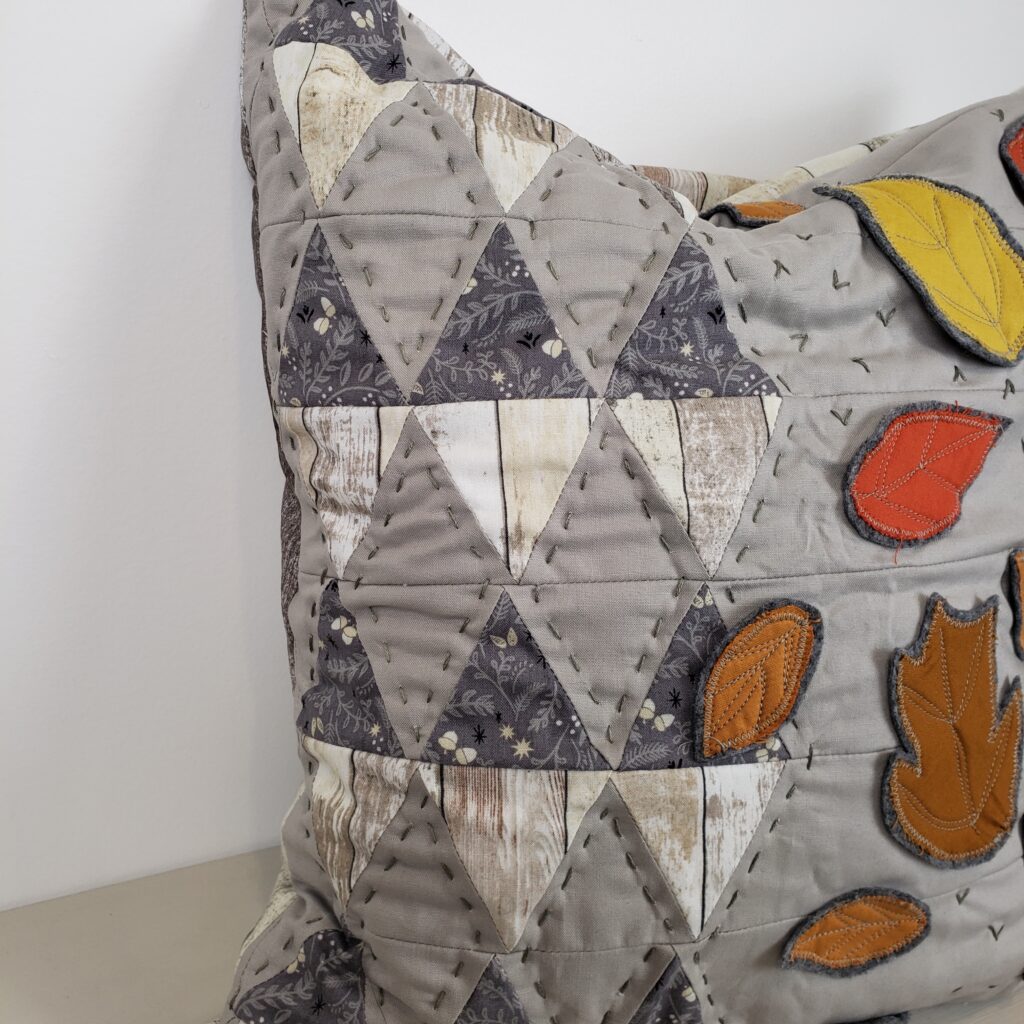
This video completes our series! Thank you so much for joining me to create your own Anniken Pillow. I hope you feel empowered and inspired to make several seasonal and neutral versions for your home or gifting. Here are more pictures of my completed pillow with falling leaves for autumn.

If you join in with the video series or create the Anniken Pillow on your own, don’t forget to share your work with the La Rue de Fleurs community by tagging me on IG @laruedefleurs and using the hashtags #annikenpillow and #laruedefleurspatterns. I hope you’ll join me and have some fun with triangles and appliqué!
Stay creative, friends!
Inspiration and resources are linked where applicable. All written work and photographs are original content and are copyright protected; kindly give due credit by linking back to my website if you use or share.
(©2022, Janice Bailor // laruedefleurs.com)