I am pleased to be writing today about my second pattern release and first full quilt pattern release, the Shattered Squares Quilt! the idea for this quilt was quite spontaneous. While looking through several of my UFO (UnFinished Objects) piles in autumn of 2019, I noticed I had a large amount of triangle units left over from the makings of a custom Half Square Triangle quilt I had made for an Etsy customer in 2018. The pieces were in a lovely cool palette of orchid, soft blues, a medium and light gray, as well as cream and white. I flayed all the triangle pieces out on the counter and began playing with them to see what i thought I might be able to use them for to move them from the UFO bin to a completed project. As I lined them up across the counter, I began noticing some were slightly larger than the others and the triangle units generally had a light side and dark side making contrast within the pair of triangles. Playing with arrangement, I matched the larger triangle units with their smaller counterpart using the seam between the colors as a matching point and loved how they formed a square unit. However, there was no contrast between the sides if you just put them together along that matching seam. This gave me the idea to separate each side with an extra thin strip of fabric to make the break more pronounced. From working on the triangles, I noticed how striking they looked when they were turned on-point and decided to add additional triangles of fabric around all four edges to create the central color diamond. Using the same background fabric as the middle strip reminded me of a square shattered apart along a central axis, and the shattered squares quilt block was born.
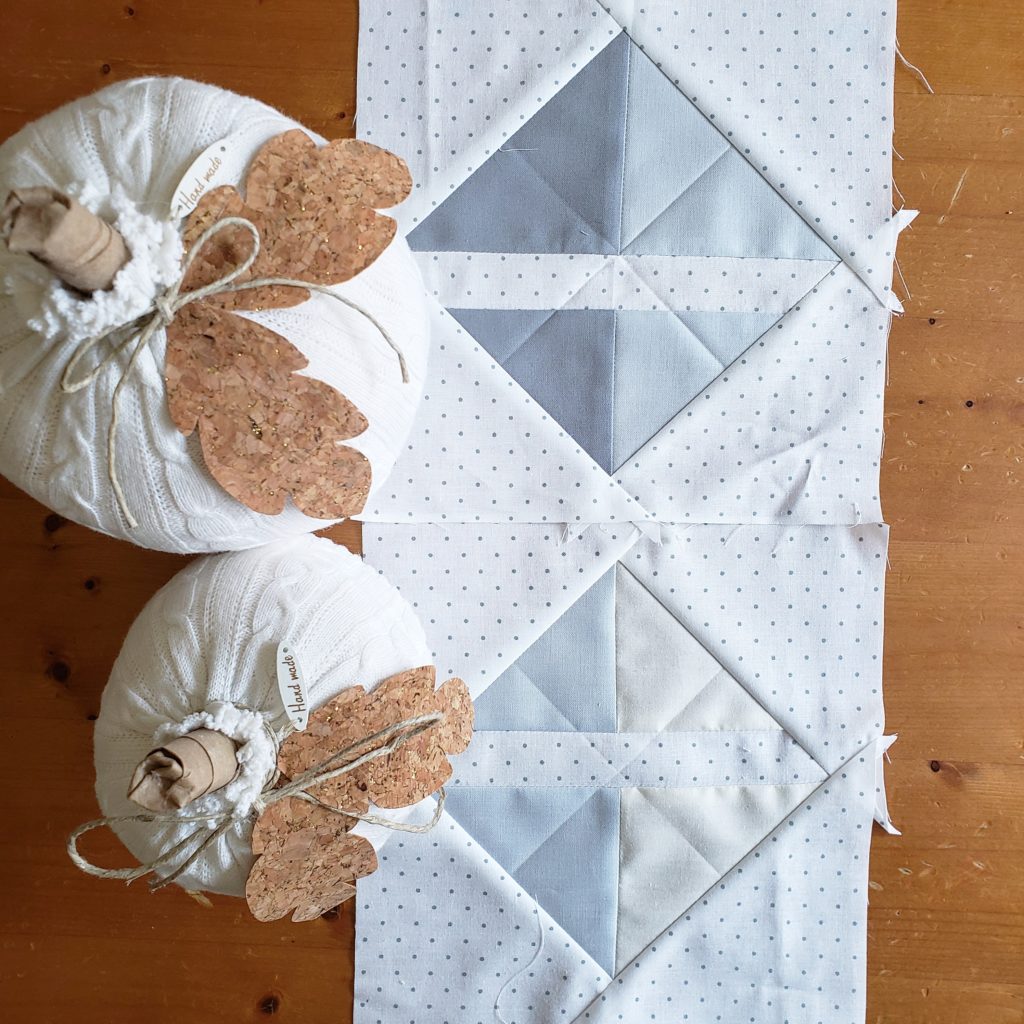
Following the experiment, I continued to make blocks writing down the process as I went. I measured and cut pieces one at a time until I figured out the optimal fabric requirements to create the block with minimal fabric waste. I then proceeded to make all the blocks I could make using the pairs of triangle units I had to work with from the UFO pile. The matched sets equaled 30, which allowed for an arrangement of 5 blocks across and 6 blocks down to make a quilt slightly longer than wide. With the addition of the background fabric, the blocks finished at about 8 1/2 in, making the length and width of the quilt a great baby or crib size.

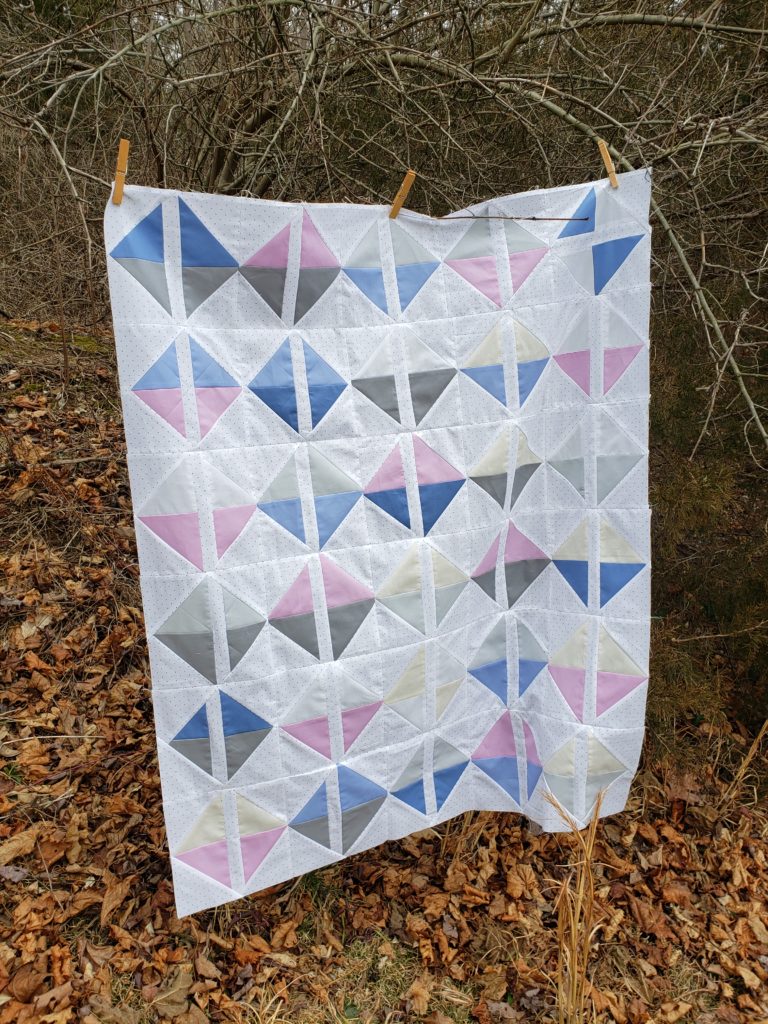
After the initial working through and drafting of the pattern, I set about perfecting the math and fabric requirements to add sizes to the pattern that would allow the creation of a pillow, throw and twin size quilts.
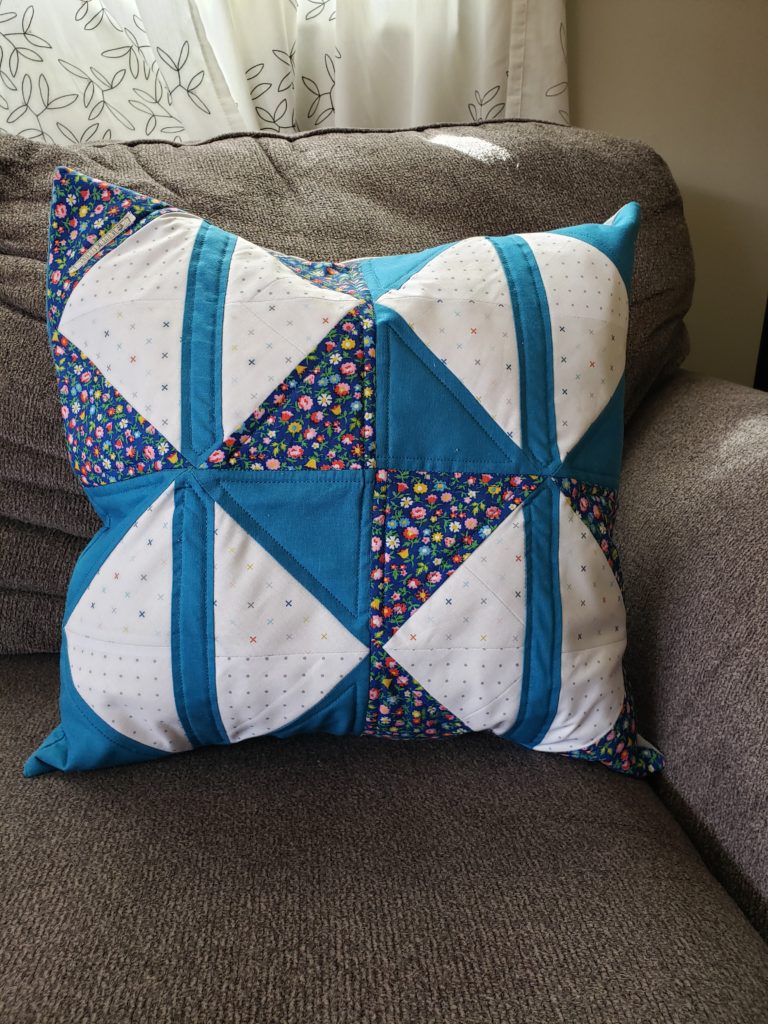
To test the blocks for the pillow size of the pattern I used a combination of scrappy blue and low volume prints from my scrap bins. I reversed the color focus for the pillow by making the darker colors the background and center strip. I also added variation here with a complementary print and solid as the background instead of a single fabric. The patterns used for the interior triangle units of the block are much more subtle in this version as well. In the making of the pillow I tested how to best create and piece the triangle units to maximize fabric usage since that was one part of the block that had been created from me in the original draft.
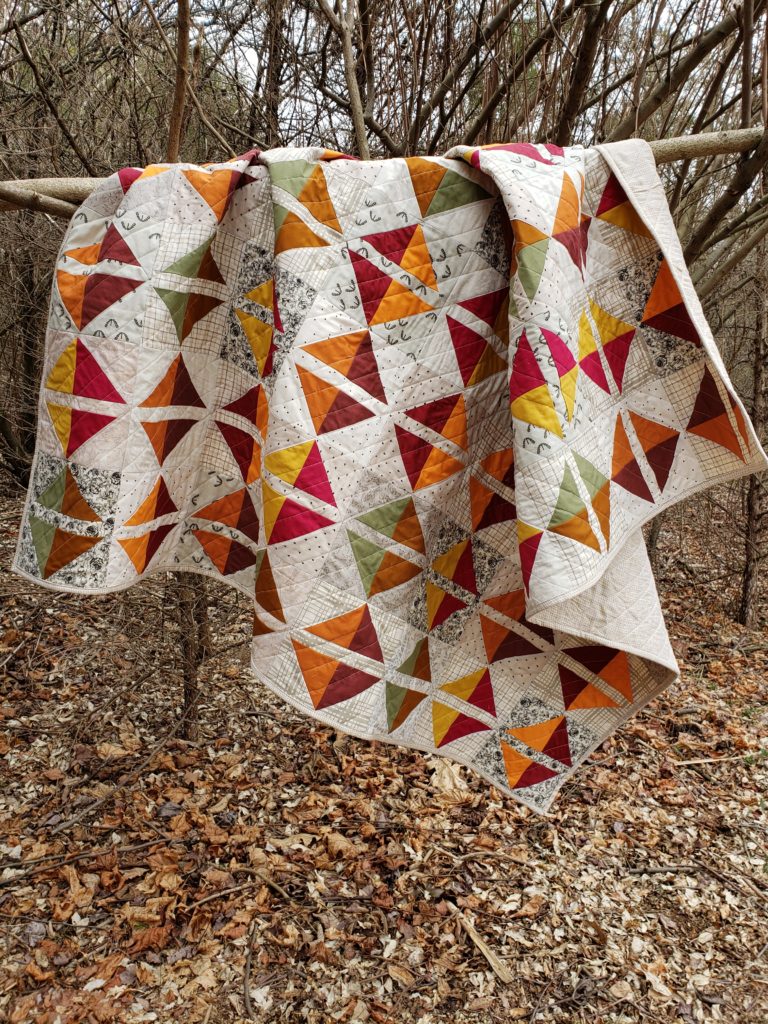
Lastly, I wanted to test the necessary yardage needed to create the quilt. In the first draft version I had not really kept track of the amount of background fabric I needed and was more concerned with capturing process alone, I now needed to make sure my calculations and estimates worked out. Loving the mix of background prints I used in the pillow version, I decided to create a throw quilt using a variety of low volume tone prints. I also felt I would be able to keep track of how much I used of any one background print a little easier as I created the required amount of blocks. The hand curated bundle I chose for the throw quilt I actually had pulled way back in autumn of 2018 as well, but simple had not gotten around to using the rich, saturated wine, burgundy and orange combination until now. Since we really hadn’t had much of a winter in Central Pa this year, I was still feeling more in an autumn color mood and decided to work with what I already had gathered together. Overall, the Autumn Squares quilt came together easily and allowed me to test both the block directions and total fabric requirements together for the first time.
In between writing the pattern draft by hand and the several tests that followed, I began making a typed version with detailed steps and all of the accompanying visual diagrams. I am not really a sit at the computer person, so working for days drafting little computer graphics and typing up steps is the least fun part, but I really wouldn’t expect anyone to be able to decipher my chicken scratch writing and crazy diagram sketches, so the digitization is a must. Finally, after a few days of computer work, I was able to send the pattern off to a few Instagram quilting friends for them to check out and review my pattern writing work. I am ever grateful to Jessica (@wester.jessica) and Marty (@_suryasmiles) for their diligent work and feedback on the pattern. Each lady agreed to proofread the pattern and make at least one quilt top in the course of just three weeks so I could release the pattern before my upcoming artist residency. Both gave some insightful feedback on some of the diagrams and explanations of the making of the blocks which I am sure will make the pattern better for future quilters.
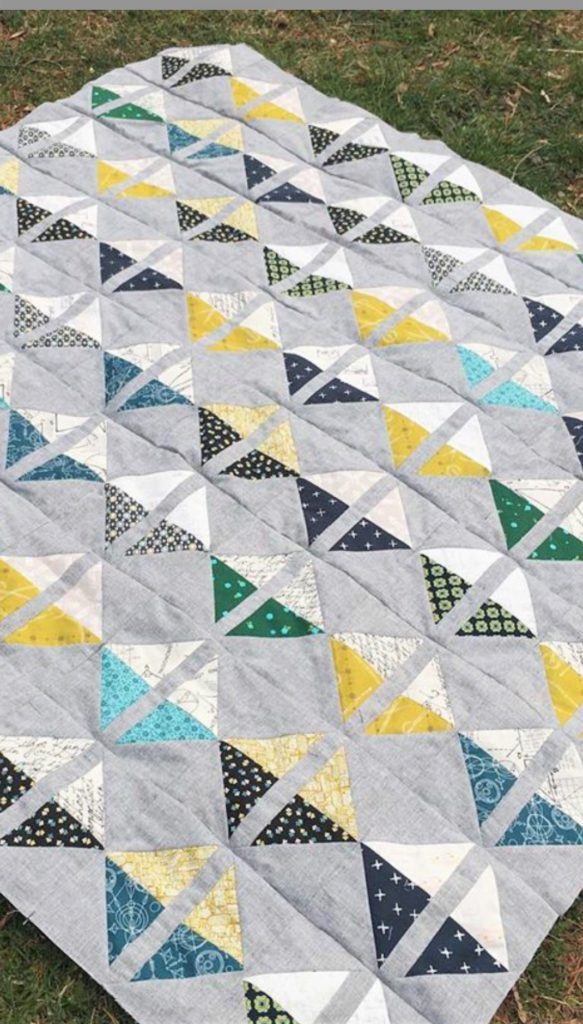
I’ve enjoyed working on the pattern. I work full time (boo!) but usually still try to find some time to sew nearly every day and the turn around time for this pattern was totally doable 🙂 I’m gonna sew up some more blocks this evening! – Jessica
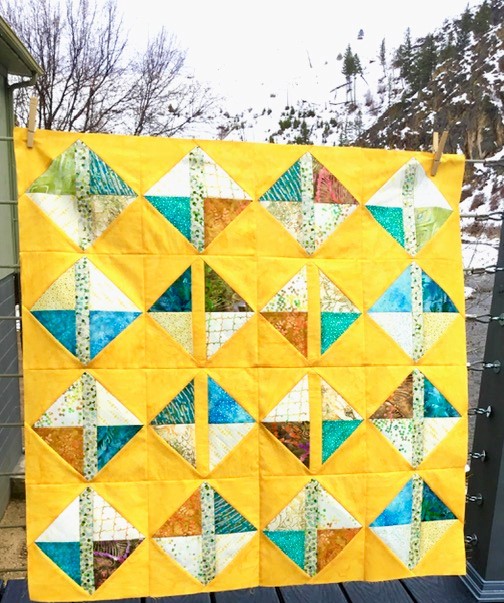
I love this quilt pattern! Can’t wait to make it again, and finish this, get the other (quilt top) finished. – Marty
Along with the incredible feedback about the pattern writing, each lady gave some kind and encouraging words about the pattern experience overall that truly warmed my heart. You never know when you are working on something if other people will enjoy it and find it as fun to play with and create as you do, so hearing that the pattern was enjoyable and easy to work with truly made my month!
Playing with the pattern, Martha also suggested a few other ways to play with the shattered squares blocks arrangements. I love going off pattern, so I am happy to show them here. I love being able to take a purchased pattern and use it not only as intended – and let’s be honest, so I don’t have to do all the math!- and in my own creative way. Thank you for the extra ideas, Marty!

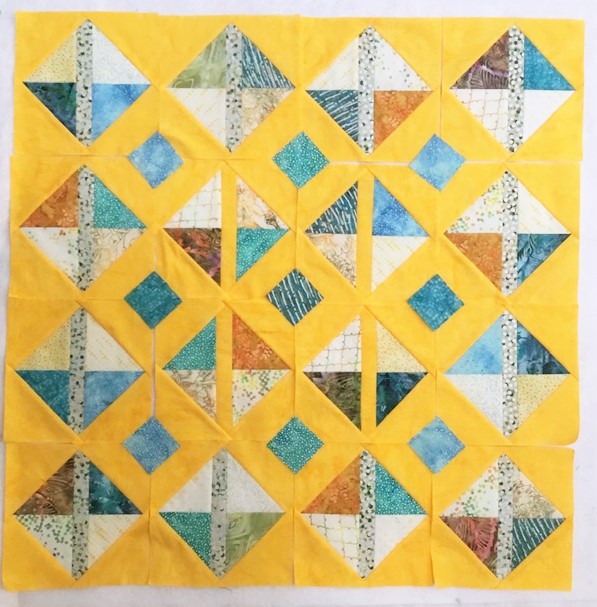
I hope you will be inspired to give the Shattered Squares Quilt Pattern a go after seeing all of the interesting combinations you can create. So far I have found, and the feedback from my testers seems to agree, the pattern is easy to work through and delivers a great modern quilt that looks complex, but isn’t. If you would like to support my work and continued foray into independent pattern design, kindly purchase the pattern in my Etsy shop. If you do make a Shattered Squares Quilt, please be sure to tag and share with my on social media @laruedefleurs, as you know I would love to see your version! Thanks for your support! Happy creating, Janice
Purchase the Shattered Squares Quilt Pattern here!: Modern Quilt Pattern, Shattered Squares PDF Digital Download
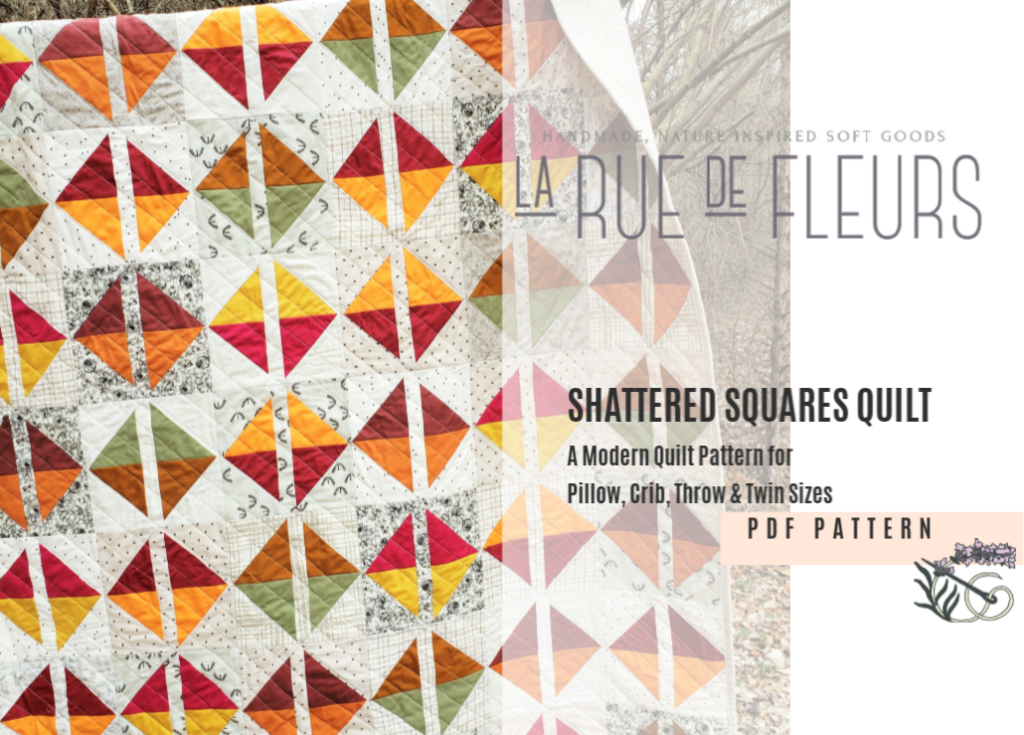
Inspiration and resources are linked where applicable. All written work and photographs are original content and are copyright protected; kindly give due credit by linking back to my website or source website if you use or share.
(©2020, Janice Bailor // laruedefleurs.com)

Pingback: Making a Shattered Squares Pillow Cover - laruedefleurs.com
Janice, it truly was fun to try out this pattern. I love, love it. It’s so easy. I’m excited to play with more fabric combo’s, and layouts with your basic block. My head is full of ideas, i’ll share when I’m done. Good luck and have fun with your Artists Residence, and Vineyard event later.