
This week I have little time to spare in the studio, but I did manage to whip up this adorable mini embroidery hoop charm. Just 30 minutes of stitching and lots of leftover snips of fabric and some floss allowed me to create a sweet miniature canvas of a daisy and a few floral sprigs based on a piece of scrap paper from Simple Stories Cozy Days paper pad from a few years ago.
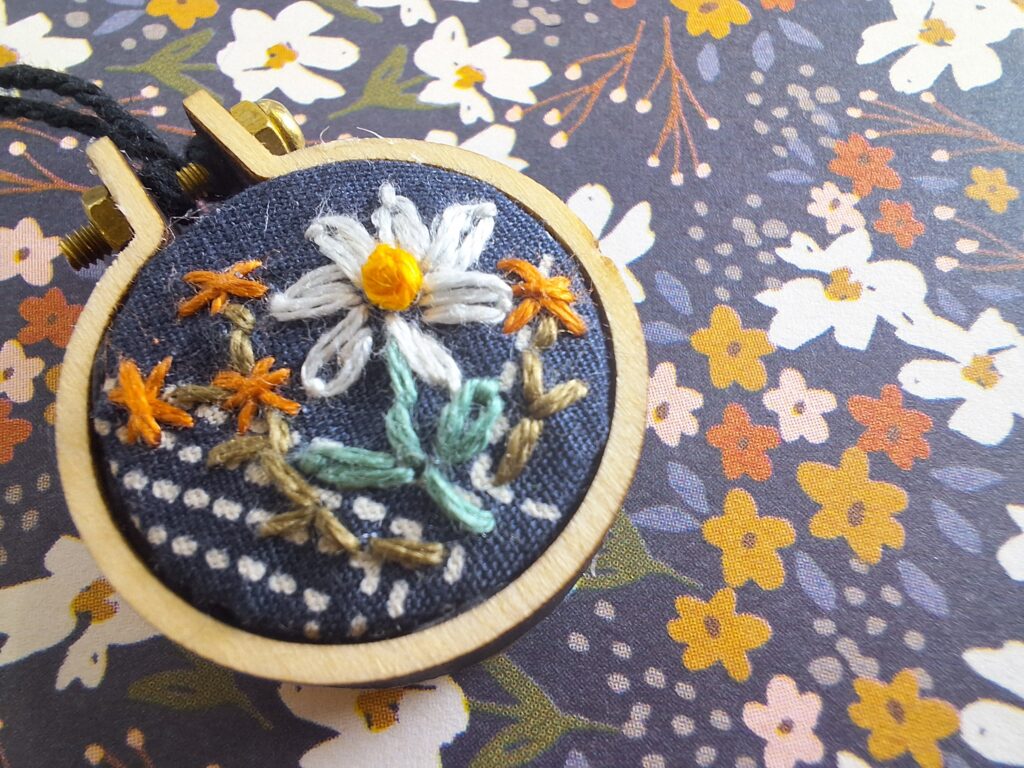
The background of my tiny embroidery is a leftover corner of an Art Gallery fabric in navy with this dotted diamond print. I have loved this print so much I couldn’t bear to throw away even the tiniest scrap even though this would never be useful for a quilt. This teeny corner did, however, prove to be perfect for this small canvas of stitches.
The mini hoop charm here is from Amazon and comes in a 40-pack. The quality is slightly lacking, to be honest, some arrived broken, but the hoop is fine for a tiny charm gift project.
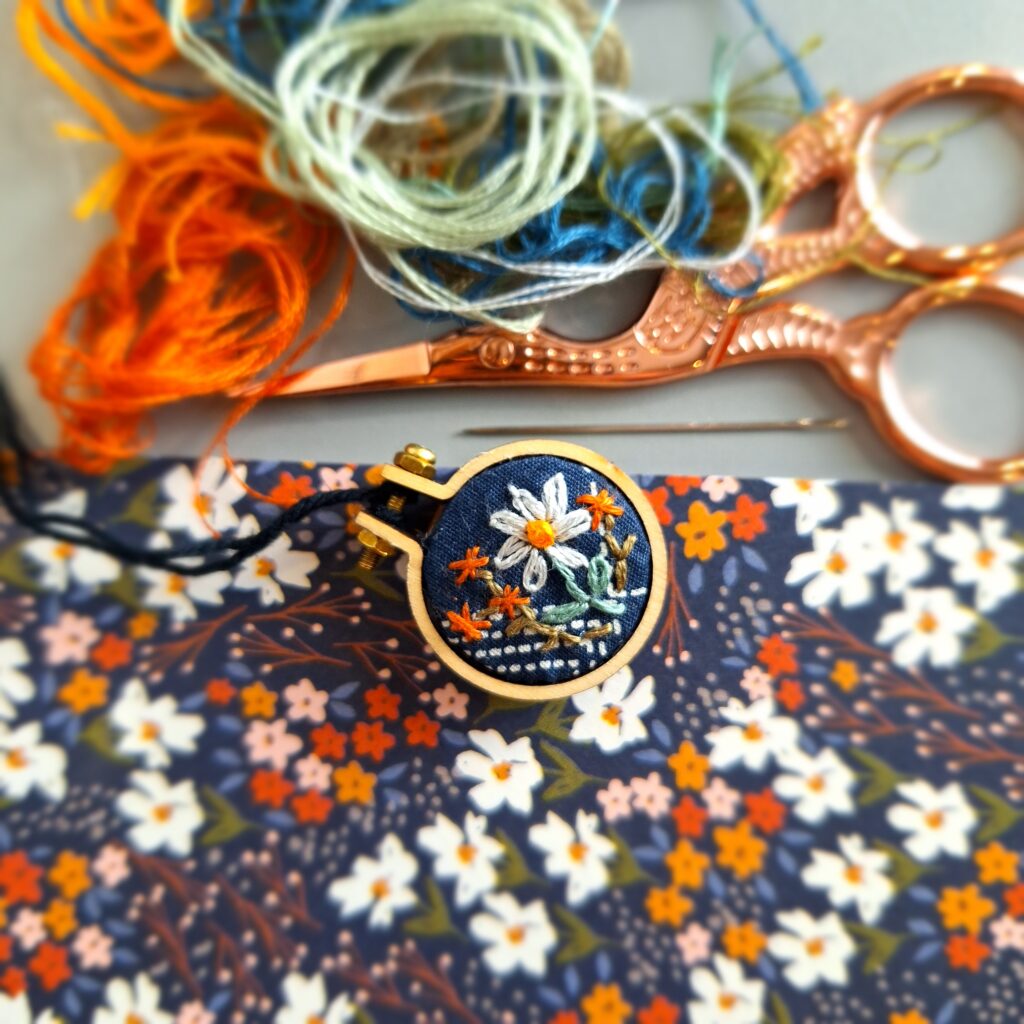
I used only leftover thread, which fortuitously was the same colors as the inspiration print. I swear I did not cheat!! For such a small embroidery, you only need two strands of floss and a tiny hand needle. Make sure you have wax on hand to help you thread through the tiny needle eye!
My advice is to keep the composition and stitches simple. With only 3/4″ to fill, you won’t want it too complicated or the whole thing runs the risk of looking like a thread blob.

For my main flower, I was inspired by the painterly quality of the print. I used a simple lazy daisy stitch and roughly worked my way around a circle to create a six-petal flower in a soft silver gray. The accent sprigs also started as a daisy stitch but quickly became too bulky. I picked the original attempt out and started over with this simple asterisk instead. The stems are a basic back stitch. The cedar orange color with olive stem is a fabulous compliment to the cooler daisy. I placed a larger cluster of the accent stem to the left and a smaller grouping of just one flower to the right to help frame my central flower. And, that’s it! The whole composition is full.
To finish off the project, I simply used hot glue to affix the fabric to the hoop frame and jeweler’s pliers to help me tighten the tiny washer. The area between the sides of the frame makes the perfect spot to thread a cord or chain.
I will be gifting this sweet mini embroidery hoop charm to a lucky subscriber on the La Rue de Fleurs YouTube this first week of February 2024. If you’d like a chance to win it, hop over to the video linked below, and subscribe to my channel! Roughly each week I create a new video based on the projects I am working on and can often include a little more details as I show the creation of and narrate us through the project. I hope you’ll consider becoming a subscriber if you haven’t already. And if you are already a subscriber here and there, I sincerely thank you for allowing me into your creative life each week(ish)!
Share Your Creativity!
If you join in with the videos or create a mini embroidery hoop like the one above, don’t forget to share your work with the La Rue de Fleurs community by tagging me on IG @laruedefleurs. I hope you’ll join me and create a little space in your day for some tiny stitches.
Stay creative (and scrappy) friends, Janice
Inspiration and resources are linked where applicable. All written work and photographs are original content and are copyright protected; kindly give due credit by linking back to my website or source website if you use or share.
(©2024, Janice Bailor // laruedefleurs.com)