This month’s embroidery garden journal is all about trying a new-to-me technique I learned specifically for this entry to enhance the design of my embroidery flowers. Join me in practicing this embroidery stitch in answering the question, what the heck is battlement couching!?! And how do you use it in an embroidery?
Pushing Stitching Boundaries
As I’ve mentioned several times in the last few months of the embroidery garden journal project, I am practicing and attempting to build my skills one wedge at a time. That means I can’t rely on only stitches I already know. Therefore, I am actively looking for different stitches when I begin to plan my subject matter for the month.
For the March entry, I wanted to focus on the daffodil. The first, bright and cheery bloom to pop up all over my garden, I look forward to its frilly, large petals and lovely aroma. But above all what I notice about the daffodil is its bold infusion of color to my garden beds when little else is in bloom. The layers of bright golden yellow are very eye-catching, and to me, the essence of the flower.
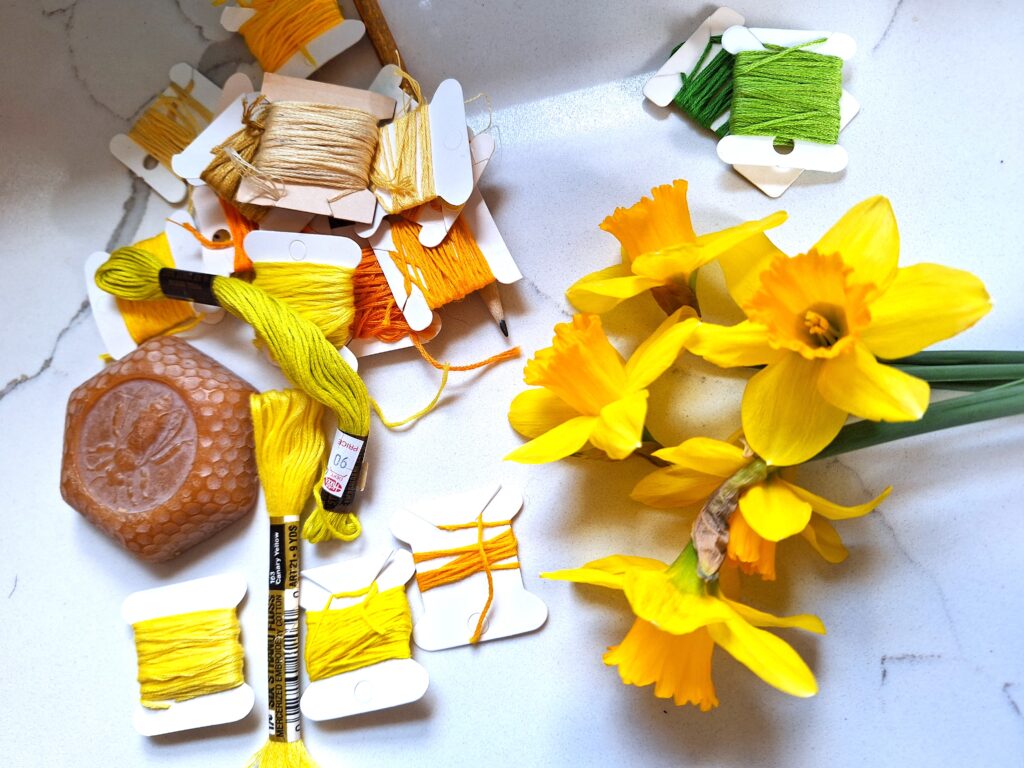
From the beginning, I knew I wanted to use a large stitch because I wanted to feature the daffodil petals and cup in close frame to contrast with February’s full view of the crocus. So I hit Pinterest to scour the internet for large embroidery filler stitch ideas. To my great delight, I landed on this excellent Step-by-Step Stitch Tutorial post by Needle ‘n Thread specifically describing how to do battlement couching!
What the Heck is Battlement Couching?
I highly recommend reading the post, as well as watching this short video from Sarah Homfray Embroidery on how to do battlement couching. Battlement couching is a grid design of thread that builds up several layers of color. The lines of the grid are slightly off-set from one another, allowing the space to be filled, and each layer of color to show.
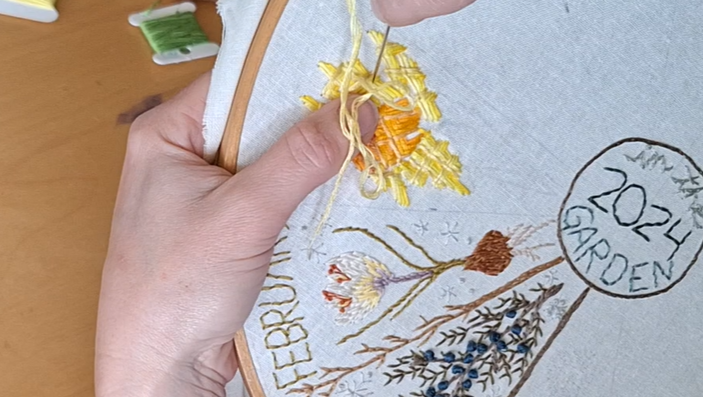
I loved the chance to pull several shades of yellow and golden oranges from my thread bin to build up four layers of color each for the couching grid design. I decided to work from dark to light, laying down my first lines of the grid with the darkest color I had selected for that section. I chose bright tones for the petals and the more golden and orange tones for the cups to reflect my subject matter. Overall, I am very happy with how quickly the petals were filled and the layered effect of color the couching revealed.
Supporting Cast Stems
Since I had focused so heavily on the stem and bulb in the February crocus wedge, I really wanted to keep the stem and leaves of the daffodil bulb as the supporting cast in the March entry. Therefore, the stem and one leaf blade are just created with a simple stem stitch and only two rows of stitching to build them out. I layered a bright and darker green right next to each other to provide a little dimension and the appropriate weight to the element so it looked proportional to the large-and-in-charge flower.

The only additional finishing I did with the stem, was to allow it to blend up and into a small gap at the base of my petal structure. I felt this looked natural and captured the large, flared top of the stem as shown in my subject flowers.
Monthly Marker
Lastly, I once again sketched out my month title at the top widest part of my wedge, using the center to roughly line up the center of my month. Then I used a simple backstitch to trace over my outline with the same bright green thread I used for the daffodil leaves. Since I didn’t have much space, and we only had windy weather most of March, I left out any additions of snowflakes like the months previous.

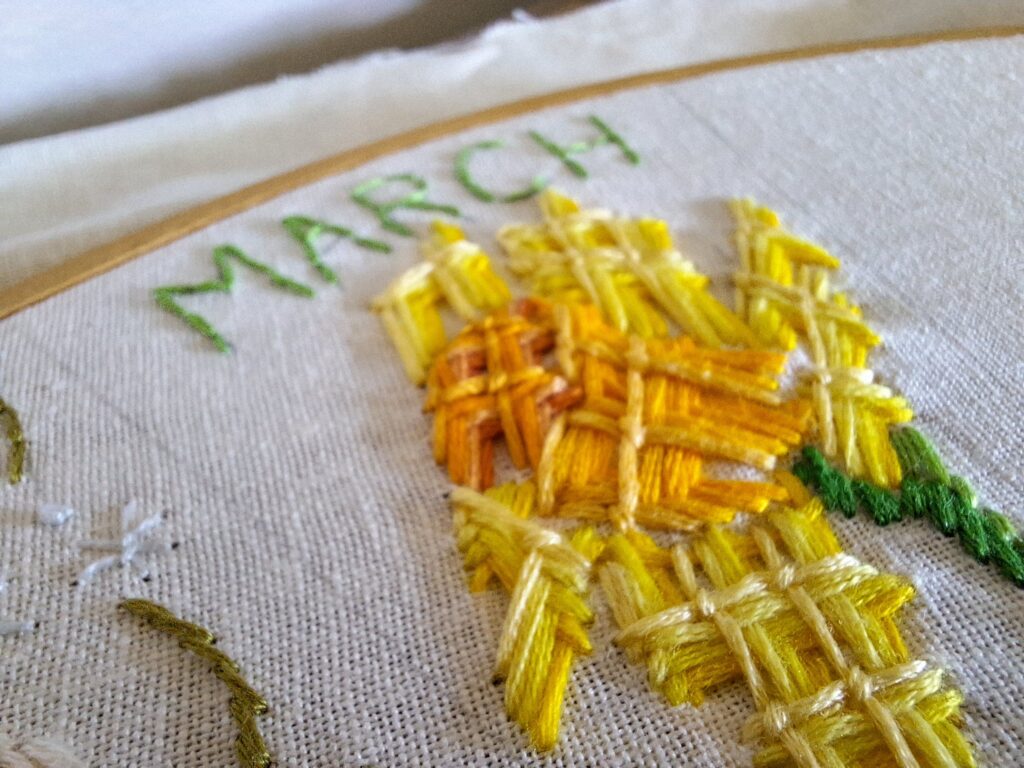
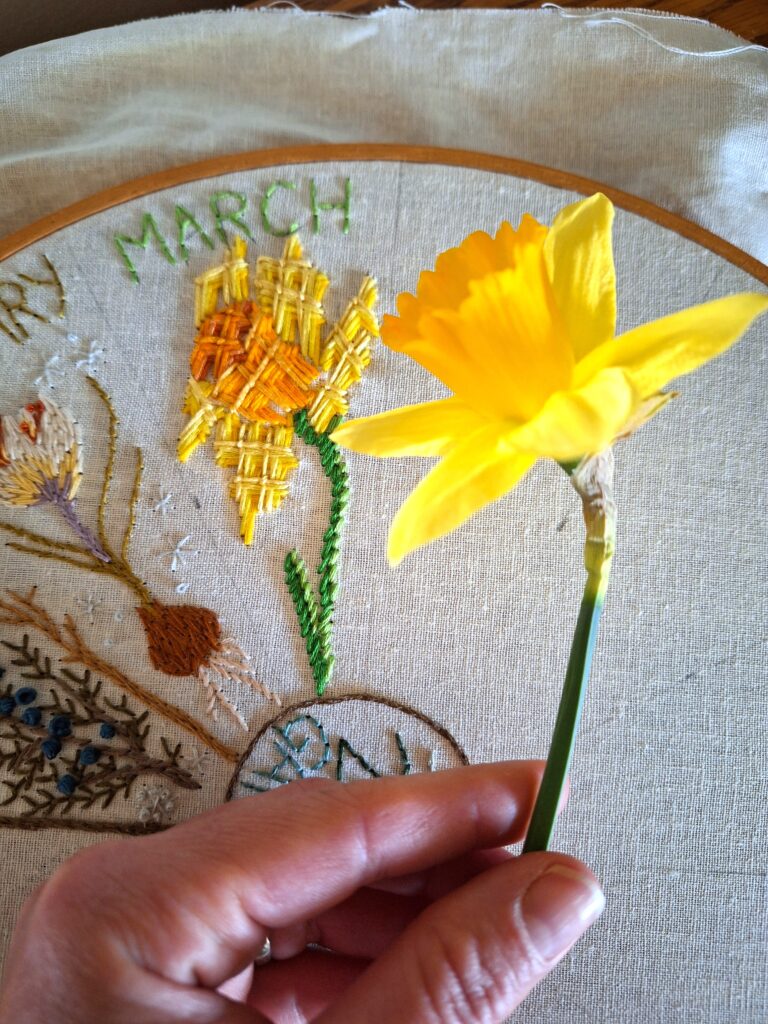
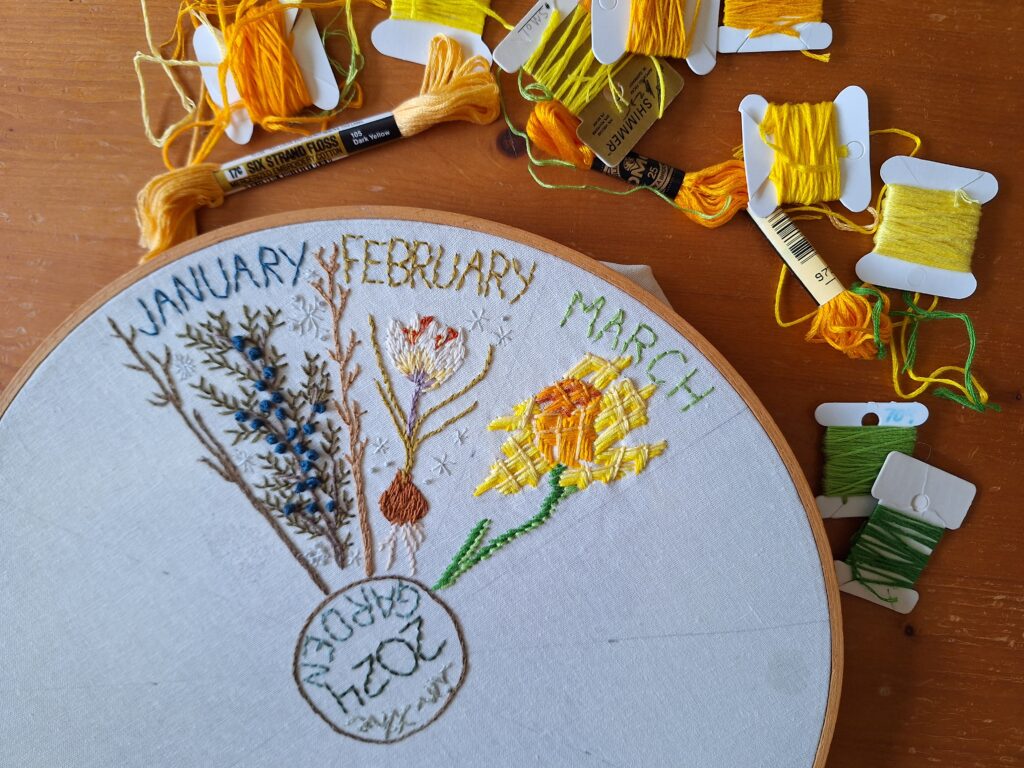
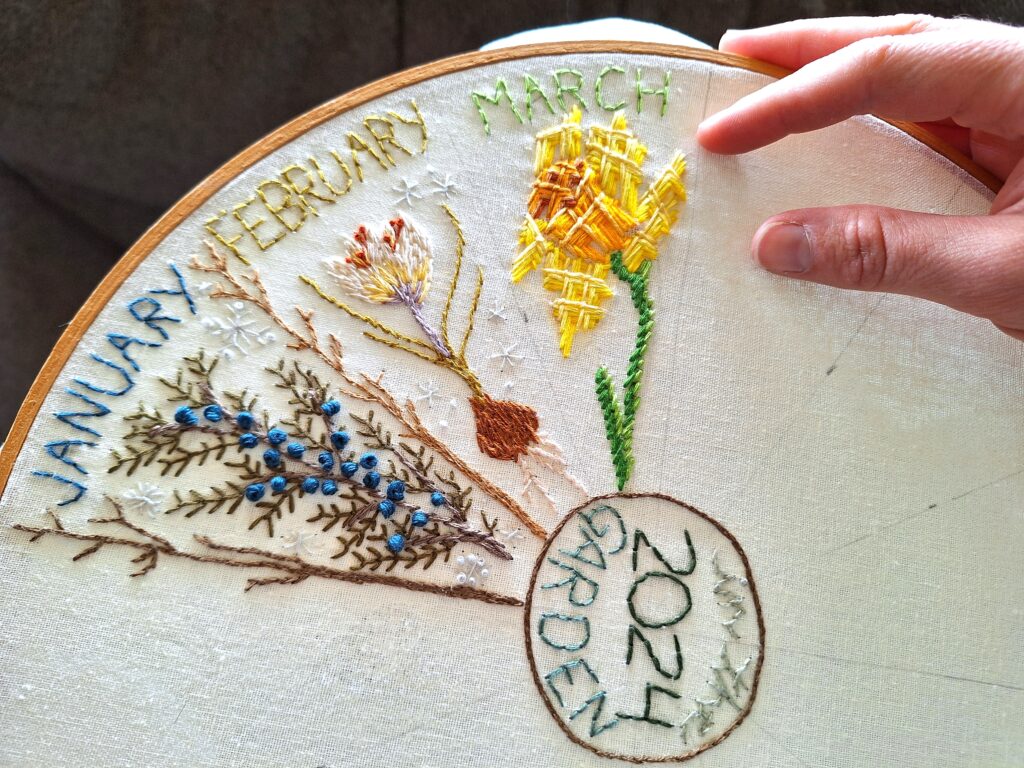
I am so happy with how my March entry turned out! I am happy with myself for stepping out of my comfort zone and trying the brand-new to me battlement couching. This experience has excited me to branch out and check out more new stitches to try in future months. I can’t wait to geek out on embroidery stitches and binge-watch Sarah Homfray’s YouTube channel!
More Details in the Video
Didn’t get enough details from this post? I filmed the whole thing for YouTube! Watch me create my March daffodil using the battlement couching embroidery stitch for the monthly embroidery garden journal below right now. Then return every month for a new video featuring what plant I’m working on that month!
Top Tips
Here are my top tips for trying something different in the third month of your 2024 monthly embroidery garden journal.:

Sharing is Caring!
As I mentioned above, this is a monthly video and blog series I will be working on throughout 2024 in which we will use hand stitching and embroidery techniques to document a year in our garden! Our monthly embroidery journal will focus on capturing stitched memories of the garden one month at a time. I will share my process each month here on the blog and with a monthly feature video on the La Rue de Fleurs YouTube channel. Make sure to like, subscribe and sign up for my newsletter for notifications of each new installment.
If you missed the set-up and January and February entries, you can find them both on my blog and on YouTube by clicking on the respective highlighted text.
If you join in with the videos or create the monthly embroidery garden journal above, don’t forget to share your work with the La Rue de Fleurs community by tagging me on IG @laruedefleurs and using the hashtags #larueygej24 and #embroideryjournal2024. I hope you’ll join me and have fun using creative stitches to document a year in your garden!
Stay creative friends, Janice
Inspiration and resources are linked where applicable. All written work and photographs are original content and are copyright protected; kindly give due credit by linking back to my website or source website if you use or share.
(©2023, Janice Bailor // laruedefleurs.com)
