My most recent custom order is at the request of a client who purchased a cabin in West Virginia (USA). Inside the cabin, she and her husband came across a stack of old dresses belonging to the former owner. After looking up some of the tags, I believe most of the dresses date from the 1940s and 1950s. My directive for the quilt was to use the fabric from the dresses to create a quilt they could use that both display and honor the history of the cabin and also enjoy snuggling under while they are there.
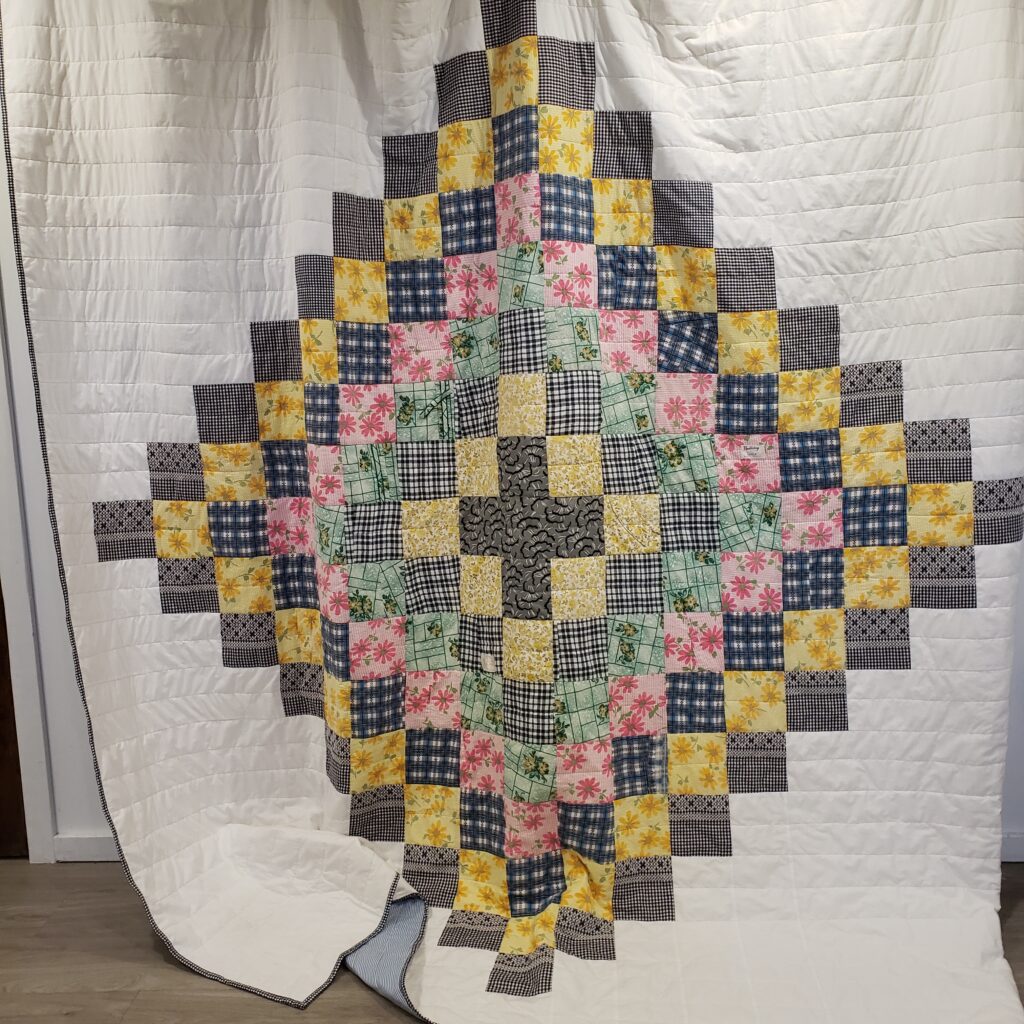
To create the quilt, I relied on a pattern I have used several times now, the Chippewa Quilt Pattern by Alison Harris for Cluck Cluck Sew. In 2020, I finished the scrappy granny floral version you can check out in more detail in the Granny Floral Chippewa Quilt post. What I love the most about this pattern is the simple piecing and the ability to size the blocks up or down to achieve the size quilt you want or pieces of fabric you want to use and cut.
Pattern Prep
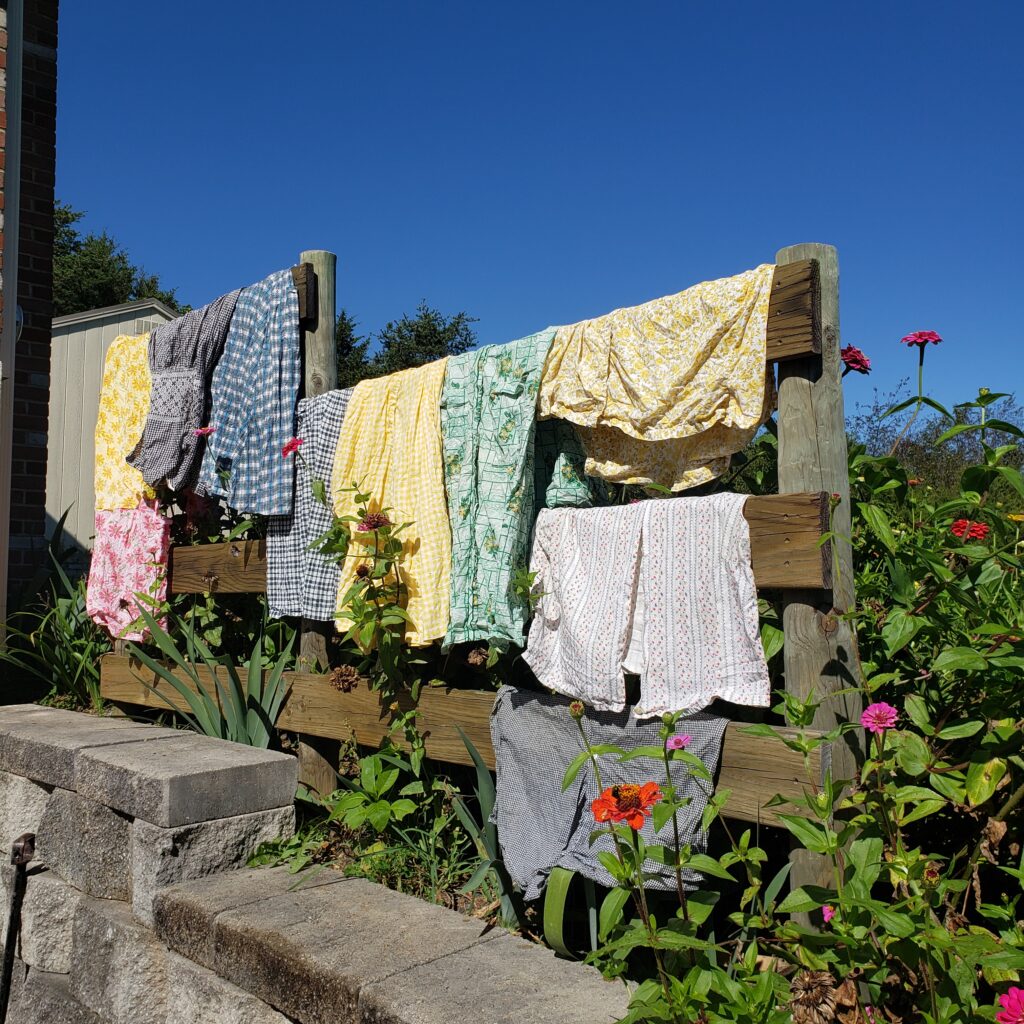
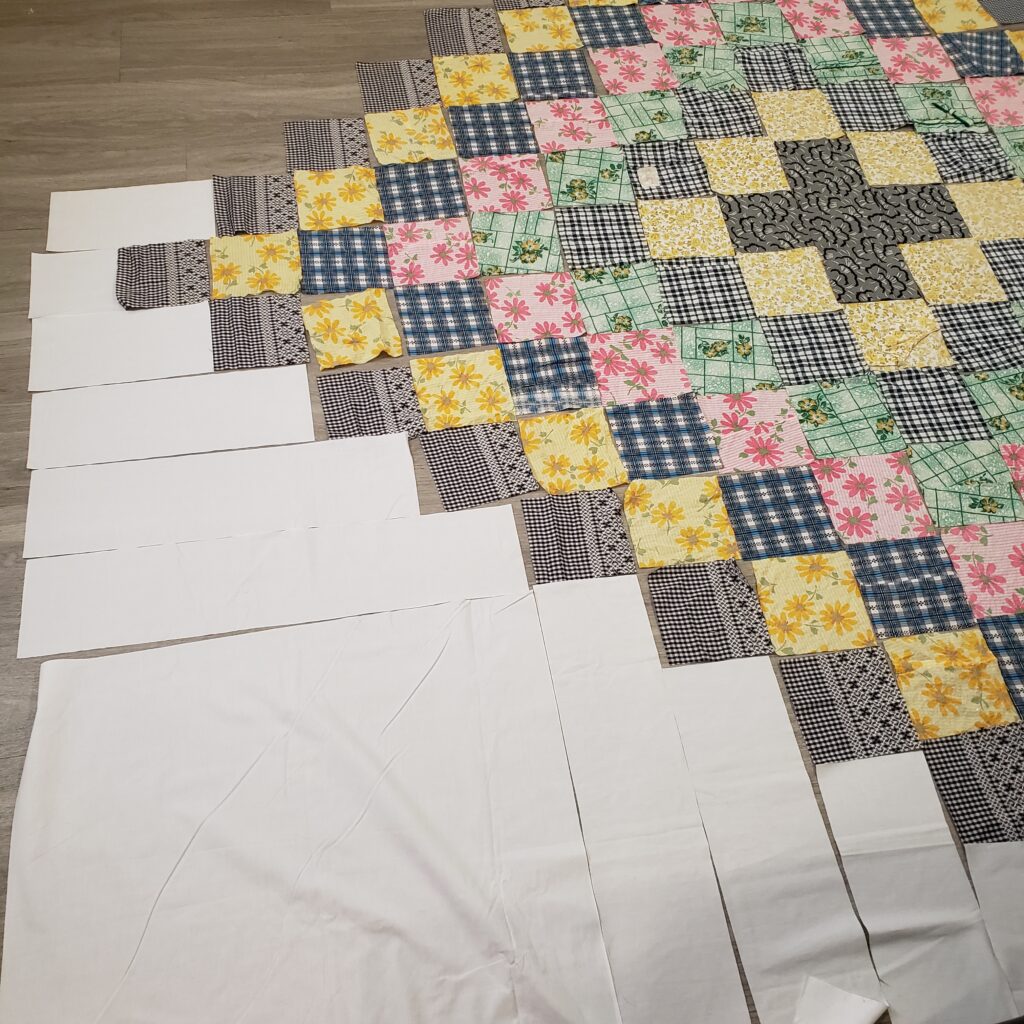
Sitting in a cabin for 50 years makes fabric kind of musty. So upon receiving the fabrics, I prepared them by giving them a good wash and hanging them out in the fresh air to dry. Next, I formulated my plan. I used a piece of graph paper and colored pencils, as well as the Chippewa Quilt formula to create a layout of fabric that would showcase each individual color and pattern of the dresses. Each concentric layer considered not only how to make the fabric pop against its neighbor, but also how much of any one fabric I would have to work with. Some of the dresses were larger, or I had several similar dresses to work with and therefore I could get a larger ring out of those pieces to create a nice, large throw. The background was filled in with a nice, crisp white to help offset the vintage fabrics and give the eye somewhere to rest.
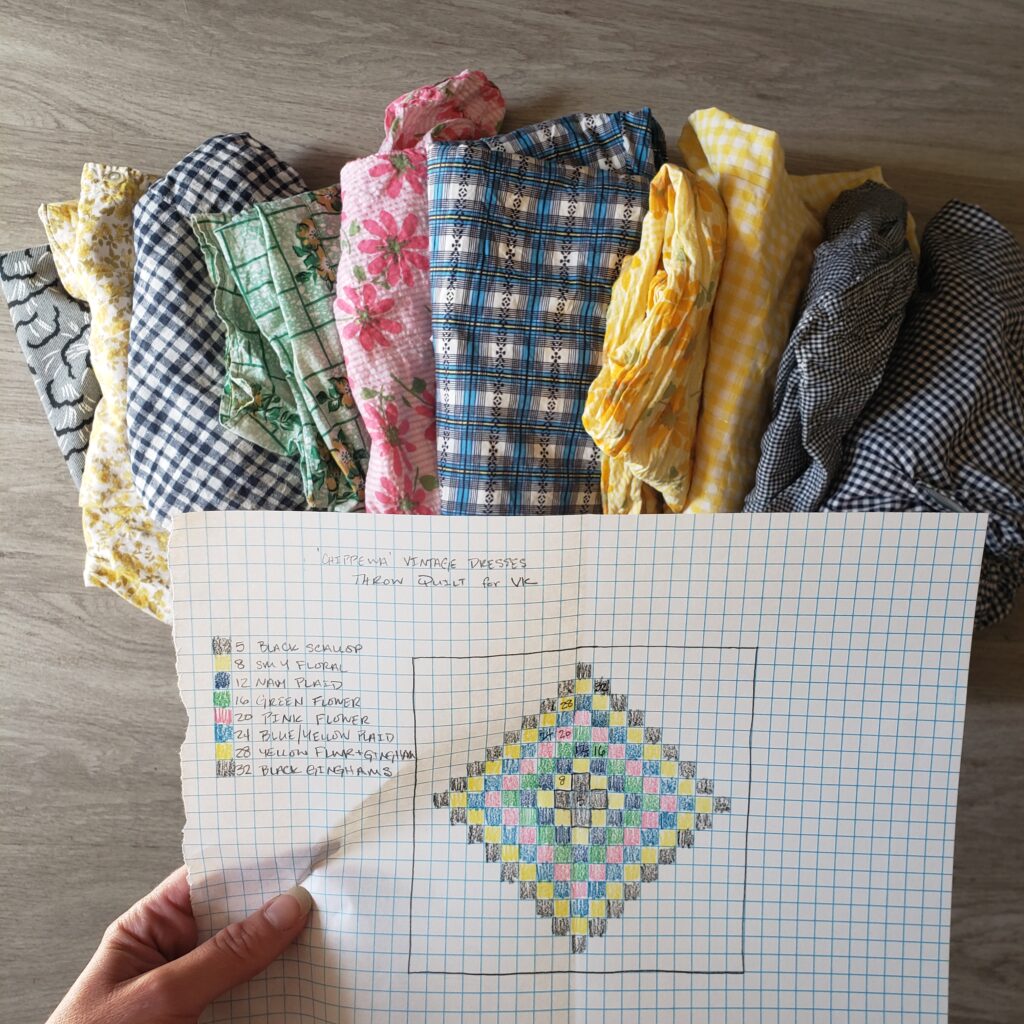
I definitely recommend creating a basic plan or map when working on a quilt project if you can. Here it made the cutting process extremely easy. I simply counted the number of squares of each fabric I needed and worked through all of the cutting before laying everything out for piecing. I kept the white squares and rectangles together in as large of pieces as possible to reduce the piecing effort.
Creating the Quilt Top
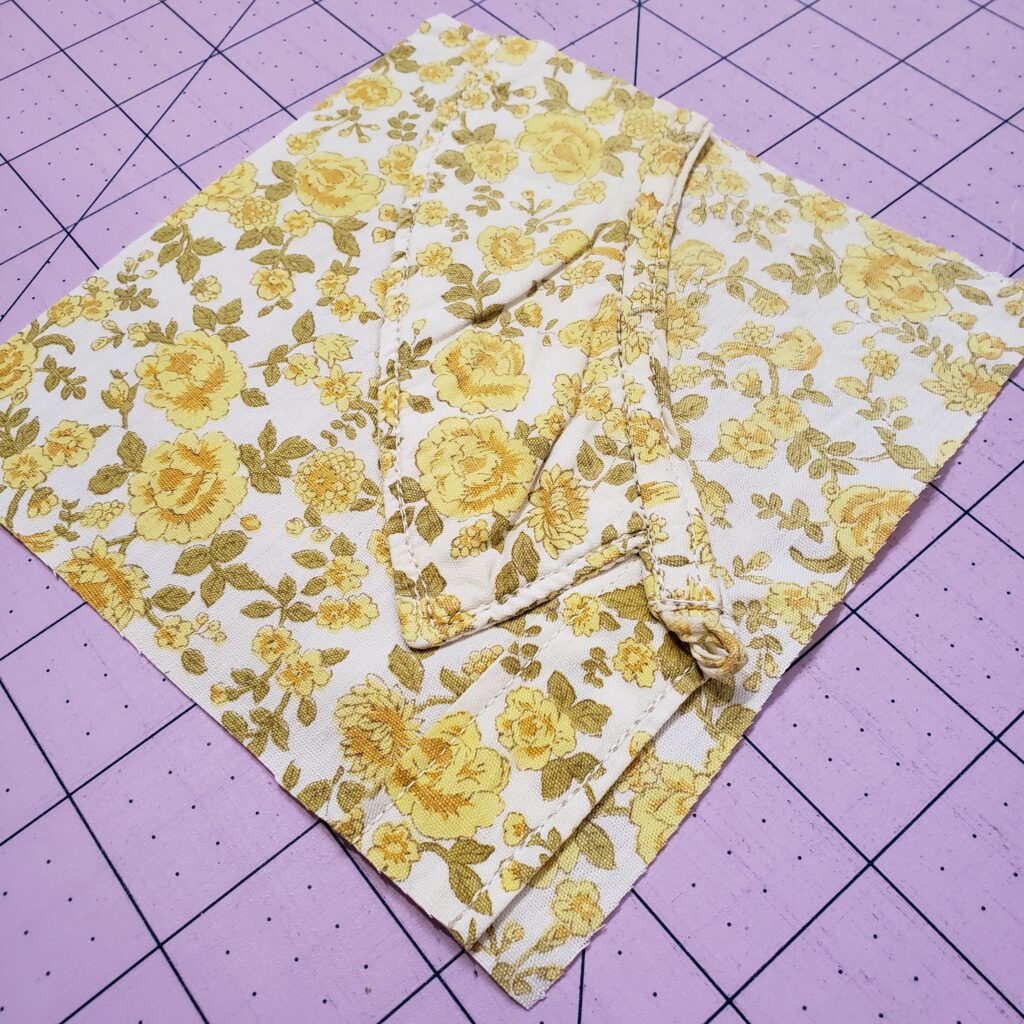
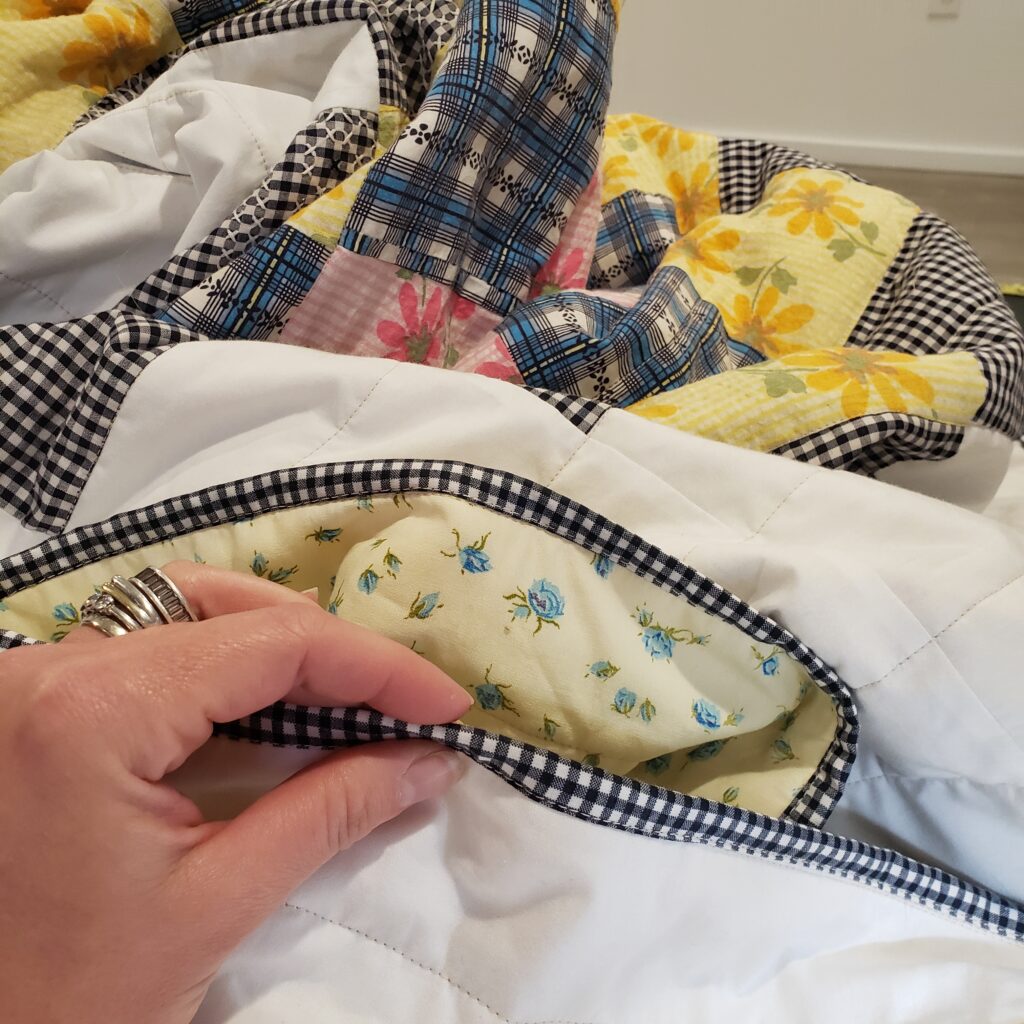
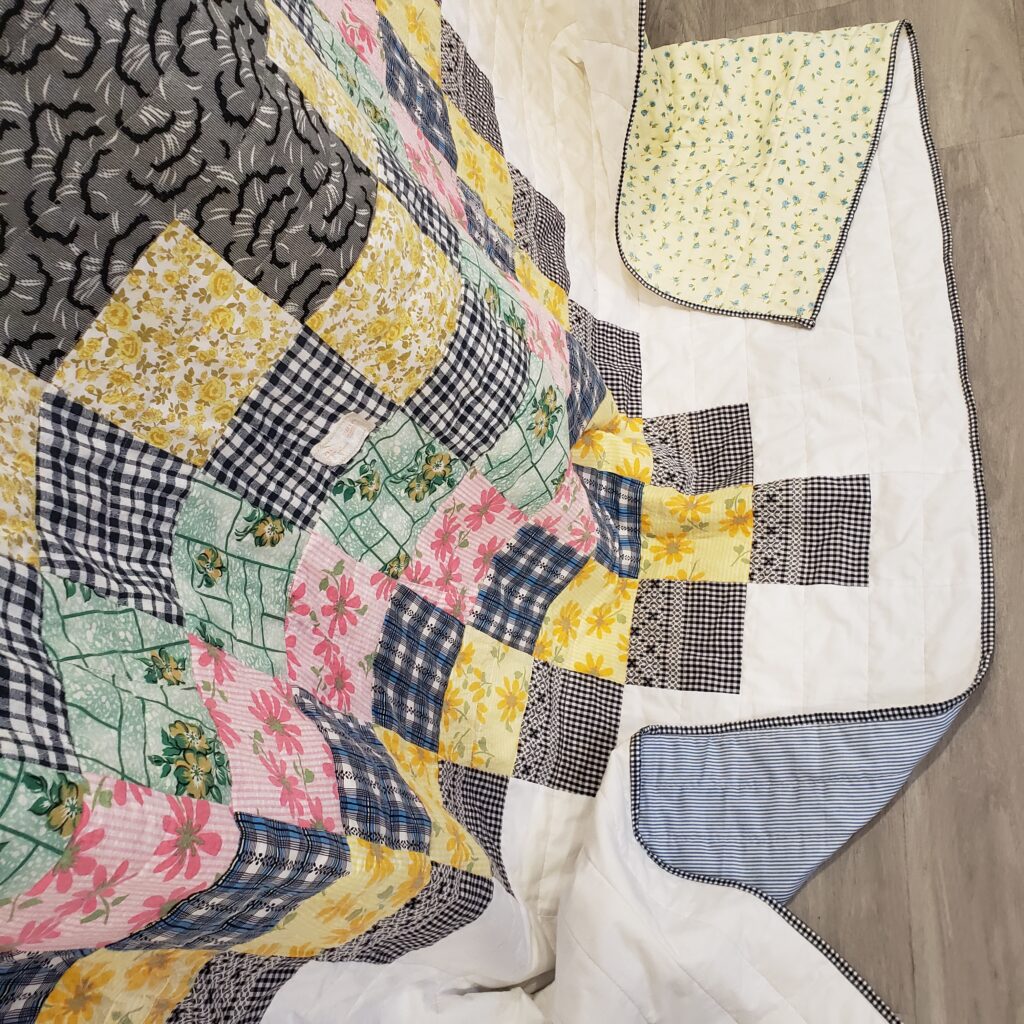
It was really important to me that you would be able to tell where the fabrics for this quilt came from since the narrative was so strong. To ensure that anyone looking at or using the quilt would know it was made from dresses, I decided to make sure to incorporate at least one detail from each of the dresses I cut into their section of the patchwork. For some of the dresses, it was as simple as reusing the tag, for a few others I made sure to include an interesting seam detail or section of hand embroidery detail. For a few of the fabric sections, I used details such as a part of the collar or bow accents that were present on the original dress.
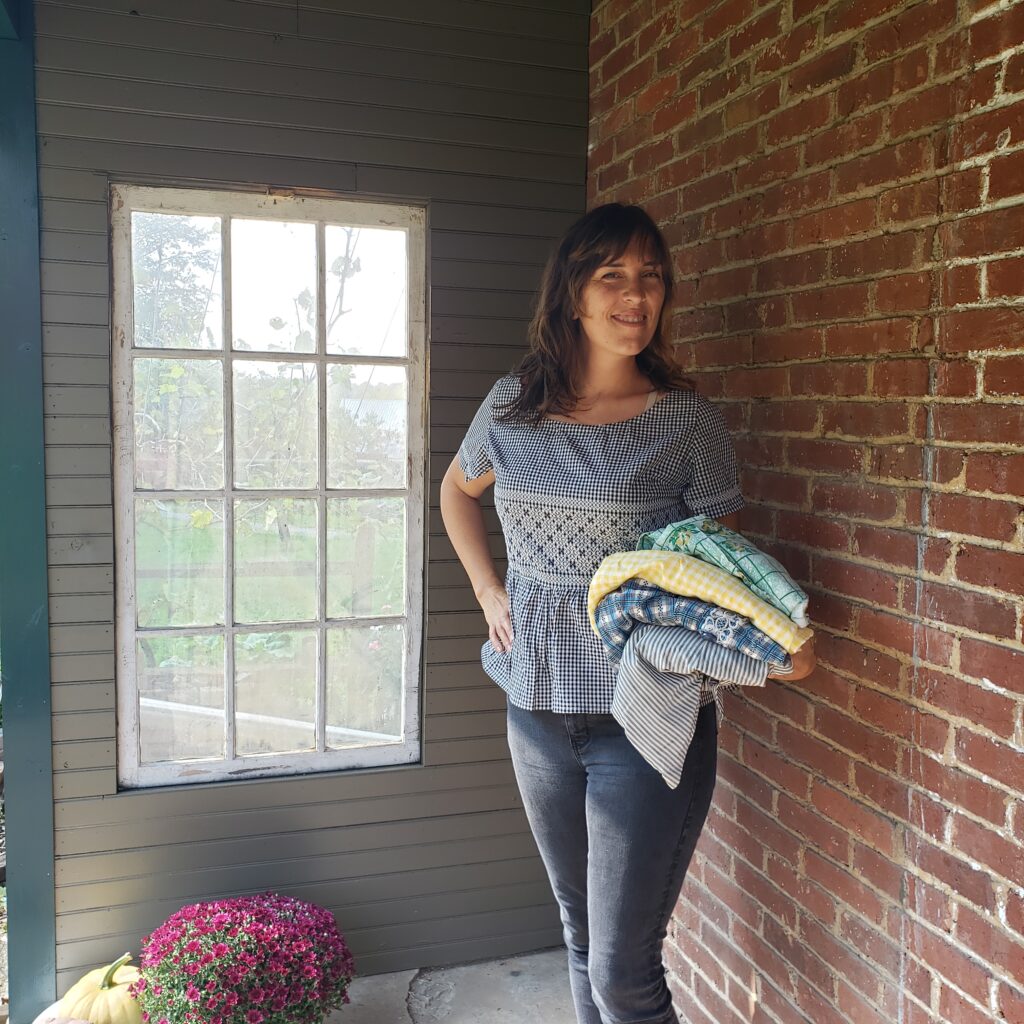
Using my pattern plan, I cut, cut, cut away at the bottom of the dresses! I decided early on to preserve as much of the dress tops as possible. I knew this portion of the dress would be too complicated to use in the patchwork, so I tried to maintain what I could. So many of the pieces dated from the 1940s and 1950s and included a lot of hand touches, like hand-stitched seams and embroidery, that just seemed too precious to throw away. After cutting off the bottoms, I hemmed a lot of the dresses into tunic tops which could then be enjoyed by my vintage-loving friend.
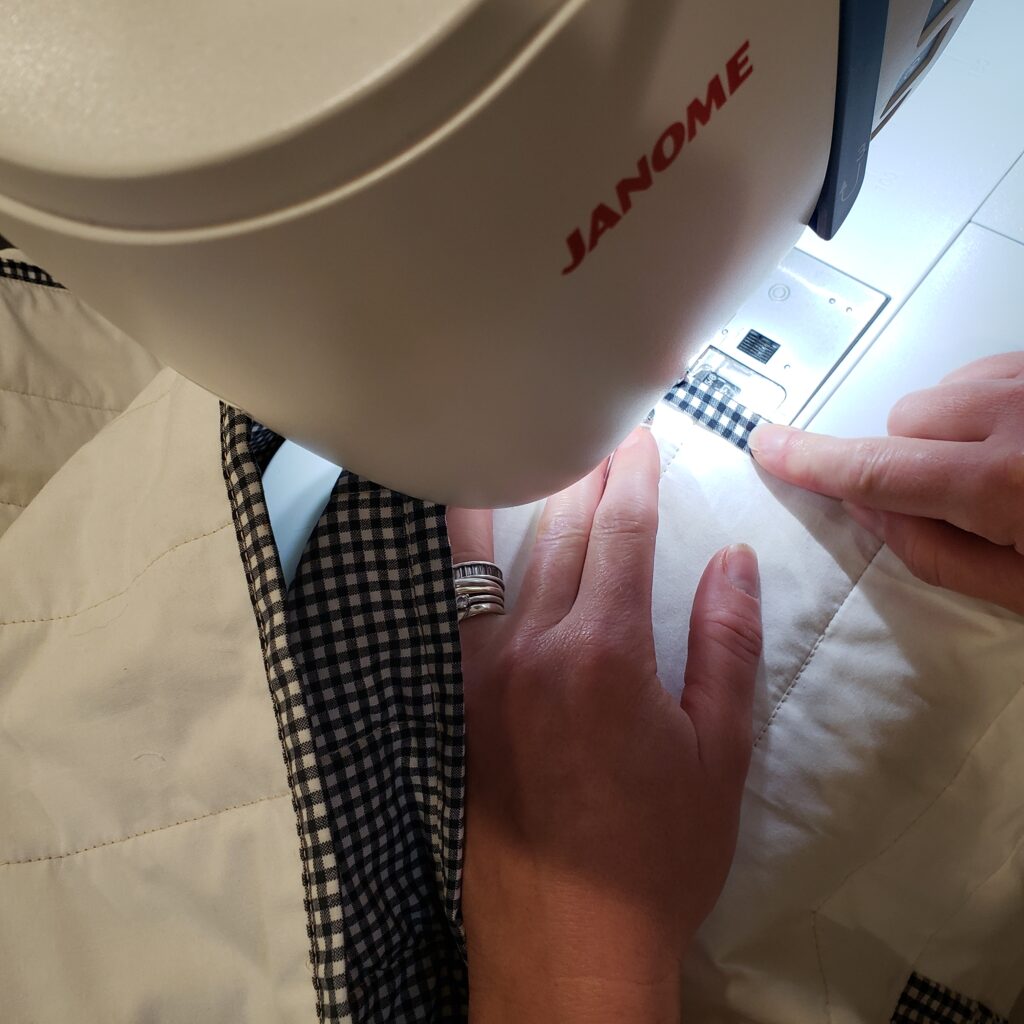
Piecing the quilt top itself went very quickly. Basically, the blocks just piece together from left to right in rows. After I grouped the small block rows, I worked in sections to connect the rows that also contained the larger background pieces. Once I had three large sections, I joined them all together to finish the quilt top.

Finishing Up the Quilt
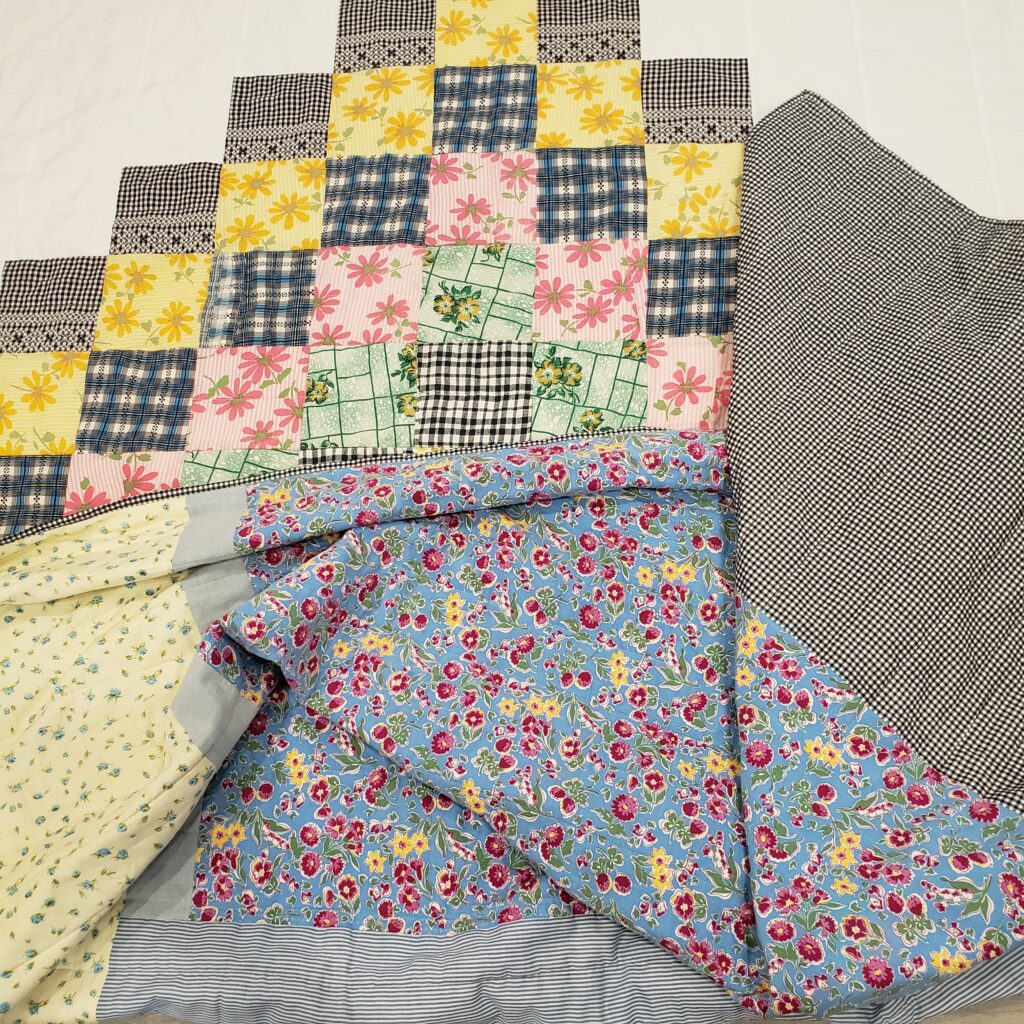
To create the backing of the quilt I took a dive into my vintage fabrics collection. Over the years, I have accumulated several large cuts of vintage fabrics either through estate and yard sales or gifts from friends who know I can use up their fabrics in a quilt. I love to keep these odd bits around, but I especially love when they perfectly match the vibe of a project and can be used up! For the Vintage Dresses Quilt I was able to use a large pieced backing made from some reproduction feedsack print, a vintage sheet, some old shirting material and a cut of black and white gingham. Each piece was a perfect compliment to one of the dress materials on the front- yay!
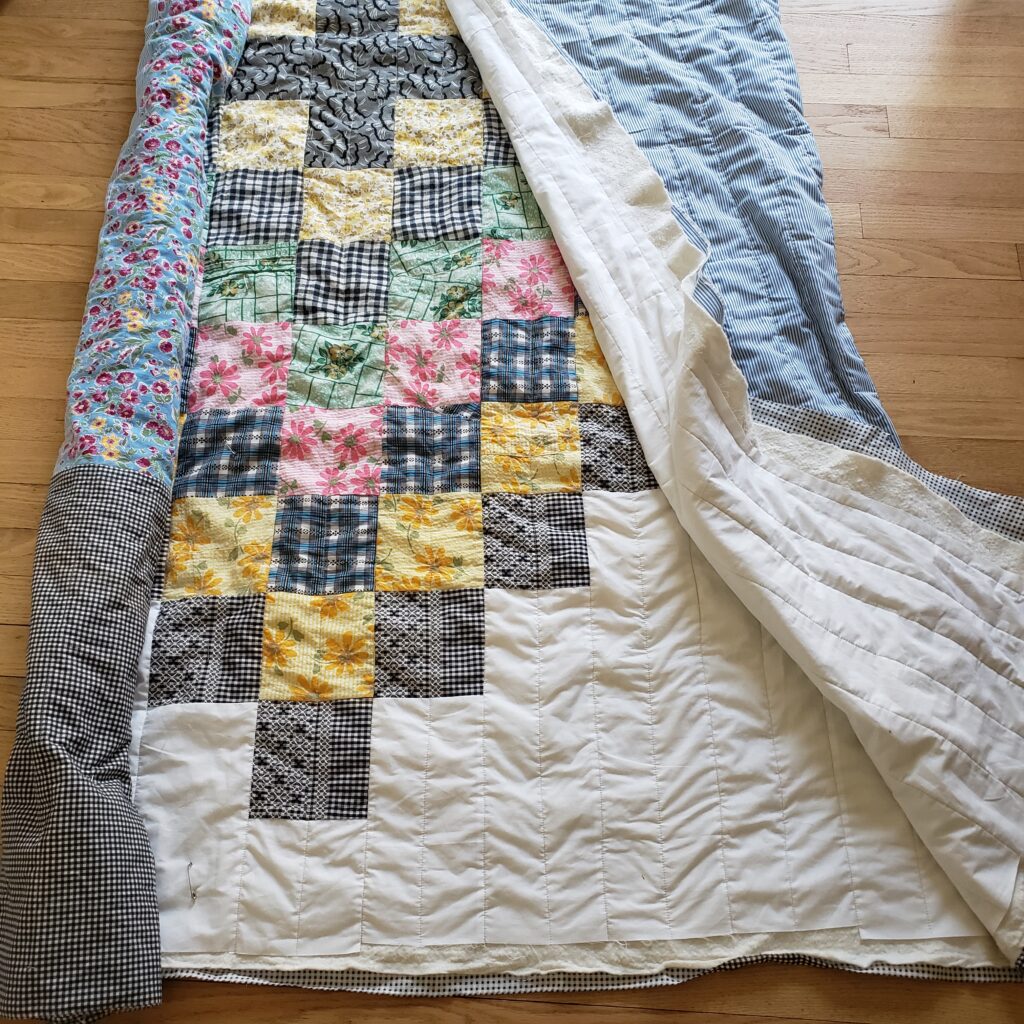
Since I wanted the patchwork and fabrics to really stand out, I kept the quilting very simple. Mostly, I just prefer straight line quilting anyway, and here was no exception. The quilting is in horizontal rows in a neutral thread spaced about 1 inch apart. Binding of the quilt is the small black and white gingham. The gingham just adds the perfect border interest without competing with any of the central patchwork of the top or the backing fabrics.
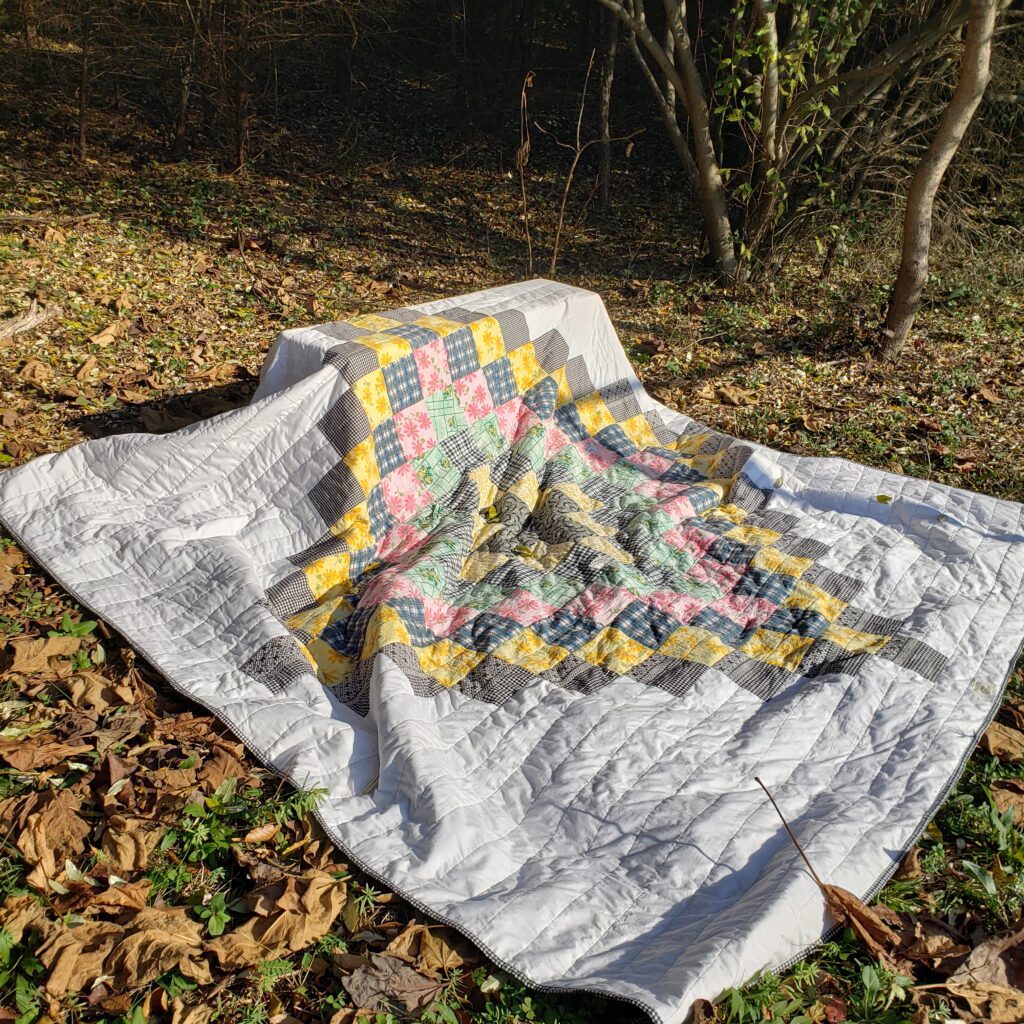
The Completed Vintage Dresses Quilt
You may view more about the creation of the Vintage Dresses Quilt in my recent studio vlog.

Overall, I love this quilt! It was so fun to experiment with techniques to highlight the dresses from which the fabric came. I truly think all of the little details create a very interesting story in fabric. The customers who will use and display this in their cabin will always be able to remember and share the story of the quilt. Memories last forever, and quilts are a great way to preserve them.
I will be offering custom memorial quilts in my Etsy shop on a limited basis. Due to the recent passing of my father, this service is near and dear to my heart. I plan to use his denim work shirt collection in an upcoming series of quilts for members of our family. Since I know not everyone has the skill or time to make such a piece of memorial art for themselves, I would like to provide this service to all who want it as my time allows. The Custom Memorial Quilt in the Around the World pattern may be purchased in my Etsy shop here.
Thank you so much for supporting my micro-business and handmade in America! Stay creative friends! Janice
Inspiration and resources are linked where applicable. All written work and photographs are original content and are copyright protected; kindly give due credit by linking back to my website if you use or share.
(©2022, Janice Bailor // laruedefleurs.com)